In this example, we will use Gaussian Blur and Surface Blur from Photoshop filters to soften backgrounds and skin tones.
- Open the image and duplicate layer.
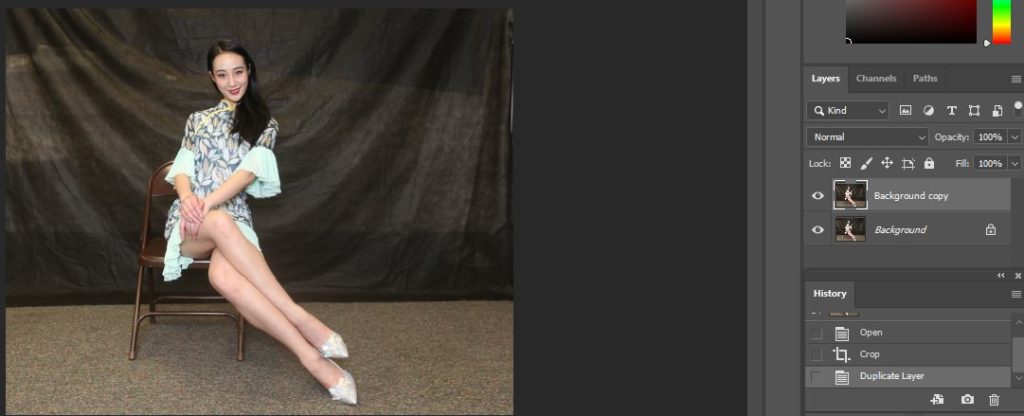
Note: there are multiple ways to duplicate a layer. 1) Click Layer>Duplicate Layer. 2). Click on the image in the Layer panel and hold it. Move it to bottom +

3) Right click on the image in the layer panel and select Duplicate Layer.
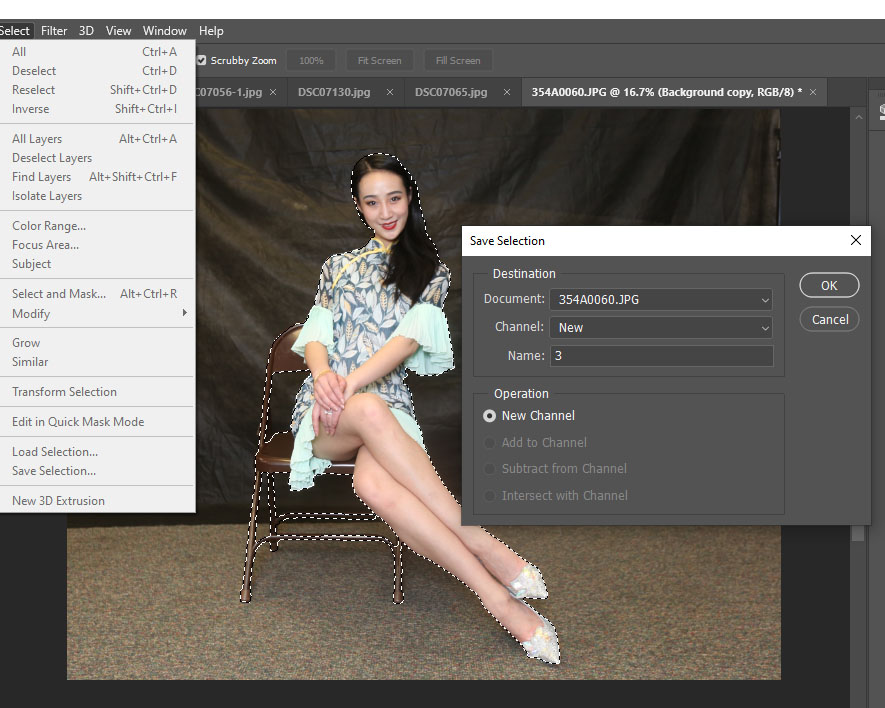
2. Use select tool to select background. Note 1: you can select object and then inverse.
Note 2: you can save the select by going to Select>Save Selection.
3. With the Duplicate Layer active, go to Filter>Blur>Gaussian Blur. Increase Radius until you happy the result. Don’t overdo it.
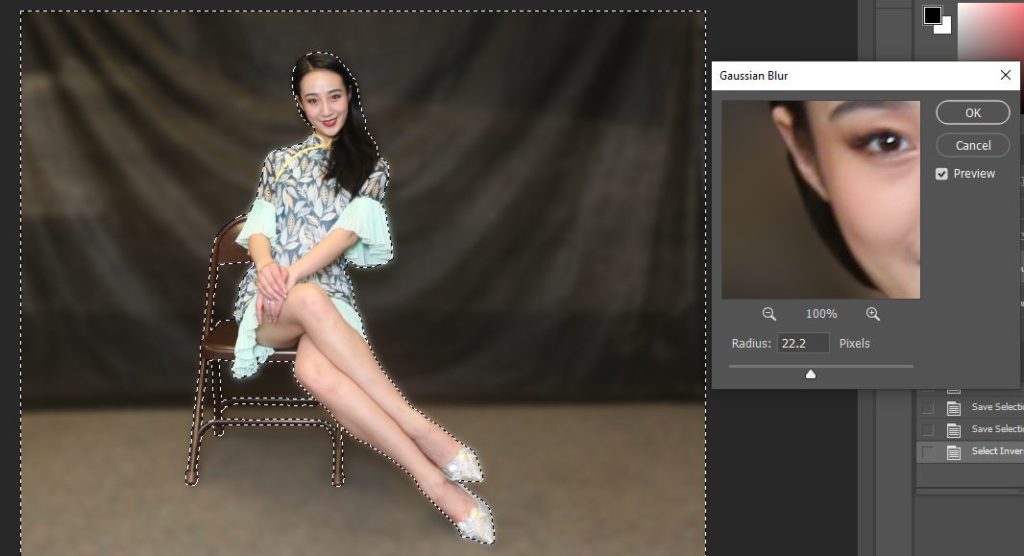
Note: you can also make a dark background by going to Image>Adjustment.
4. With the Duplicate Layer still active, go to Select>inverse, which will select object.
5. To soften skin, go to Filter>Blur>Surface Blur. Adjust Radius and Threshold.
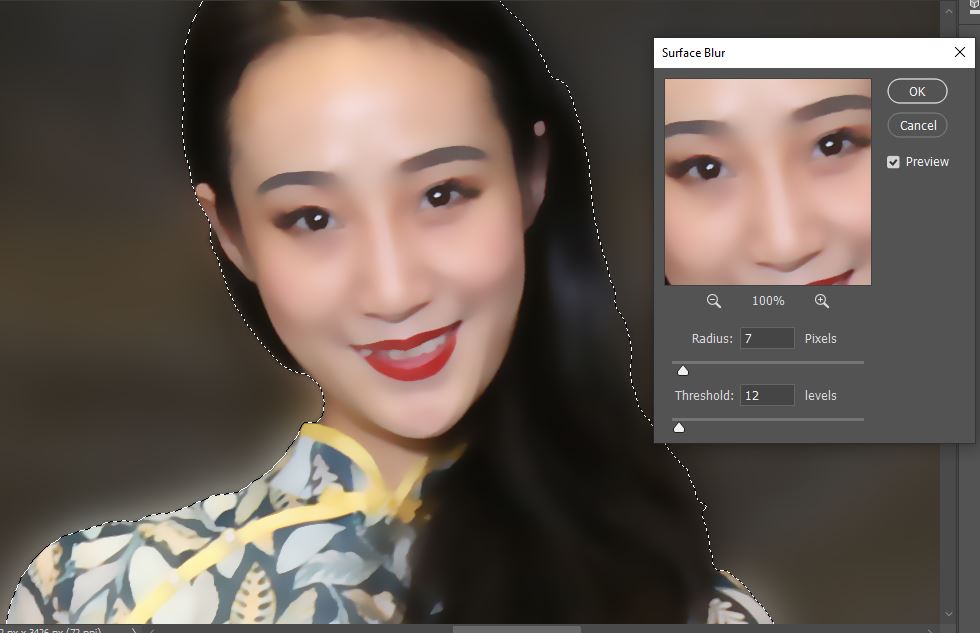
6. You may also want to use Sharpen Tool to sharp eyes and other edges.
7. This is the result.
