- Use Select Tool to select a object.
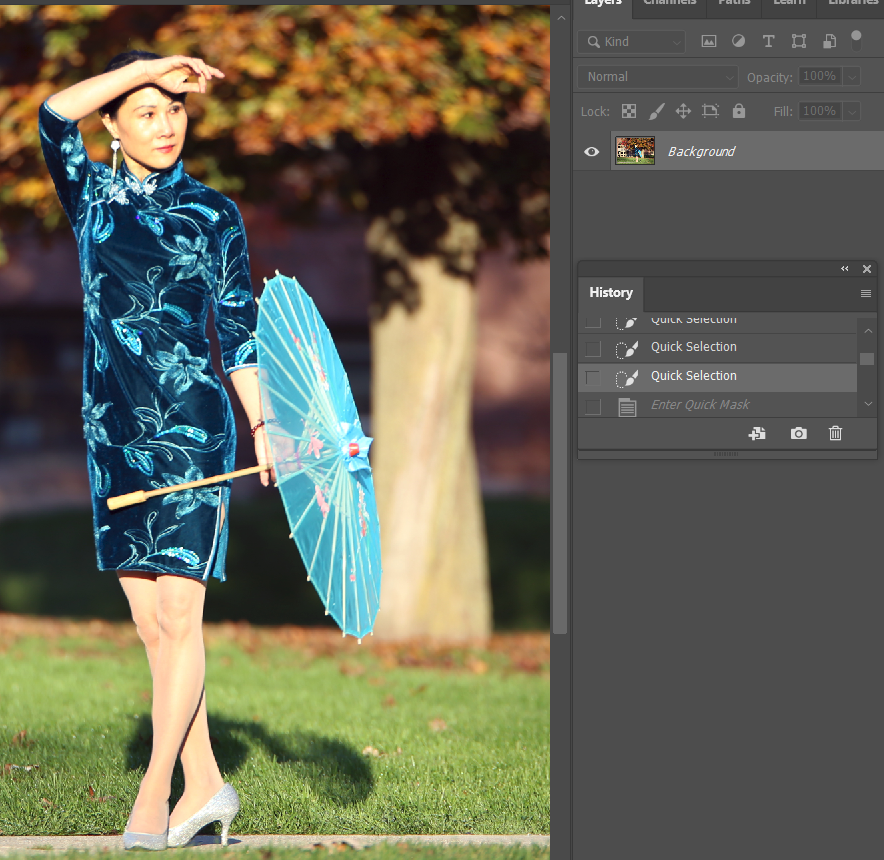
2. Click Edit in Quick Mask Mode icon or press Q
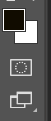
3. The background becomes red.
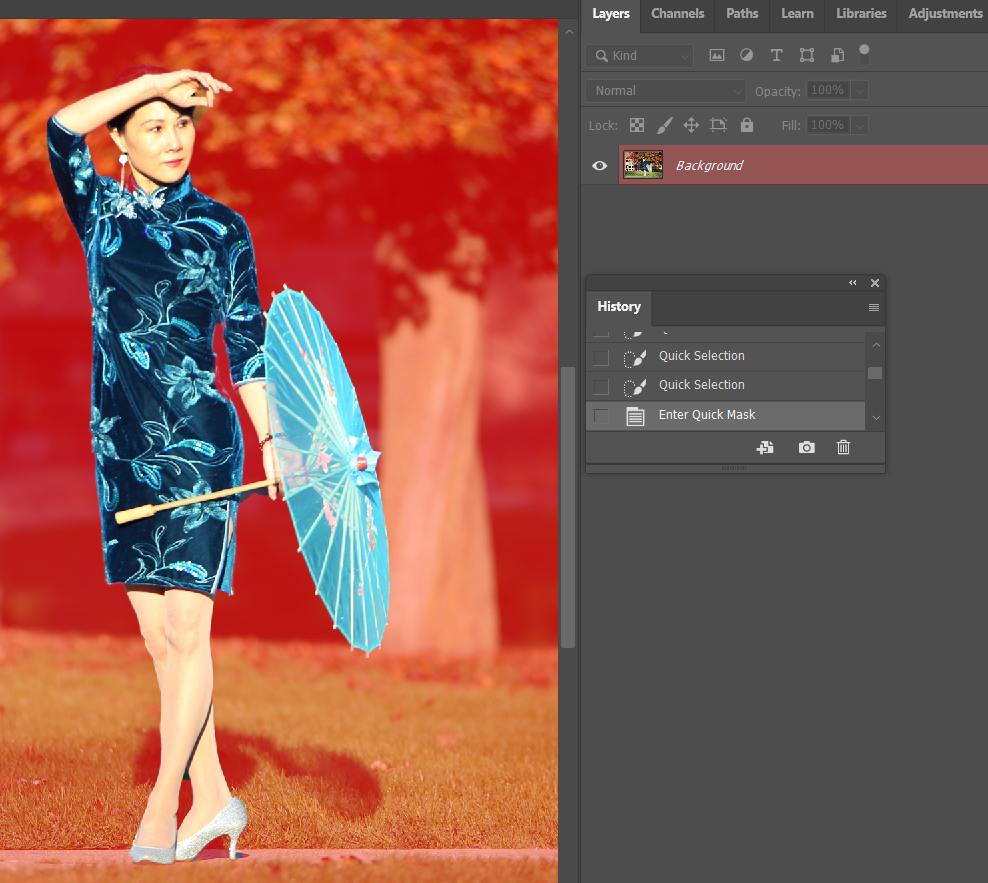
4. Select Brush Tool (Shift+B). I can brush the object with the white Foreground or erase the background with Black Background.

5. Leave the Quick Mask Mode by pressing Q or by clicking on the same icon which we used to activate Quick Mask Mode.
6. Go to Select>Select and Mask to refine edge. Save as Layer Mask.

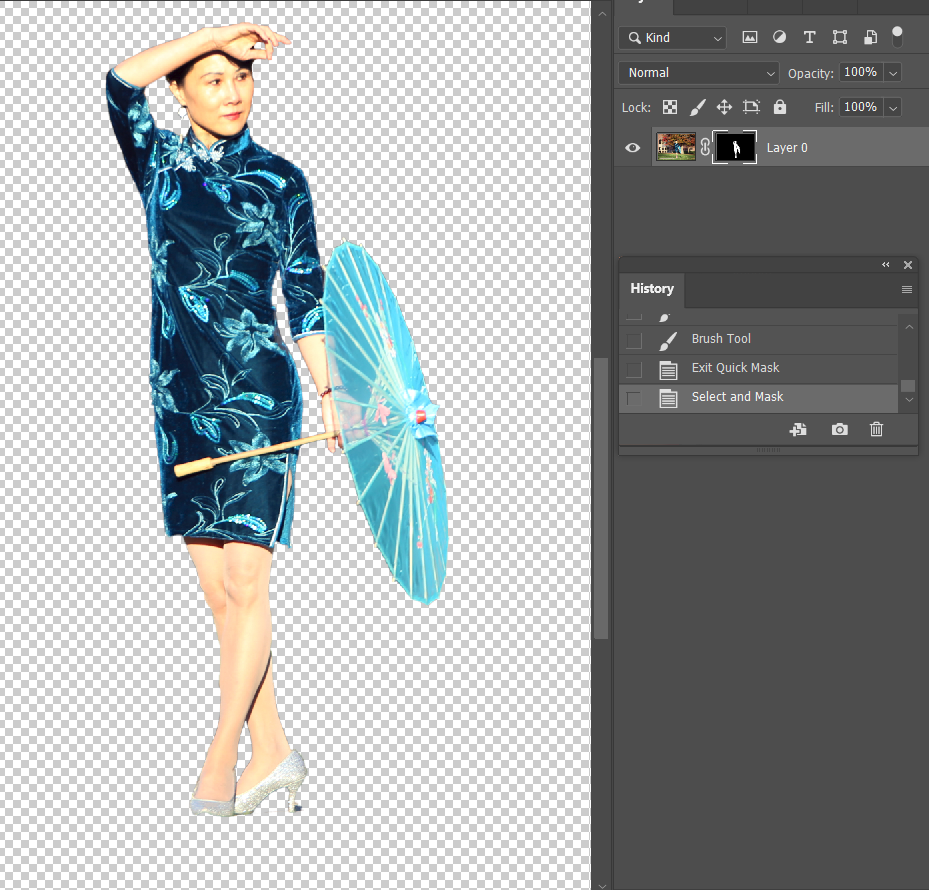
7. This is the result.
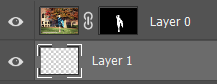
8. To check the result, add a new layer by click on Create a New Layer icon. Move the new layer below.
9. Go to Edit>Fill. Select 50% Gray.

10. With 50 Gray background, you can see more details of selection.
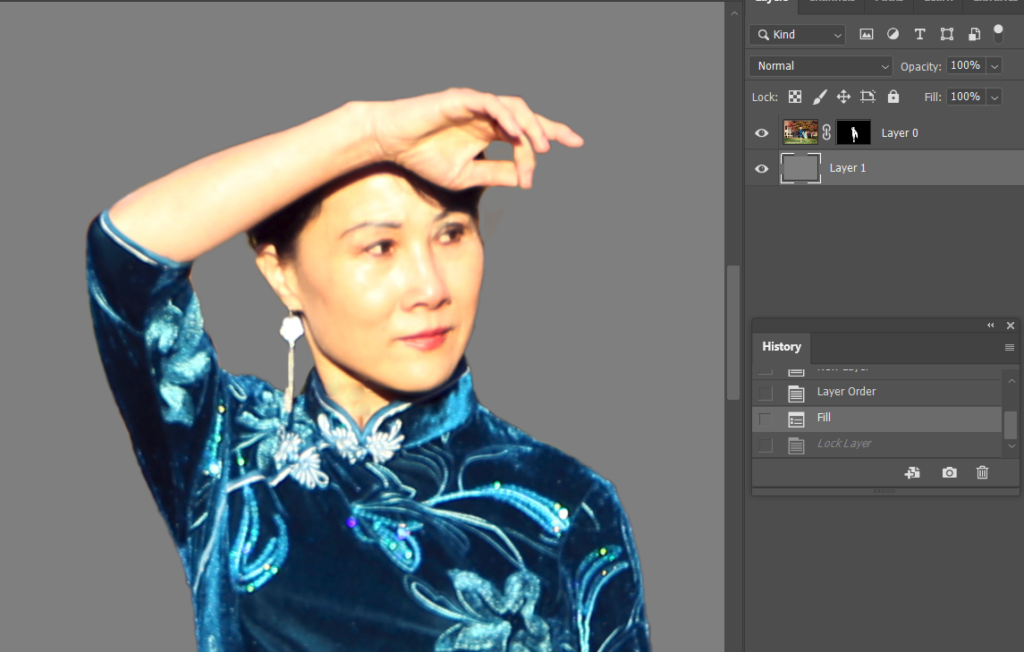
11. Now, you can use Select and Mask to refine the edge.