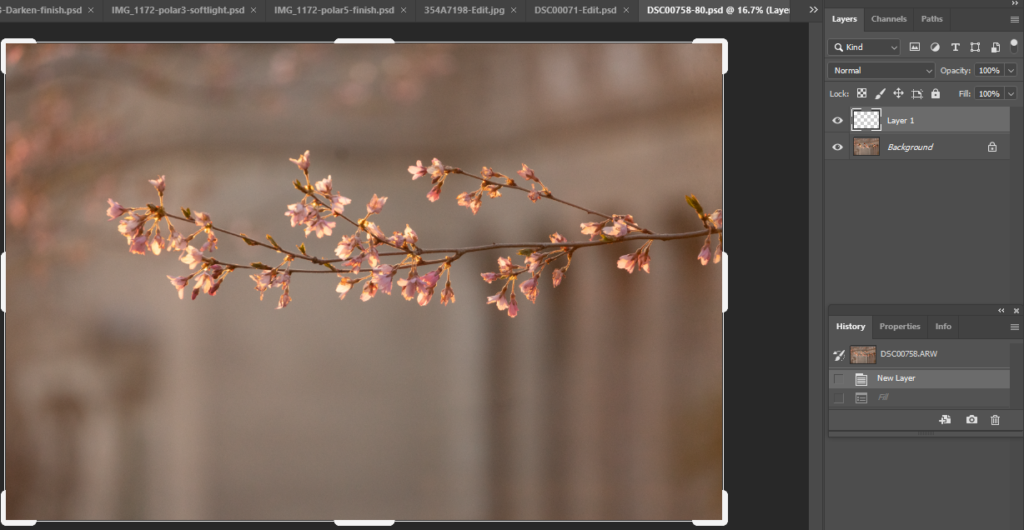
- With the image open, add a mask.
![](http://www.quicksetupguide.com/blog/wp-content/uploads/2020/04/image-58-1024x530.png)
2. Fill with black background.
![](http://www.quicksetupguide.com/blog/wp-content/uploads/2020/04/image-59-1024x530.png)
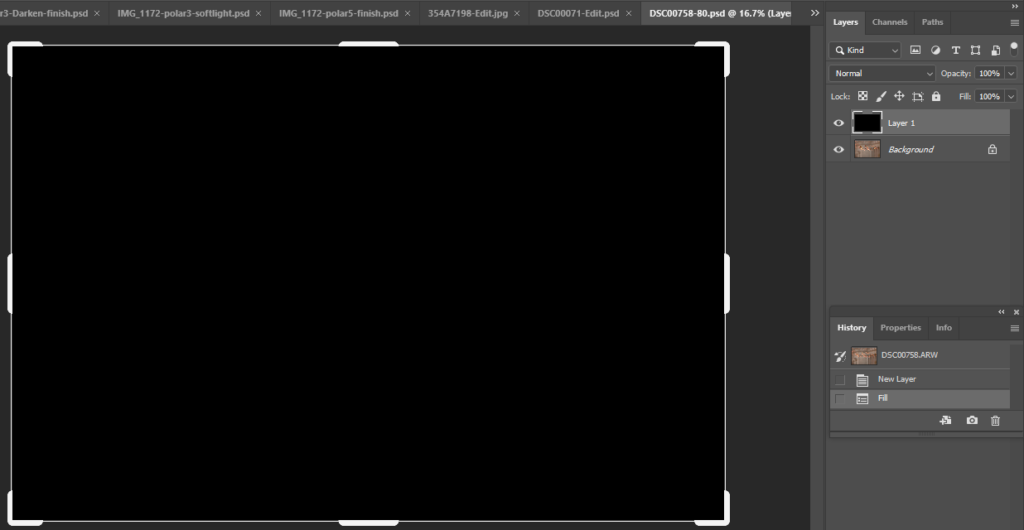
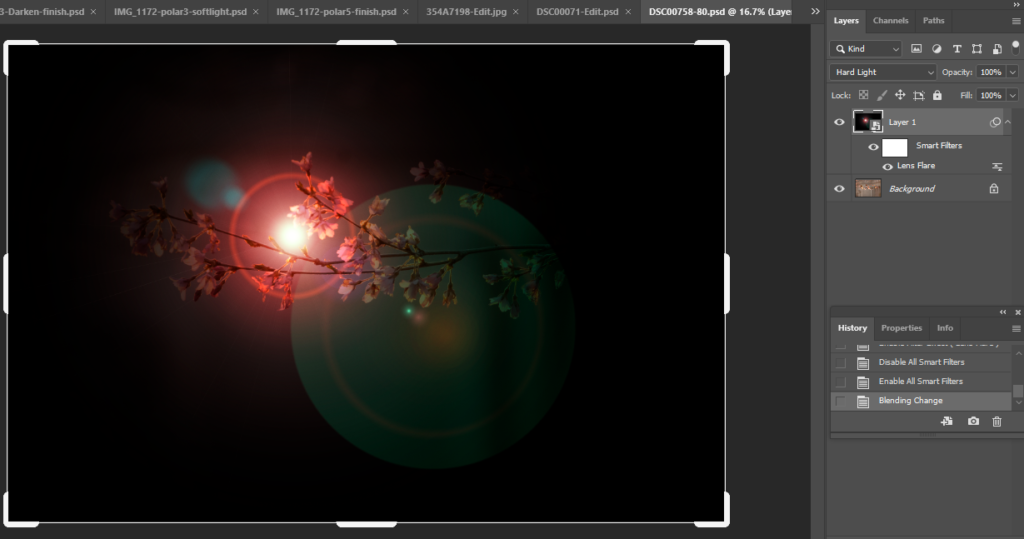
3. Create a Smart Object by right click on Black layer 1 and select convert to mart object. Note: it could be any color. Black is easy to show the backlit.
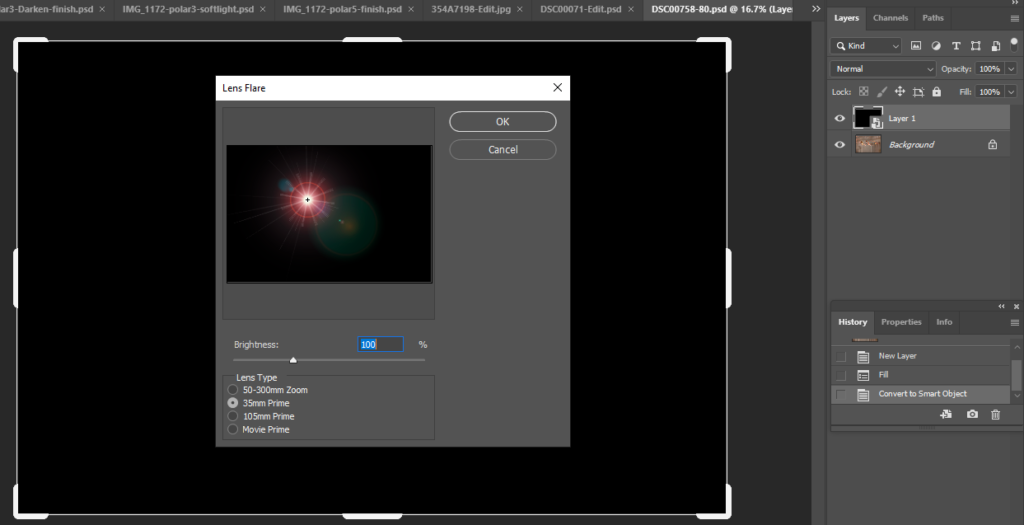
4. Now, go to Filter>Render>Lens Flare. You will have different lens type options. Pick one you like.
![](http://www.quicksetupguide.com/blog/wp-content/uploads/2020/04/image-60-1024x525.png)
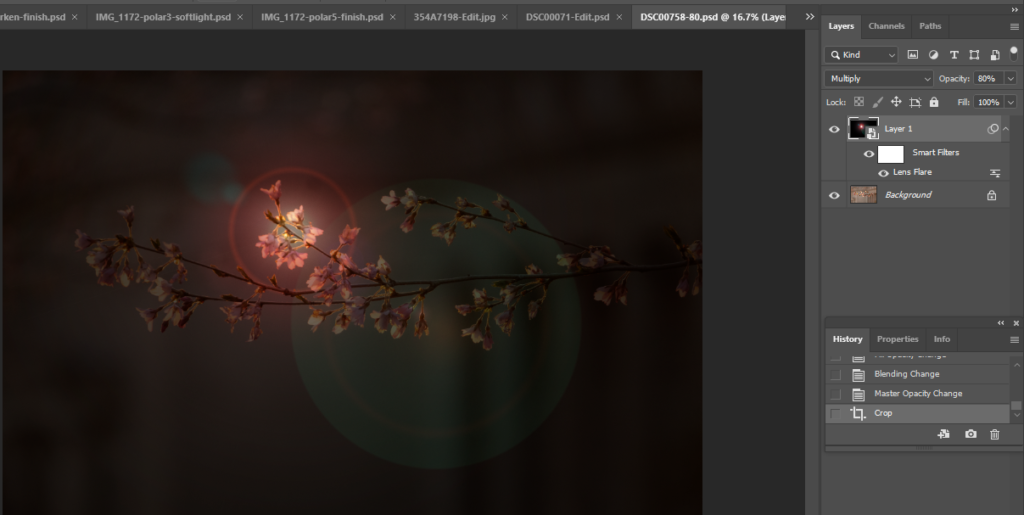
5. Select one of blending mode, in our case it is Hard Light.
![](http://www.quicksetupguide.com/blog/wp-content/uploads/2020/04/image-61-1024x539.png)
6. Use the move tool to move the light and adjust Opacity.
![](http://www.quicksetupguide.com/blog/wp-content/uploads/2020/04/image-62-1024x524.png)
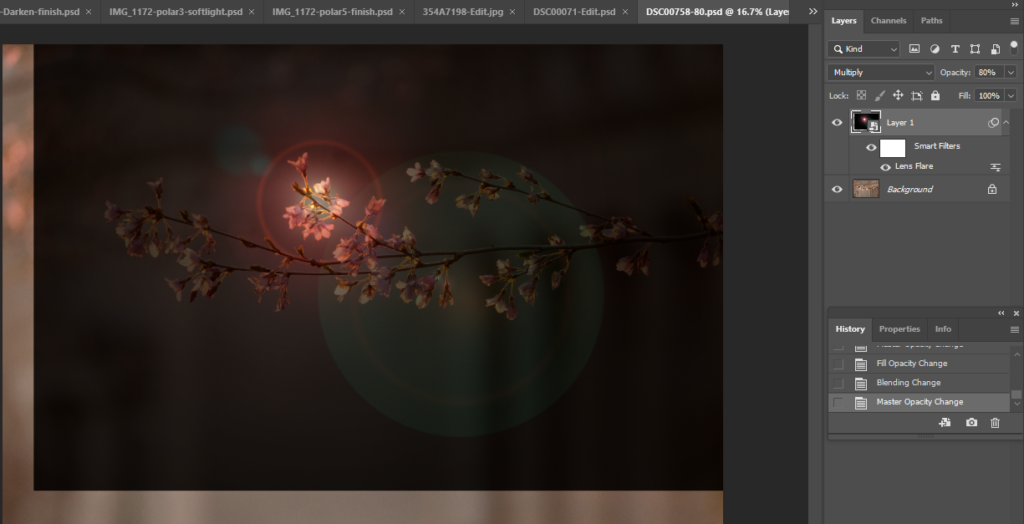
7. Crop the image and save it.
![](http://www.quicksetupguide.com/blog/wp-content/uploads/2020/04/image-63-1024x515.png)