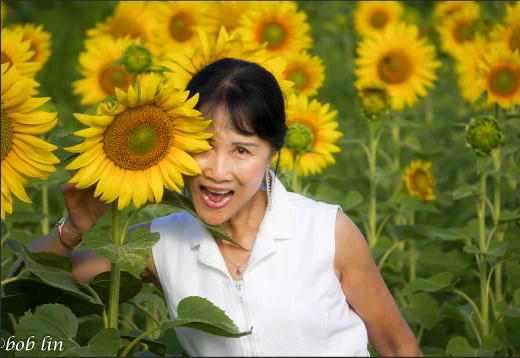
Before
After

- Duplicate the image.

2. Use Selection Tool to select object.
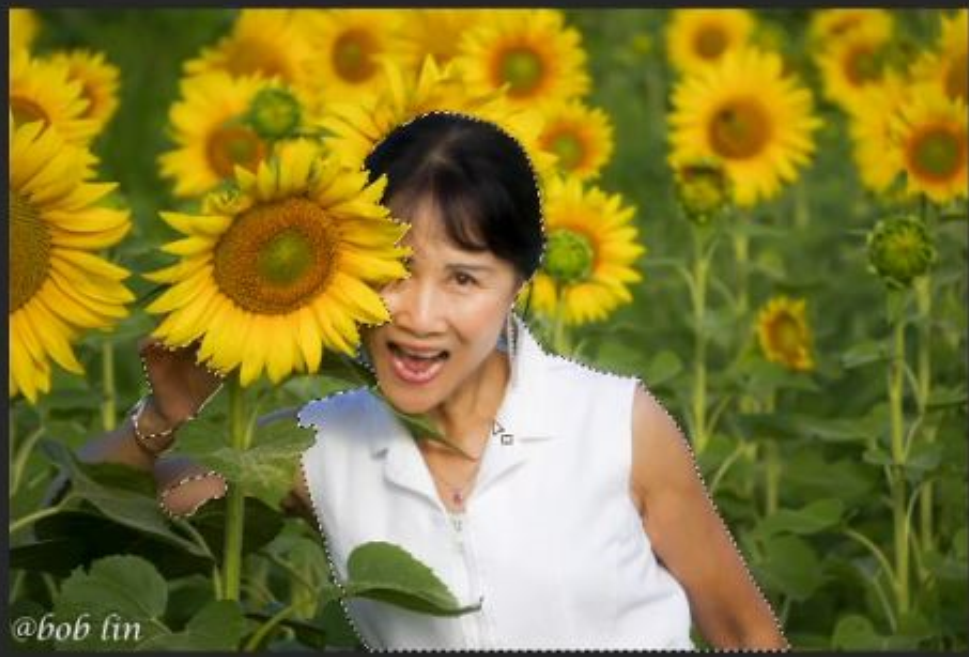
3. Use the Selection Tool to select all areas you don’t want to blur.
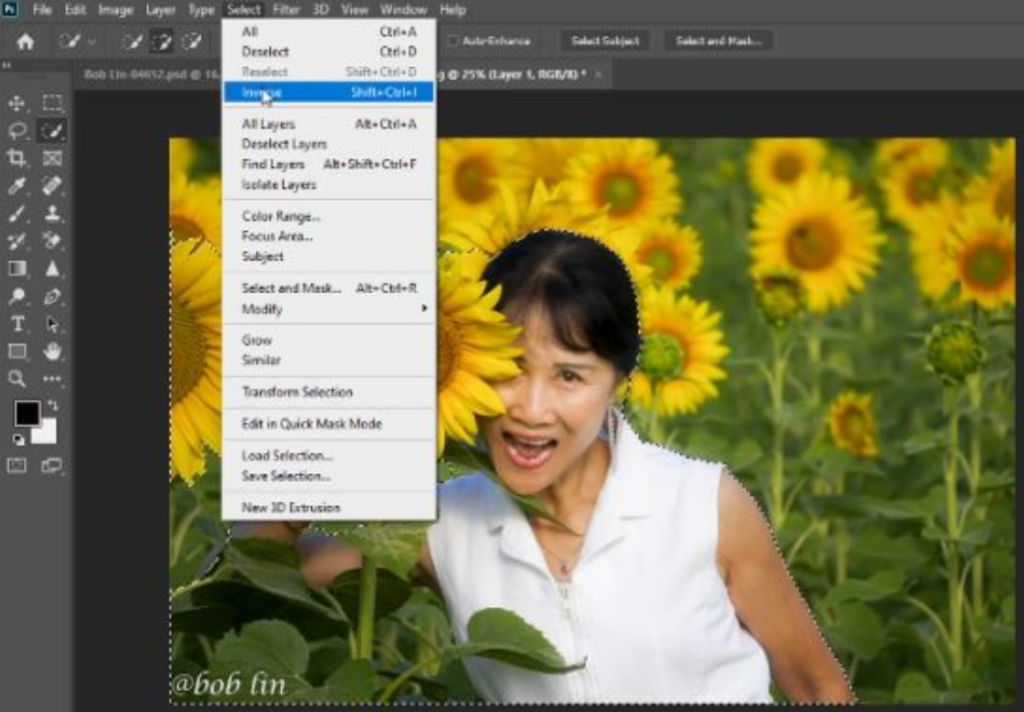
4. Inverse by going to Select>Inverse, which selected blur areas.
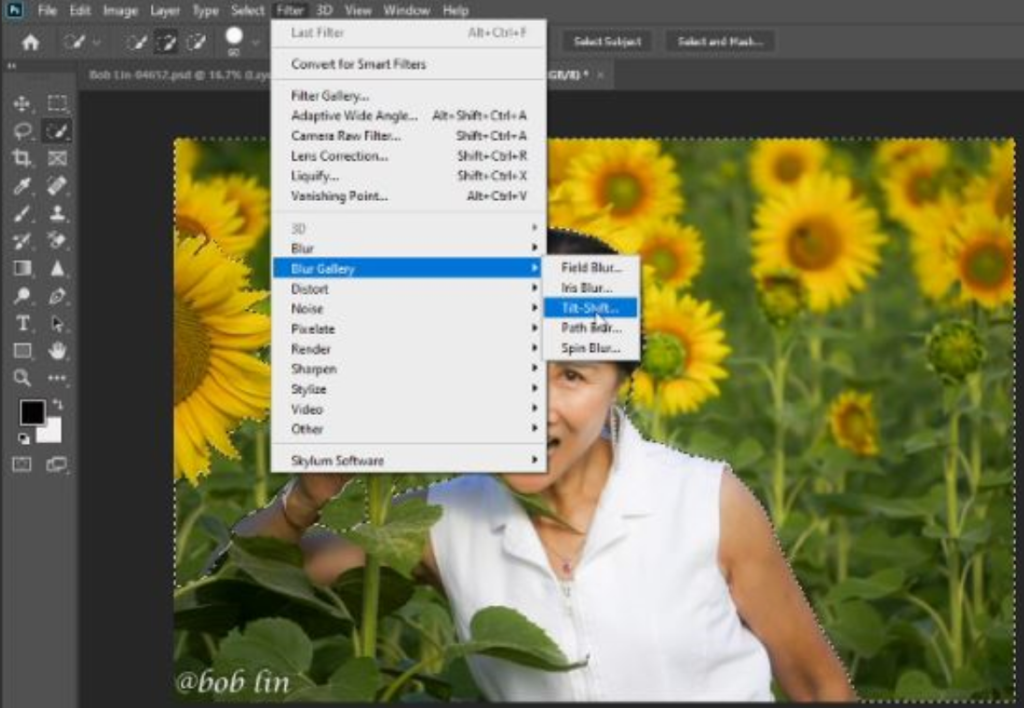
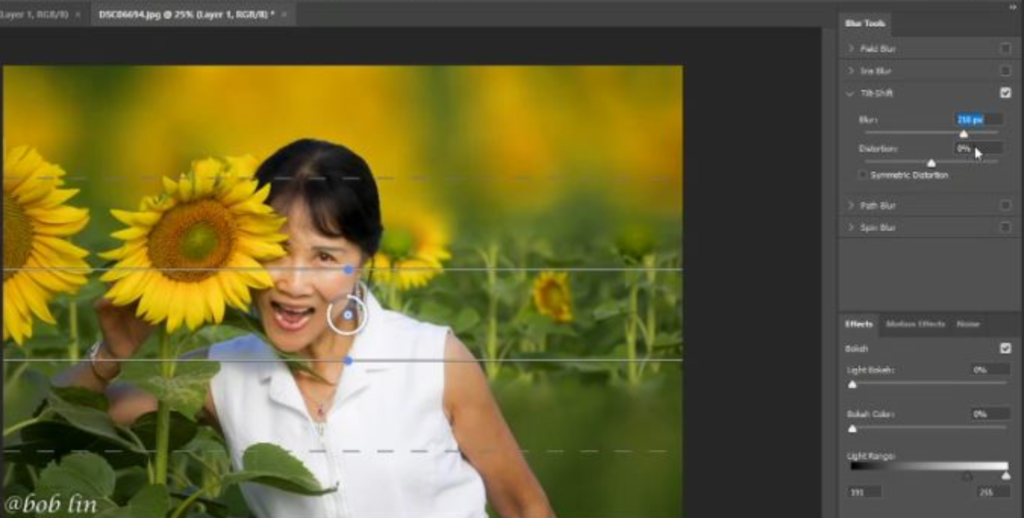
5. Now, go to Filter>Blur Galley>Tilt-Shift
6. Adjust Tilt-Shift areas, Blur, Light Bokeh, Bokeh Color, Light Range.
7. Result.

Please view step by step video: