1. Camera Settings
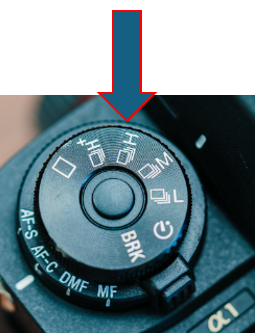
- Mode Dial: Set the mode dial to
Manual (M)for full control. Turn the mode dial to M while pressing the mode dial lock release button in the center of the mode dial
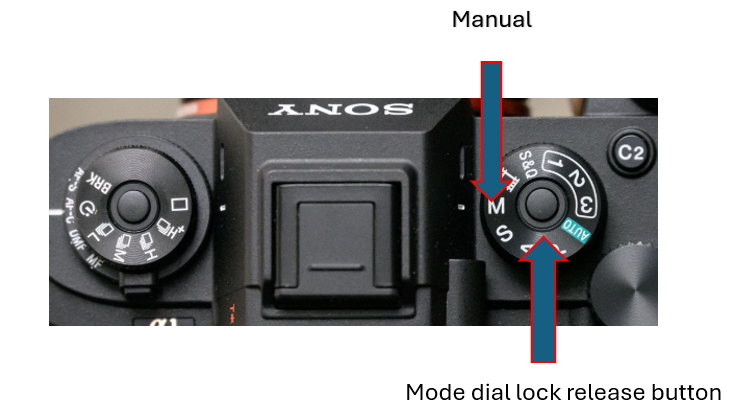
- or
Shutter Priority (S)to prioritize fast shutter speeds.

- Shutter Speed: Set a high shutter speed, typically between 1/1000 and 1/4000 seconds, to freeze fast-moving subjects.
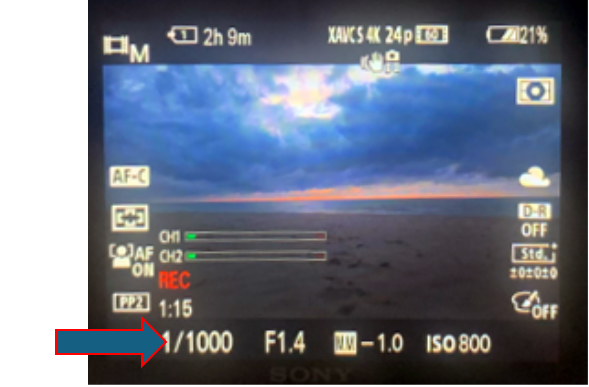
Select the desired shutter speed by turning the rear dial.

- Aperture: Use a wide aperture (e.g., f/2.8 or f/1.4) to let in more light and create a shallow depth of field, isolating your subject from the background.
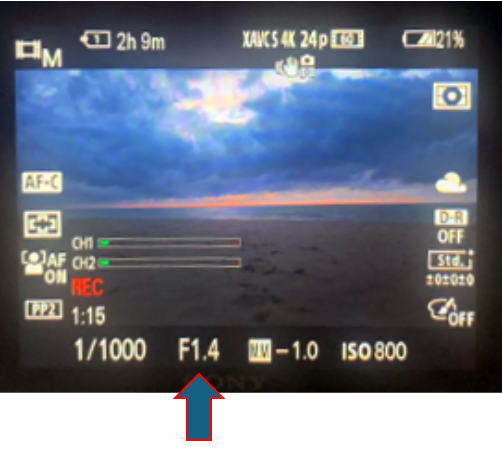
Select the desired aperture value by turning the front dial.
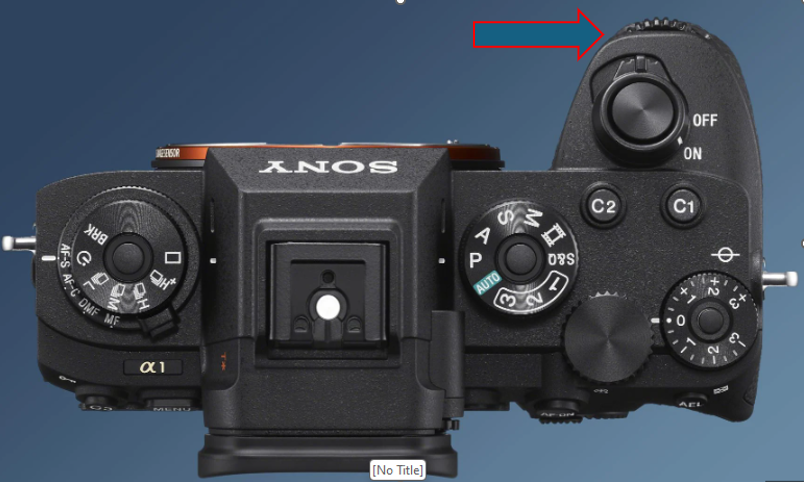
- ISO: Set ISO to
Autobut with a maximum limit (e.g., 3200) to ensure the camera can handle varying light conditions without introducing too much noise.

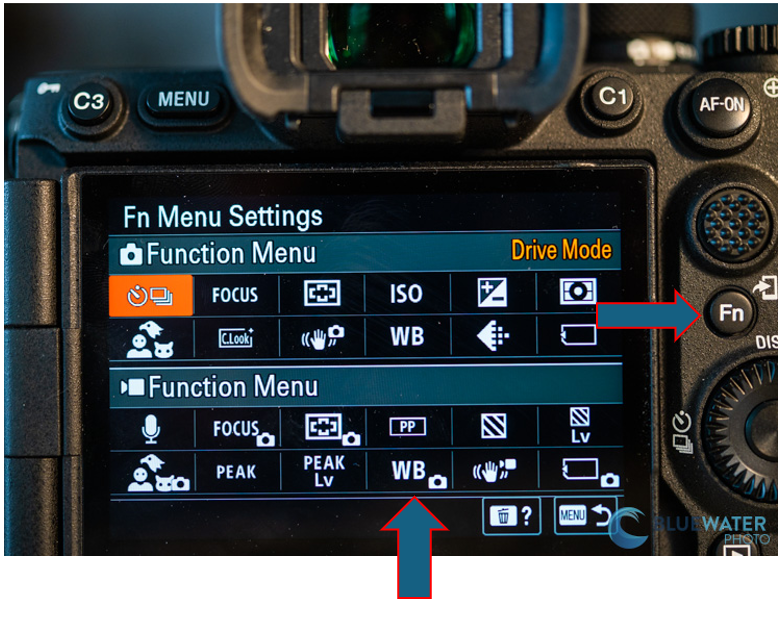
Select the desired ISO value by turning the Control Wheel.
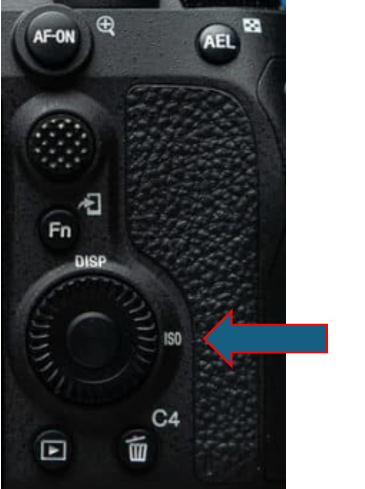
Or press Function key.

2. Autofocus Settings
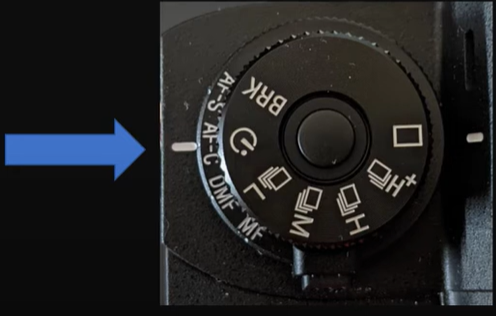
- Focus Mode: Set to
Continuous AF (AF-C)to maintain focus on moving subjects. Turn the focus mode dial to AF-C while pressing the focus mode dial lock release button.
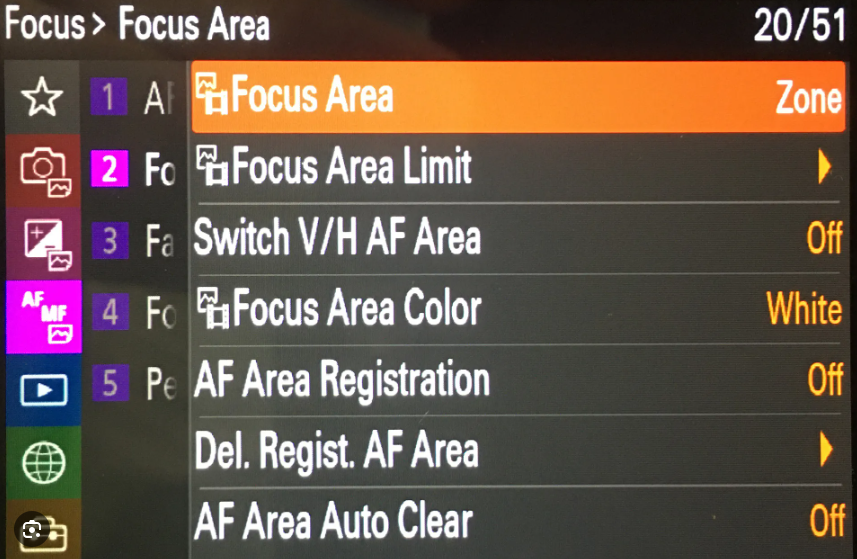
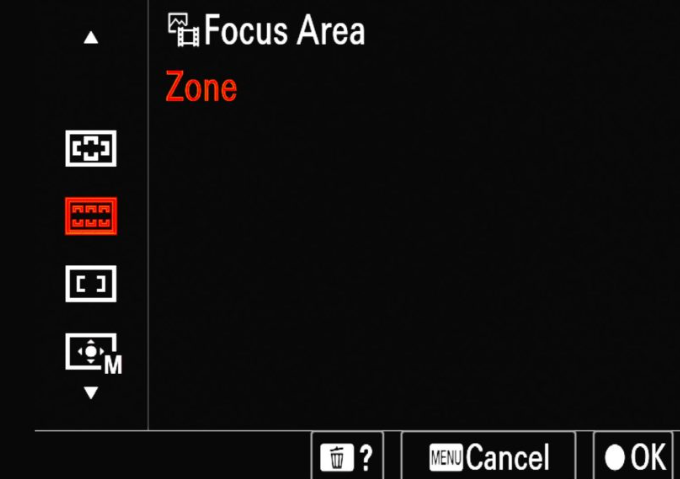
- Focus Area: Use
WideorZonefocus areas for broader coverage orFlexible Spotfor precise focus points. Go to MENU → (Focus) → [Focus Area] → [ Focus Area Limit] → Add check marks to the focus areas that you want to use, and then select [OK].
Or press Function key.
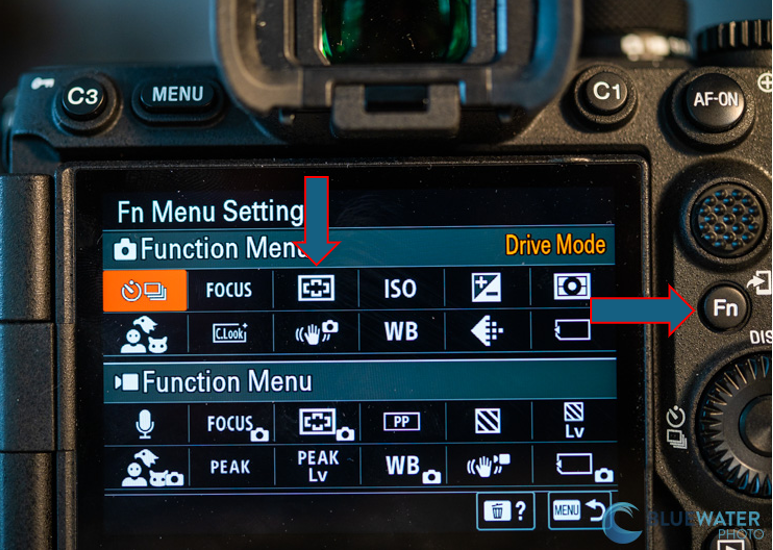
Or press C2
Then, Select the desired Focus Area.
- Tracking: Enable
Real-time TrackingandReal-time Eye AFfor enhanced subject tracking and focus accuracy.
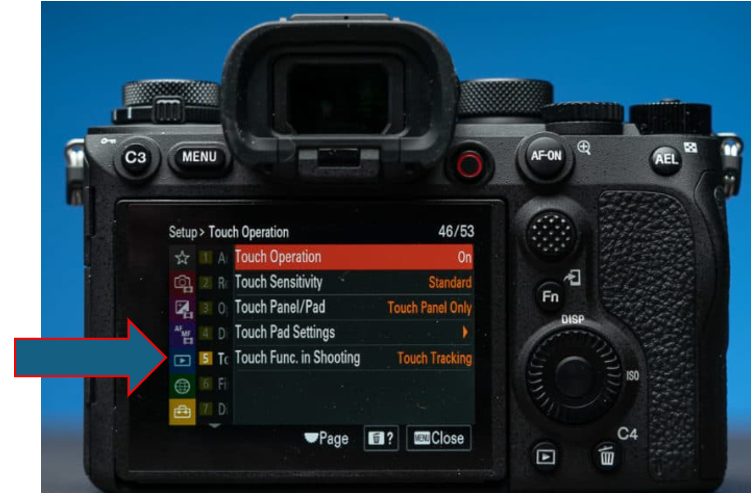
Go to menu > Setup > Touch Operation, turn it on.
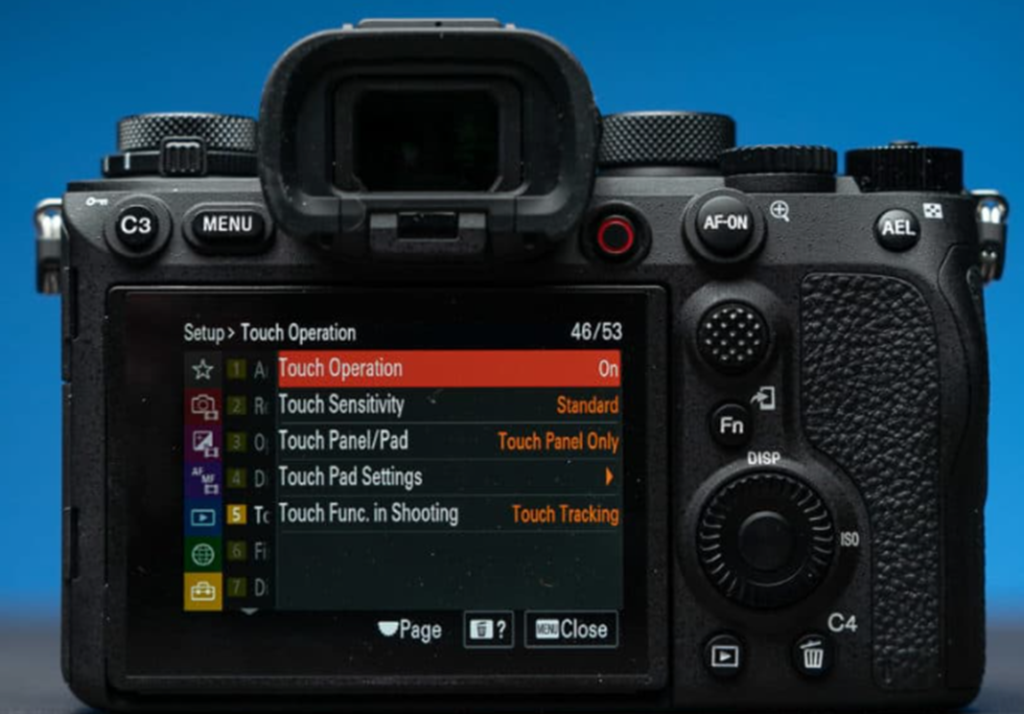
Aso, MENU → (Setup) → [Touch Operation] → [Touch Func. in Shooting] → [Touch Tracking].
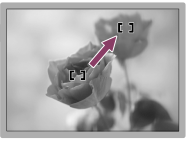
You can also use the touch pad to select a subject for tracking when shooting with the viewfinder.
3. Drive Mode
- Continuous Shooting: Set the drive mode to
Hi+(up to 30 frames per second) for maximum burst shooting. This ensures you capture every moment of the action.
4. Custom Buttons and Functions
- Custom Buttons: Assign frequently used settings like
Focus Area,Drive Mode, andISOto custom buttons for quick access.
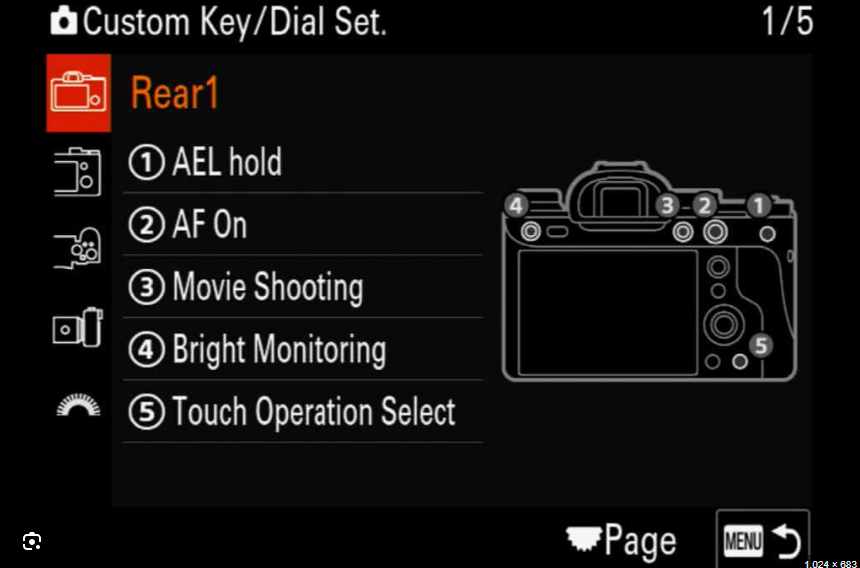
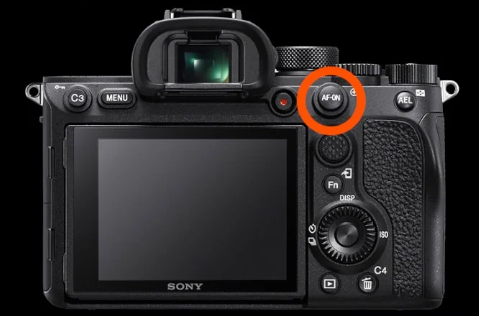
- Back-Button Focus: Enable back-button focus to separate focusing from the shutter button, providing more control over focus during fast action.
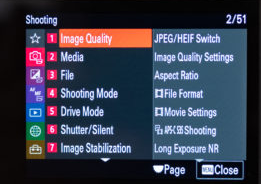
5. Image Quality Settings
- File Format: Use
RAWfor maximum flexibility in post-processing orRAW + JPEGif you need immediate JPEGs.
- White Balance: Set to
Autoor customize based on the lighting conditions.
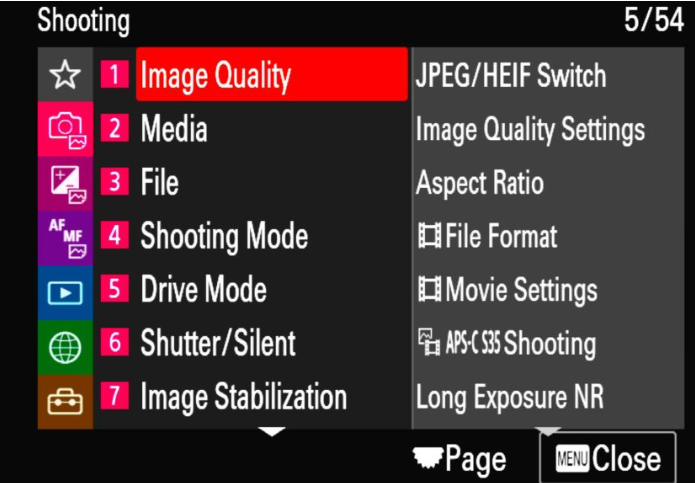
6. Stabilization and Lens Choice
- Image Stabilization: Enable in-body image stabilization (IBIS) to reduce camera shake, especially when panning. Go Menu > Shooting > Image Stabilization.
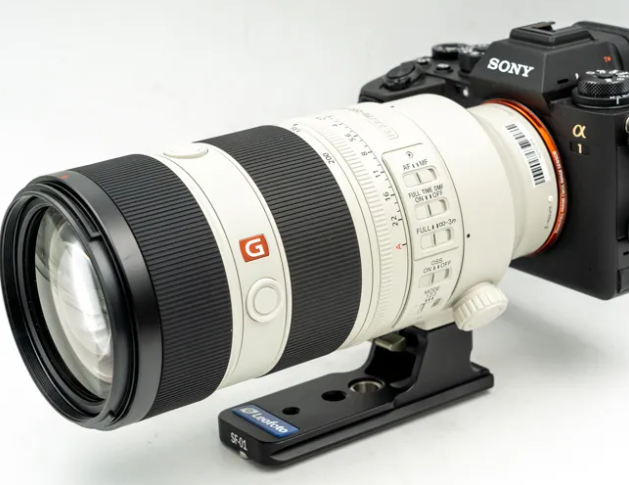
- Lens: Use a fast, telephoto lens with a wide maximum aperture (e.g., 70-200mm f/2.8) for capturing distant action with good light-gathering capability.
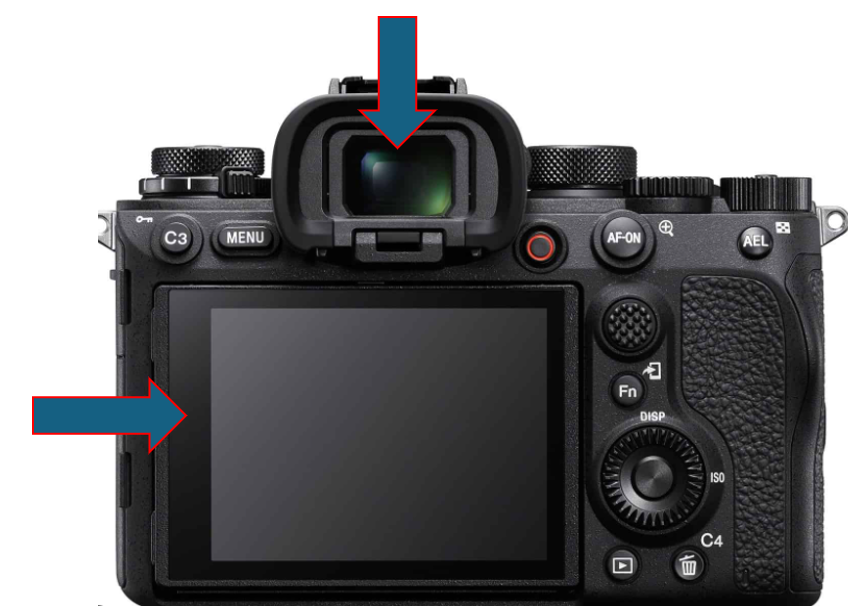
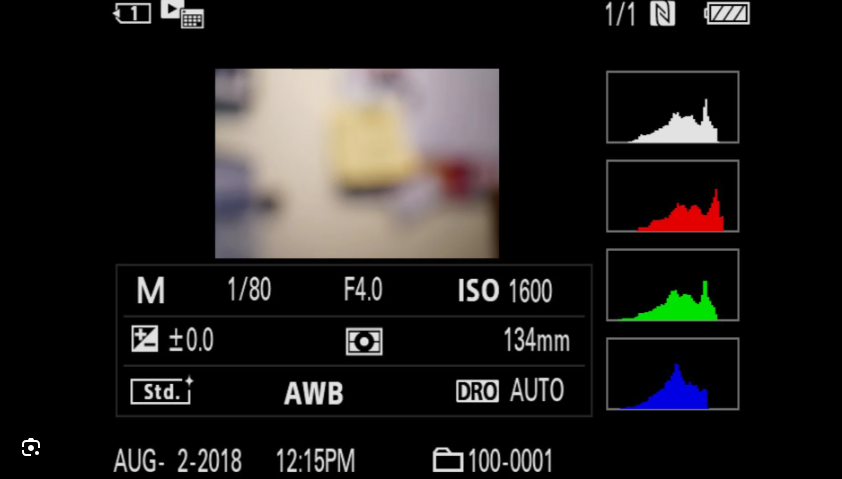
7. Monitoring and Reviewing
- EVF and LCD: Use the electronic viewfinder (EVF) for real-time feedback and the LCD screen for quick review of images.
- Histogram and Exposure: Monitor the histogram to ensure proper exposure, avoiding blown highlights or underexposed areas.
8. Battery and Memory Management
- Extra Batteries: Carry extra batteries as continuous shooting and high-speed operations can drain the battery quickly.
- High-Speed Memory Cards: Use fast memory cards (UHS-II) to handle the high data rate of continuous shooting.
9. Practice and Experimentation
- Familiarity: Practice with your camera settings in different sports scenarios to become familiar with the best settings for various conditions.
- Experiment: Don’t be afraid to experiment with different settings to see what works best for the specific action you are capturing.
10. Post-Processing
- Software: Use software like Adobe Lightroom or Capture One to process RAW files, adjusting exposure, sharpness, and noise reduction.
