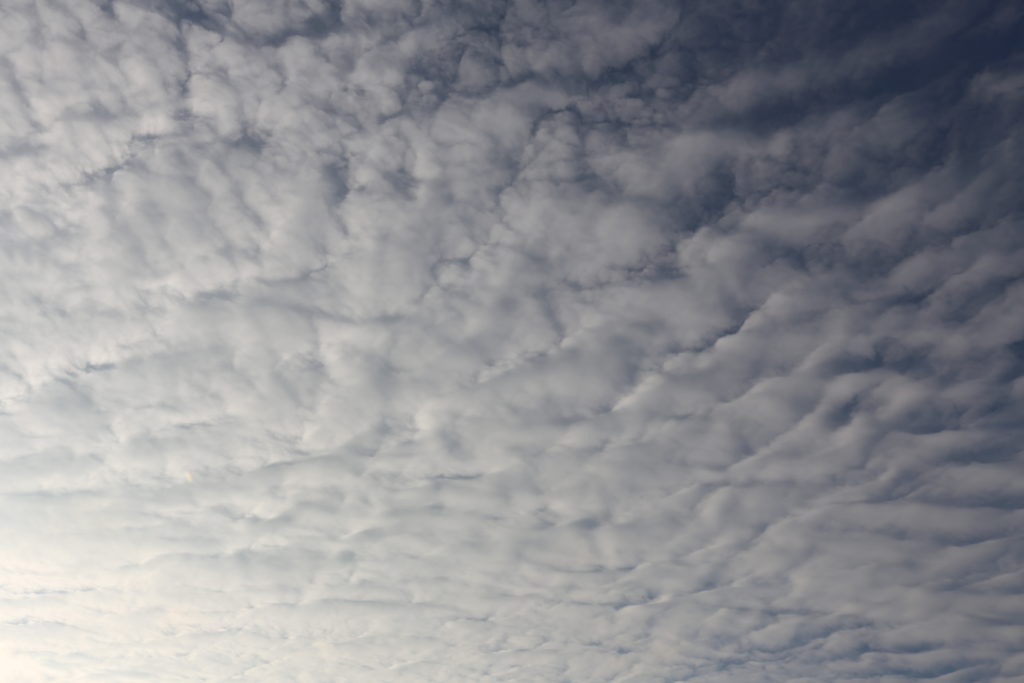
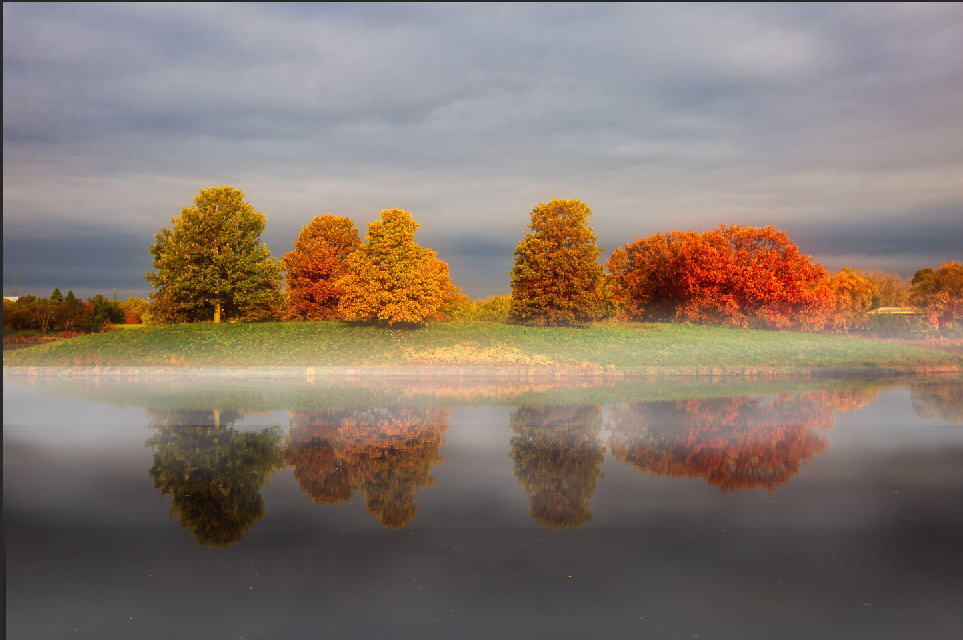
These are two images.
This is the result.
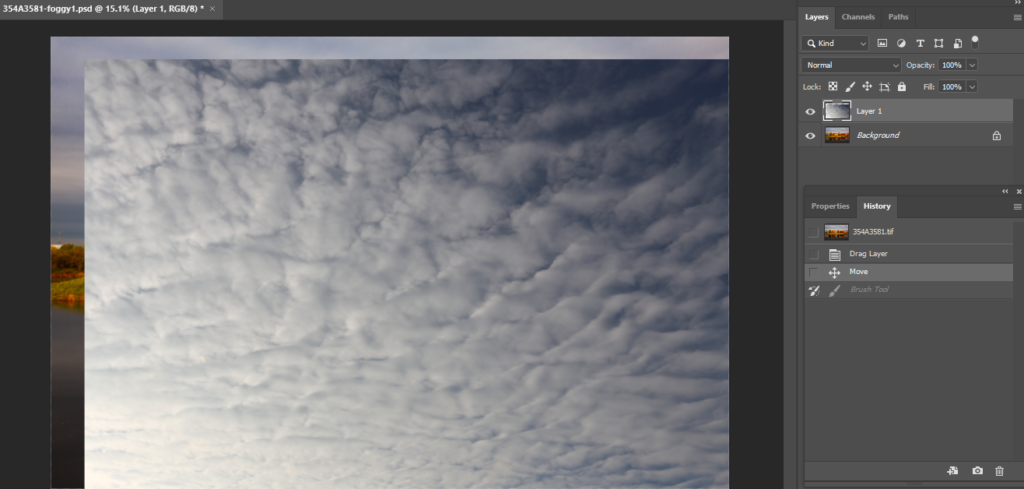
- With both images open, move the foggy image into original image.
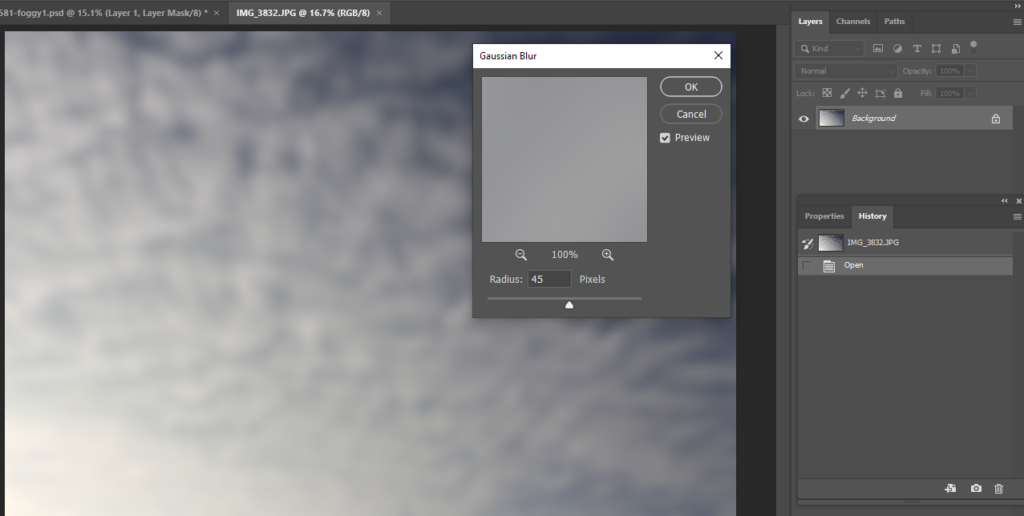
2. Blur foggy image using Gaussian Blur, Radius 45 in our example.
3. Hold Ctrl+T to select foggy image and adjust the size.
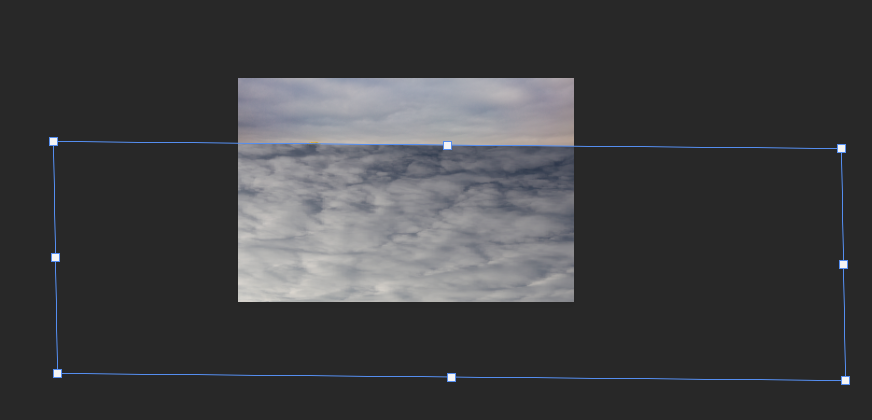
3. Add a Mask.
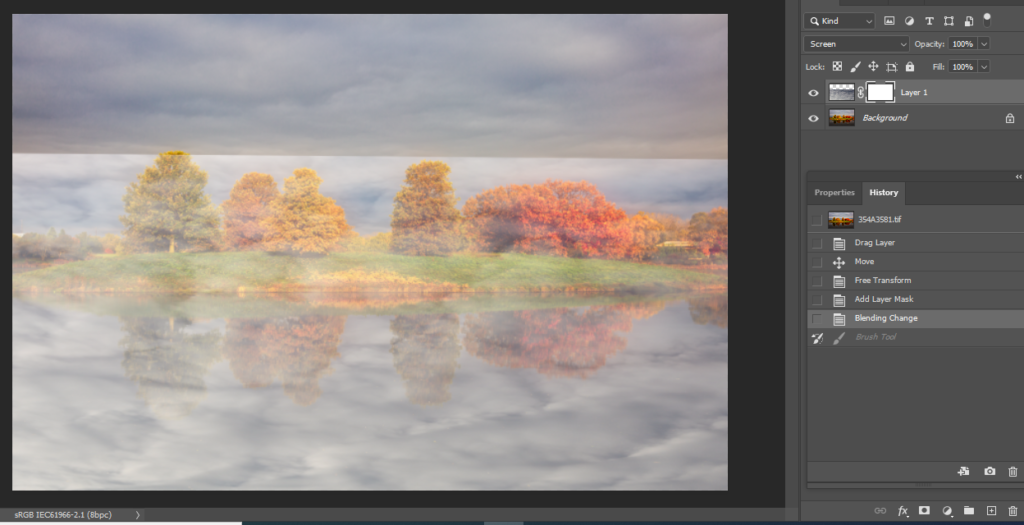
4. Use Gradient Tool>Linear Gradient to gradient the foggy.
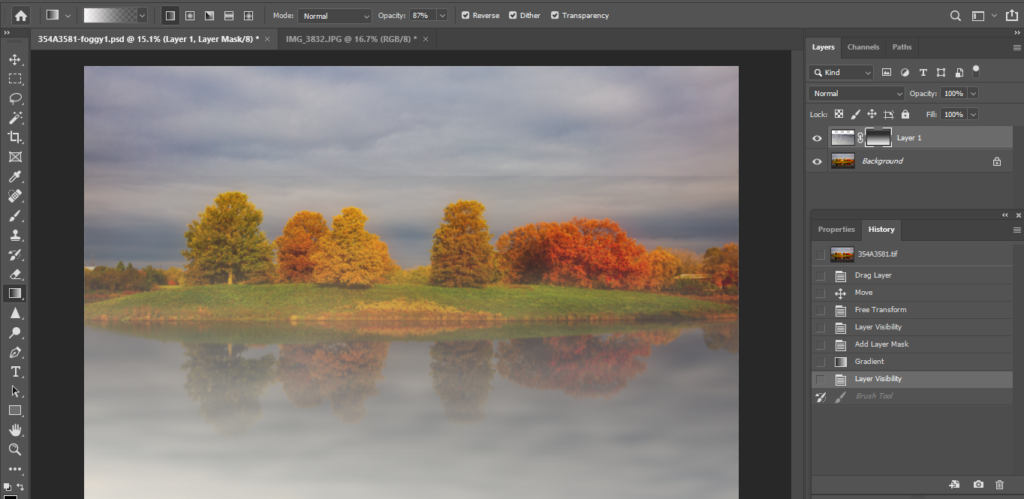
5. Use the Brush to add or remove the foggy. Note: highlight the Mask, use black for removing the foggy and use white to add more foggy. Start with 15% both Opacity and flow. Then add more.
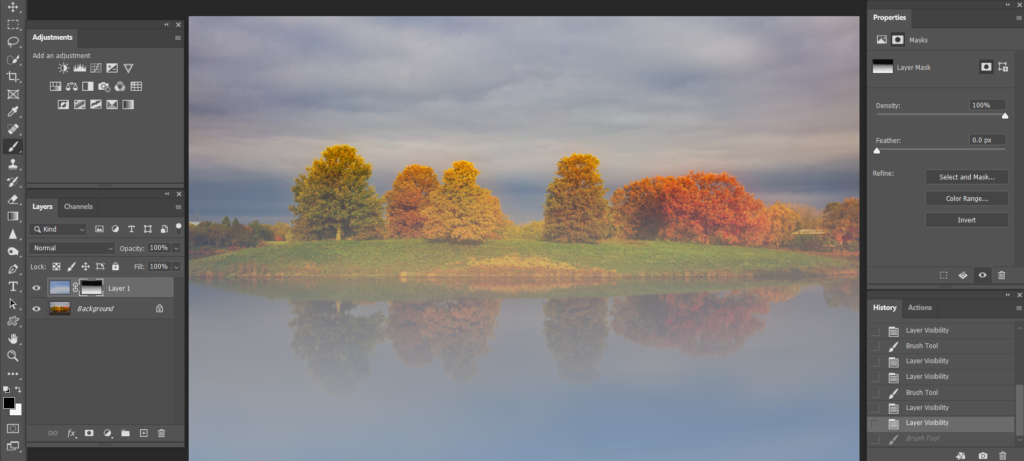
6. Add another foggy image layer. This time make it line.
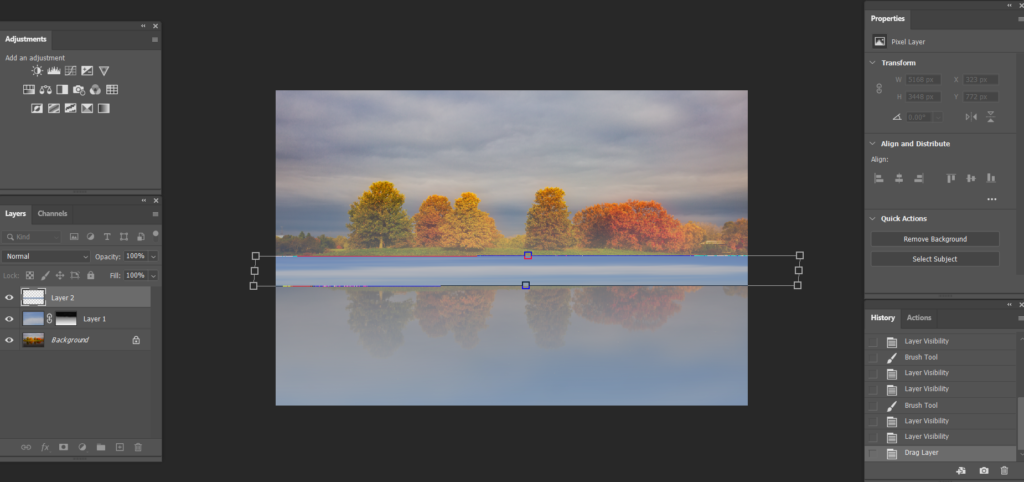
7. Add a Mask. Then use Reflected Gradient.
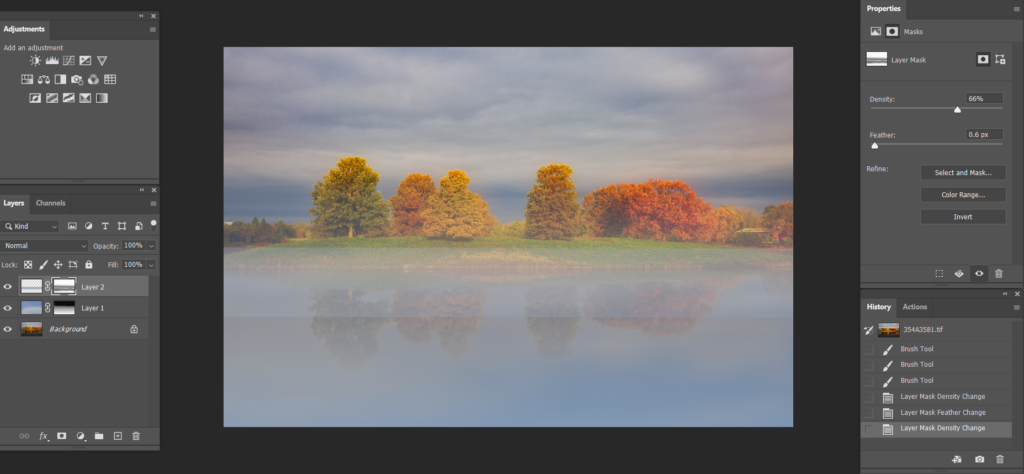
8. Use the Brush to add or remove the foggy. Note: highlight the Mask, use black for removing the foggy and use white to add more foggy. Start with 15% both Opacity and flow. Then add more.

please review the step by step video: