How to register Custom Shooting Mode in Canon R3

In this article, we will show how to register Custom Shooting Mode for photographing birds.

  1. Press MENU button.

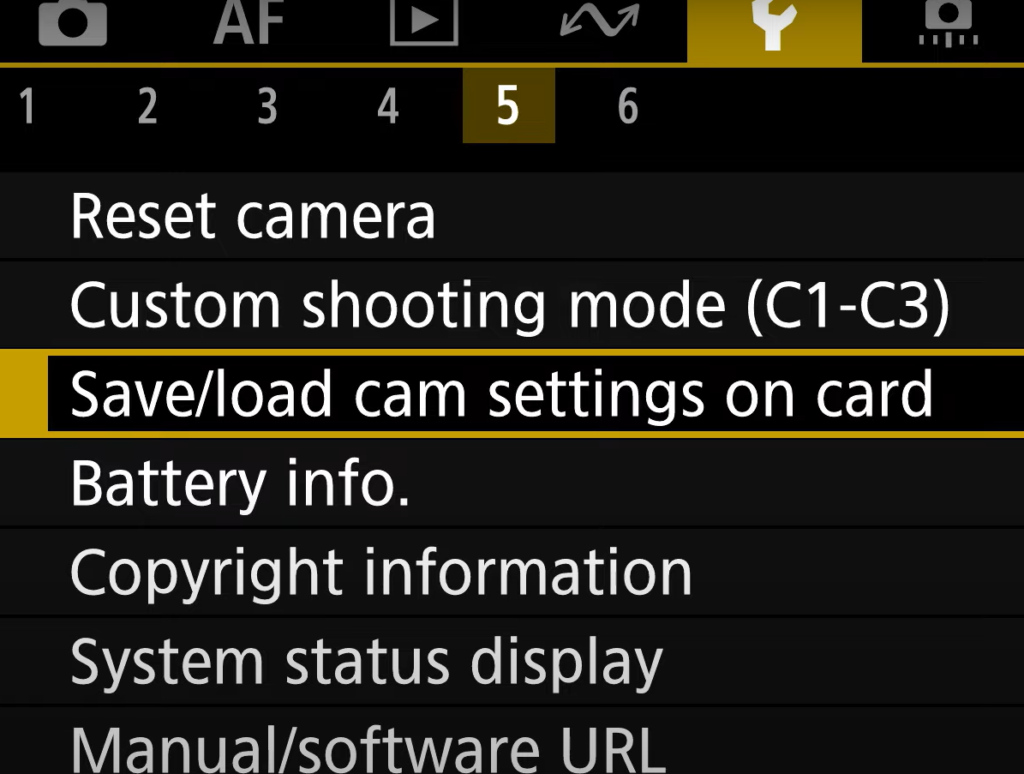
2. Select Tool icon>5>Custom shooting mode (C1-C3).

3. Select Register settings.

4. Select the desired mode, for example Custom shooting mode: C1

5. Here are some examples how to configure for photographing birds.

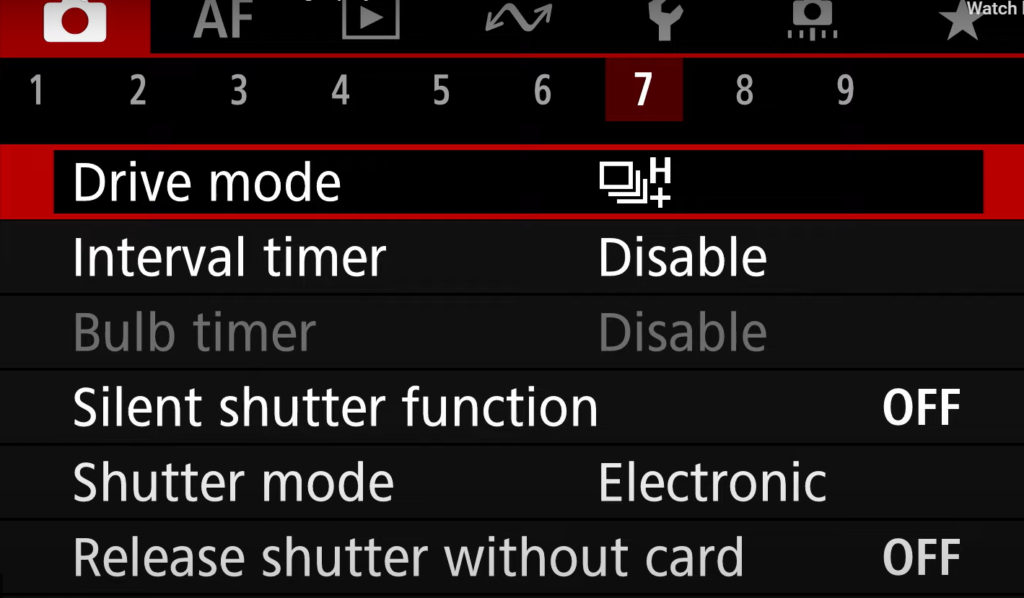
a. Drive mode: H+

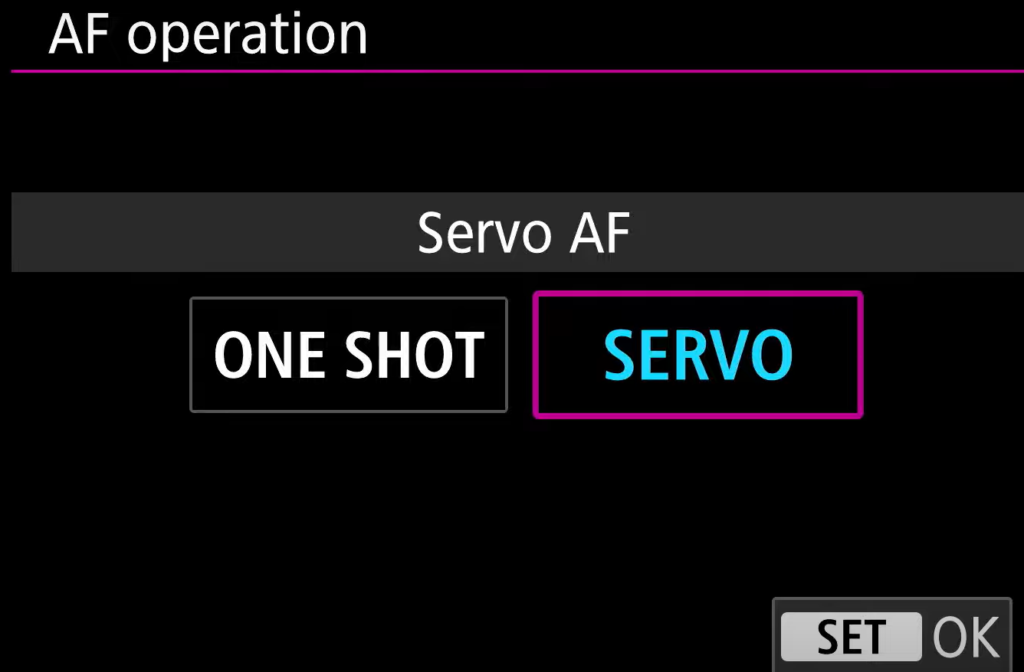
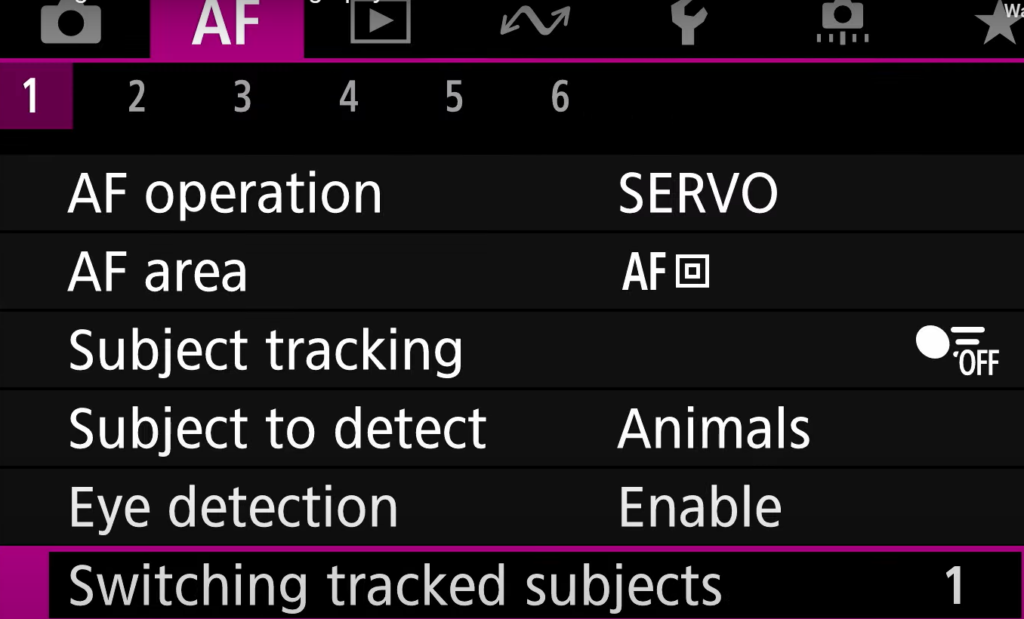
b. Select SERVO for AF operation.

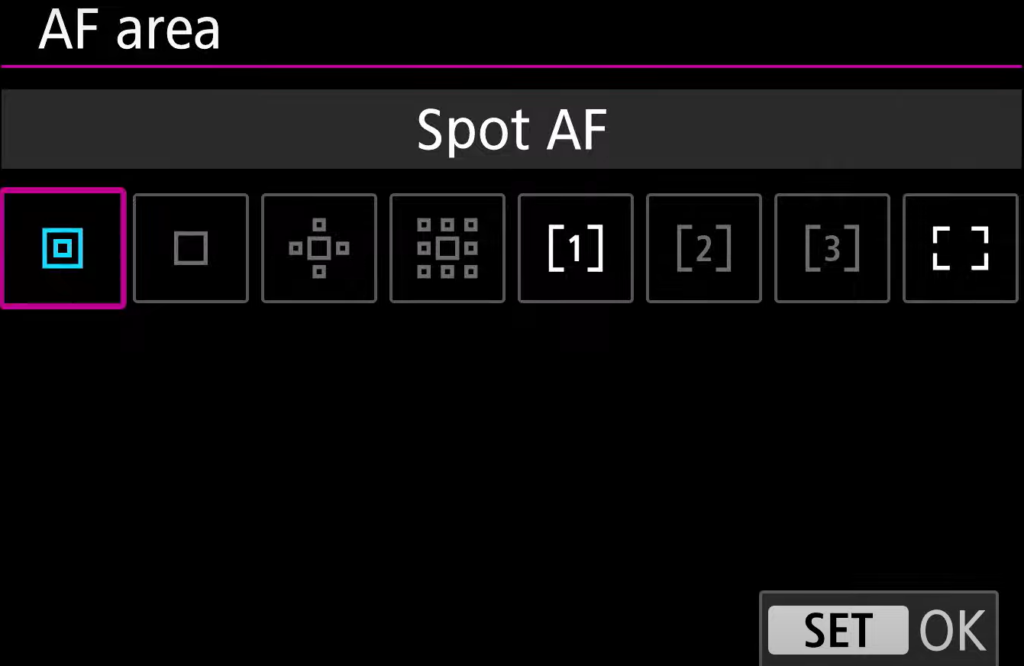
c. Configure AF area.

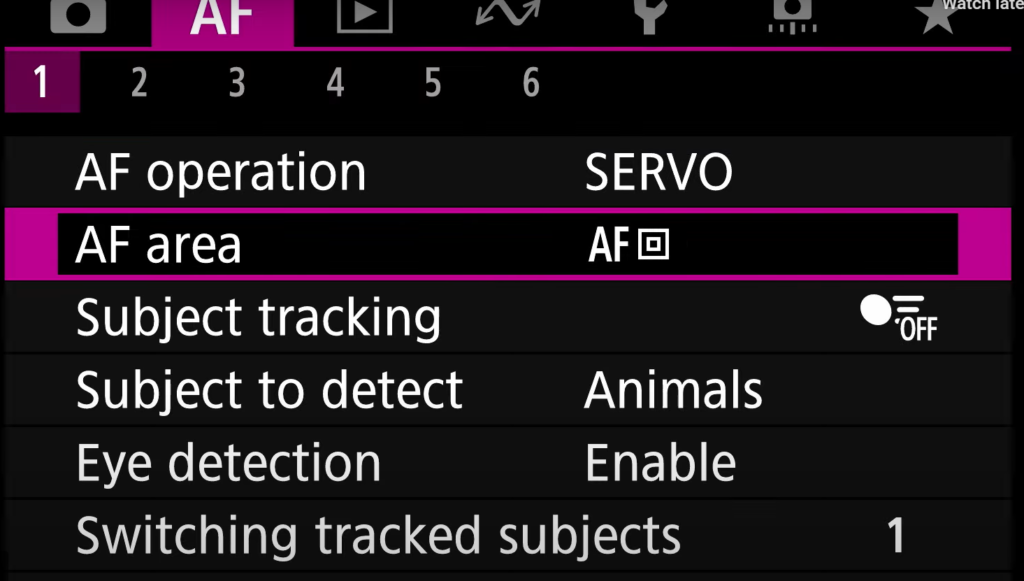
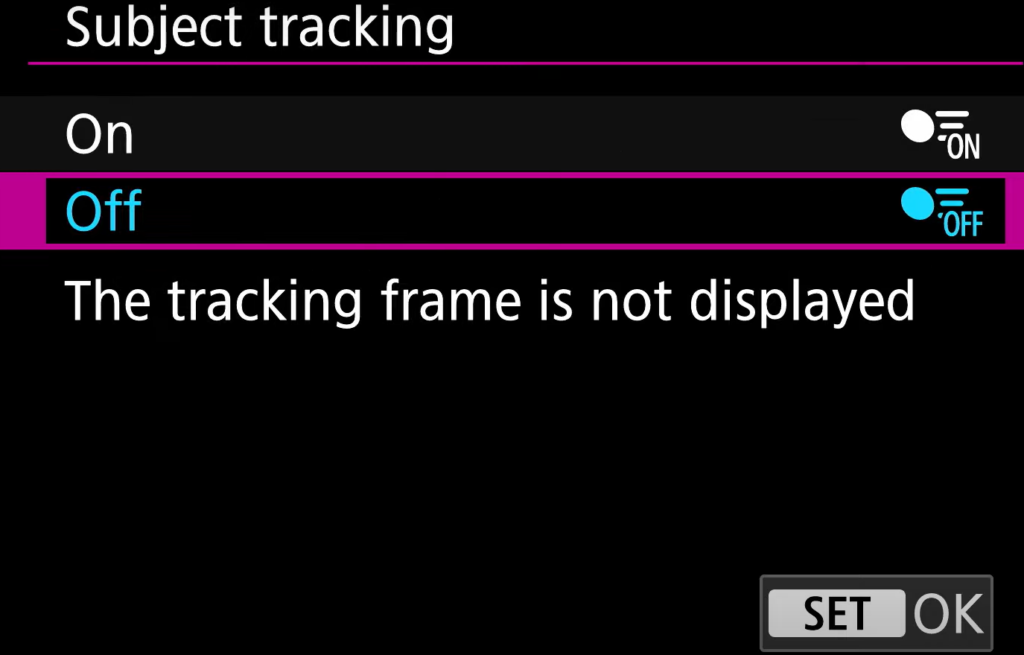
d. Disable Subject tracking

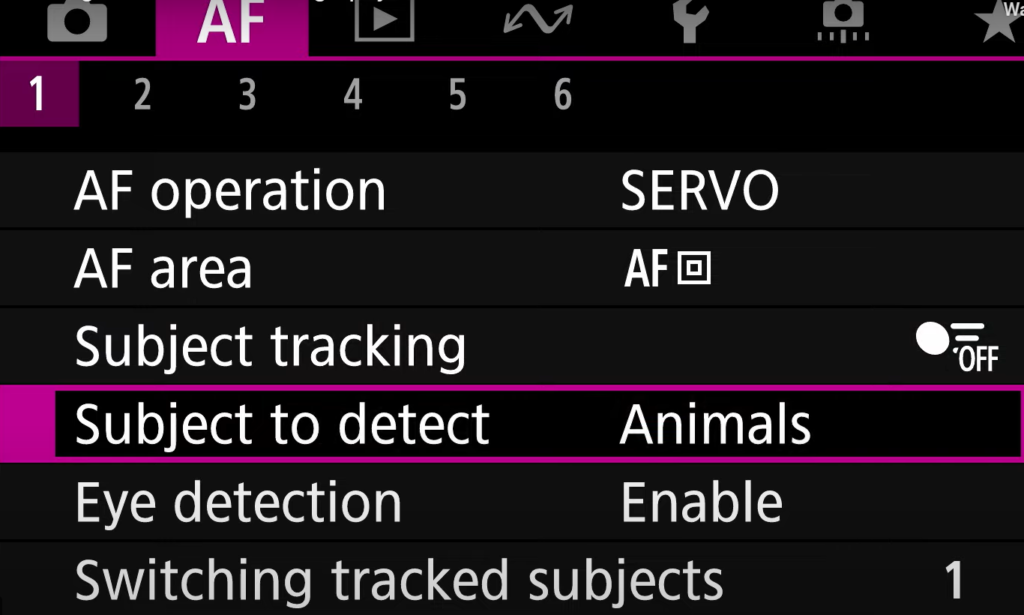
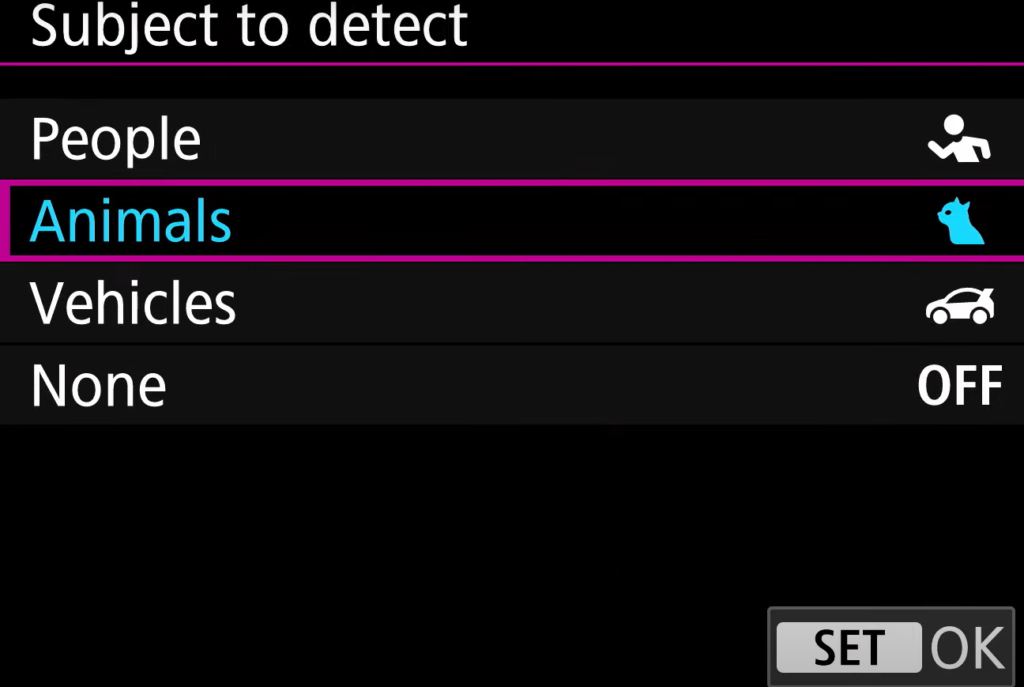
e. Select Subject to detect Animals.

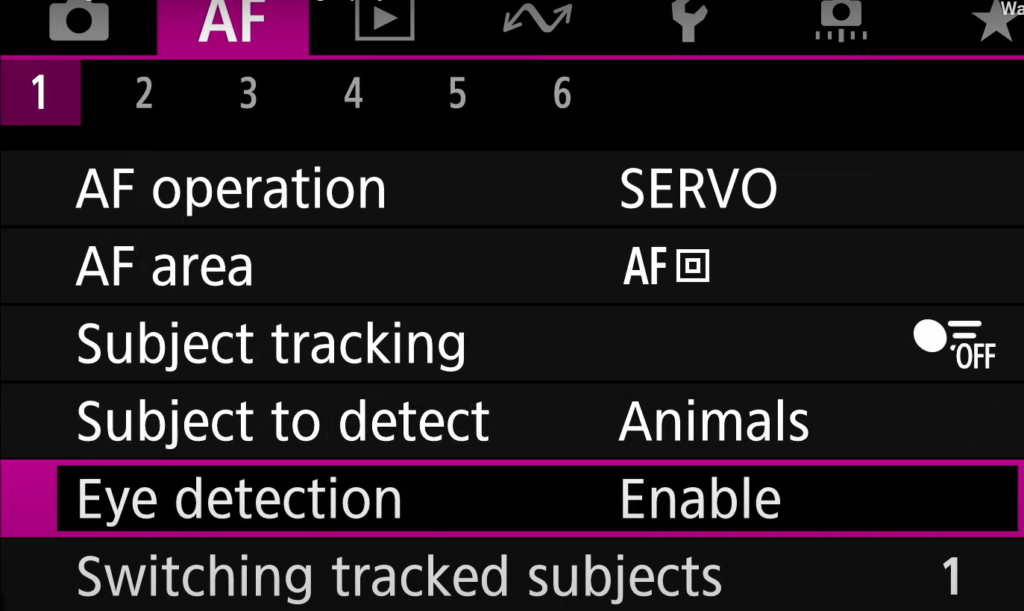
f. Enable Eye detection

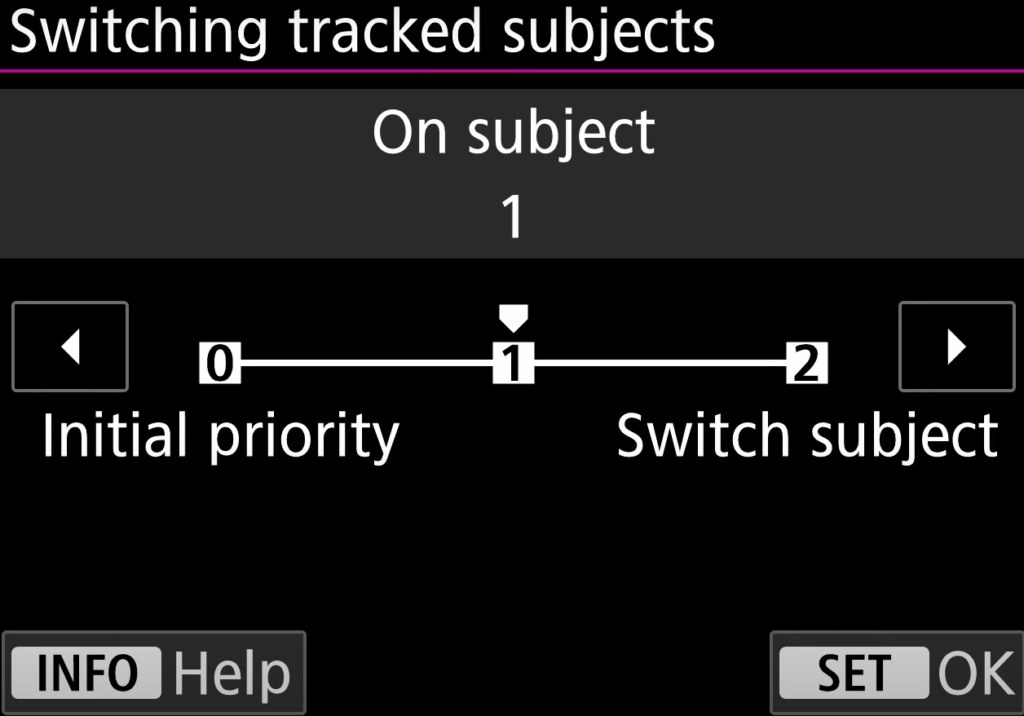
g. Switching tracked subjects.

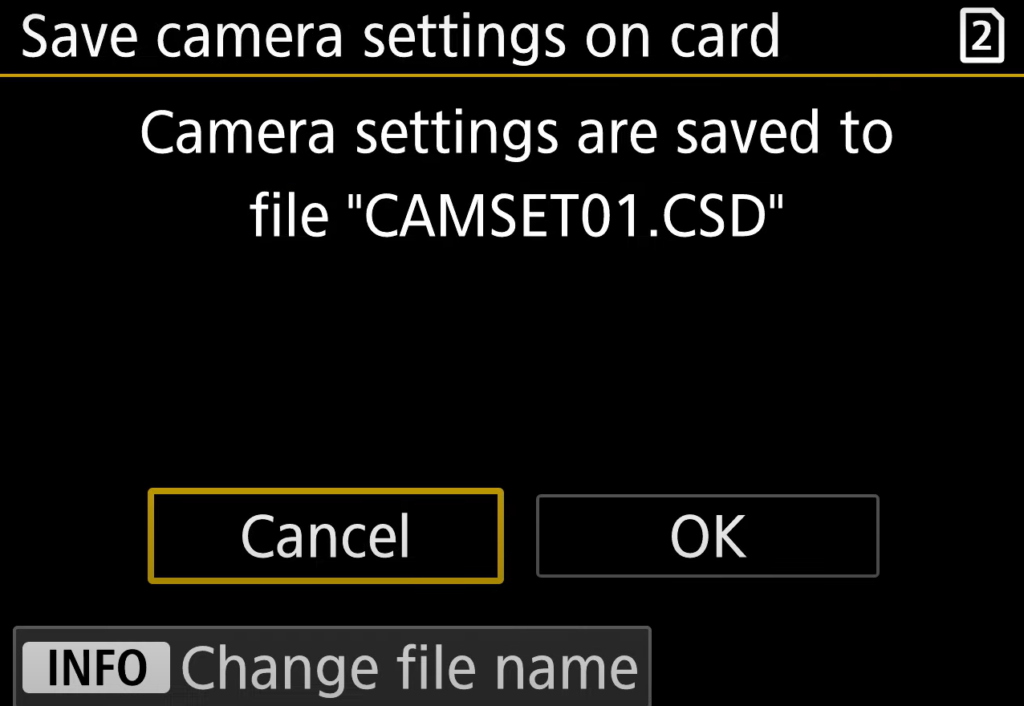
h. Save the settings.

How to select Cards in Canon R3 for Recording/Playback

With Canon R3, you can have two cards inserted. You have options to select the recording method and auto switch when one of cards is full.

  1. Press MENU button.

2. Go to Tool icon>1>Record func+Card/folder sel.

If the Separate is Enabled, Movies are recorded to card 1 and still phones too card 2. Movie recording is not possible if the card 1 is full or not inserted. If the card 2 is not inserted, still photos can be captured but no saved. Also

If the separate is disabled,

How to select Canon R3 Shooting Mode

The Shooting Mode is located in the top of the Camera.

You have these mode options: Fv – Flexible-Priority AE sets shutter speed, aperture value and ISO speed manually and automatically, and combine these settings with your choice of compensation, P – The camera automatically sets the shutter speed and aperture value, Av – Aperture-Priority AE sets desired aperture value and the camera sets the shutter speed automatically, M – Manual sets all the shutter speed, aperture and ISO, Tv – Shutter-Priority AE sets the shutter speed and the camera automatically sets the aperture value, BULB – Long (Bulb) Exposures keeps the shutter speed staying open as long as you hold down the shutter button completely and closing when you release the shutter button, C1, C2 and C3 are Custom Shooting Mode.

Press the MODE button and then turn the

dial to select the mode you want to use. For example, Manual mode.

How to Configure Audacity for internal recording

To record using Audacity, you may use external speaker or internal speaker. This video how to configure Audacity for internal recording. Each Computer may be different. This is based on Windows 11 on Dell Desktop.

Option 1: Preference Devices

  1. With Audacity running, click on Edir>Preferences.

2. Click on Devices. Setup Hots: Windows WASAPI, Playback Device: Speaker (AC Interface), Recording: Speaker (AC Interface), Channels: 1 (Mono)

3. Click OK to save the settings.

Option 2: Audio Setup

  1. With Audacity running, click on Audio Setup

2. Click on Host and then select Windows WASAPI.

3. Click on Playback Device and then select Speaker (AC Interface)

4. Click on Recording Device and then Speaker (AC Interface)

5. Click on Recording Channels and then 1 (Mono).

Option3: Audio Settings

  1. Repeat above step 1.
  2. Click on Audio Settings.

3. Setup Hots: Windows WASAPI, Playback Device: Speaker (AC Interface), Recording: Speaker (AC Interface), Channels: 1 (Mono)

Option 4: Device Toolbar

Note: if the Device toolbar doesn’t show up, go to View>Toolbars>Device Toolbar

Setup Hots: Windows WASAPI, Playback Device: Speaker (AC Interface), Recording: Speaker (AC Interface), Channels: 1 (Mono)

Fitbit won’t pair Bluetooth

Situation: You may have a problem to use Fitbit device because it doesn’t pair Bluetooth no matter what you try such as disable/re-enable Bluetooth, turn off/on app, restart phone.

Resolution 1: Restart Fitbit device.

Go to the Settings.


Go to Reboot

Press Screen for 3 seconds to restart it.

Resolution 2: Clear User Data or Factory reset – Note: you will lose all tracking data.

Repeat above steps until you see Clear User Data.

After clearing the data, you may need to reset Fitbit.

Please view this step by step video:

Can’t start your car

  1. A dead battery – resolution: jump start.
  2. Steering wheel’s locked – resolution: turn the wheel to left or right. The try.
  3. Car Shifter Stuck in Gear or not in P – resolution: switch gear to .
  4. Out of Gas – get gas.

Other possible reasons: Failed Ignition Switch, Bad Starter motor, Dead Alternator. Take your car to a dealer to take a look.

iRobot Roomba stops working because of Error 2

Situation: The new iRobot Roomba stops working every a few minutes with error 2  and clean the brushes, then press clean. This article shows how to troubleshoot iRobot Roomba error 2.

In most cases, iRobot Roomba error 2 means it may have something stuck in brushes. To fix it, please follow these steps to remove the brushes and clean.

1. Locate cleaning Head Module door. 

2. Open the by pushing on the green tab on the right side of the multi-surface rubber brushes.

3.  Remove brushes from the robot and clean any hair or debris, especially under the end caps

4. Test the robot without the bushes installed: Leave the brushes out and close the Cleaning Head Module door. Turn the robot over, place it on a flat surface, and press the CLEAN button.

5. Put the brushes back and start to vacuumed.

Please view this step by step video:

冰岛主要景点,自驾游及其他攻略汇编

冰岛十大景点

冰岛景点最大的特点是景点离停车位都很近,基本上是在停车处既可以看到景点,一般都在一刻钟以内的路程。

看极光的季节是9到4月,8月底也可能看到。三天的极光预告可以查询这个网站Official Live Aurora Forecast – Aurora Reykjavik,三级以上人眼可以识别。如果不能确定是不是极光,可以用手机night mode拍一张,night mode长曝吸收更多的光,使极光显而易见。

冰岛自驾 – 一号环岛公路沿途最佳景区,最佳季节,路况

自驾游考虑最多的是保险,许多人都遇到麻烦,或者被强制买高价保险,或者因为一点小的擦破罚款百元,甚至上千元。美国的车保一般不保。解决方案是用信用卡的保项(请查询你的信用卡公司,我2017年是要信用卡公司出据证明),这次是订车时一起买,卖家承诺任何多余预定金的数额,他们支付。

加油是常有的麻烦事。冰岛大部分是self-service.有些信用卡不能用,很多店要PIN。Debit card一般都能用,但是要收外汇费。油价很贵,大概320ISK 1公升。我心算了一下大概1加仑 $8多。我们跑了2000多里,花$300多汽油钱。

提车和还车可能在不同地方。有些小公司提车是他们到机场接你到机场外提车。8.手动车比自动车便宜,柴油车比汽车便宜,Hybrid 车更贵一些,如果开得多可以考虑。

冰岛攻略1 – 景点,气候,推荐,自驾,美食

冰岛攻略2 – 东南西北中主要景点

冰岛攻略3 – 大概需要多少钱,行程,住宿

我们预算8天2人$5,000,结果只花了$4,000 多,原因是机票便宜,2人UA直飞往返$930,租车预定是$1,000多,出发前发现大幅度降价,同样车型只要$500多。另外美元强势,第一次去冰岛是(2017)是$1换120ISK,这次出发前一周是137ISK,到冰岛那一周是140ISK。

我把住宿分为三个类,第一类:住大通铺或者青年旅舍,2人$100一下;第二类:单间,公用浴室,厕所,2人$100到 $200;第三类:美国标准,单间带浴室,厕所,2人 $200以上。我们大多住AIRBNB带厨房。

冰岛攻略 4 – 租车,保险,提车,还车,加油,导航,交通规则

冰岛三大平价超市

冰岛极光影集

How to delete Mutiple or all photos in Amazon Photos

It is not easy to delete all photos in Amazon Photos. These are some suggestions.
Option 1: Login Amazon Drive or https://www.amazon.com/clouddrive

You can select a couple thought photos each time and delete them.
Option 2: Select firs photo of folder and hold Ctrol key and click on the last photo or folder. Click Move to Trash.

Option 3:
 if you use 1 filter and select one set of pictures the option “Deselect All” appears in the top left corner… However when you use 2 filter this option is actually “Select All” and it allows you to delete up to 3200 pictures…