Bob Lin, MS-MVP, MCSE & CNE
Data recovery, Windows OS Recovery, Networking, and Computer Troubleshooting on
http://www.ChicagoTech.net
How to Install and Configure Windows, VMware, Virtualization and Cisco on
http://www.HowToNetworking.com
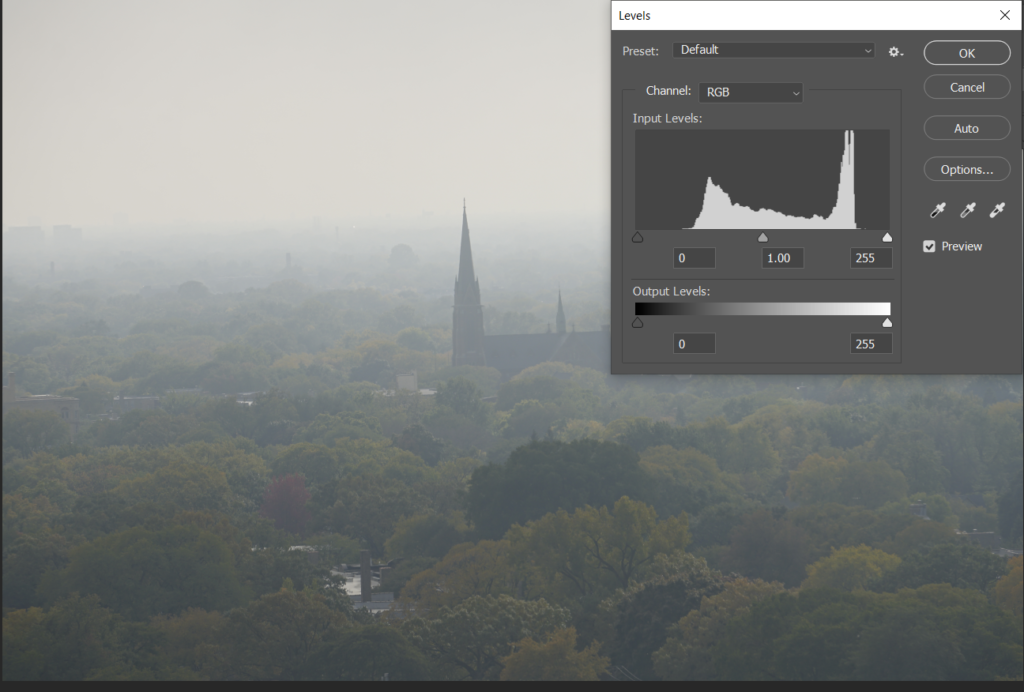
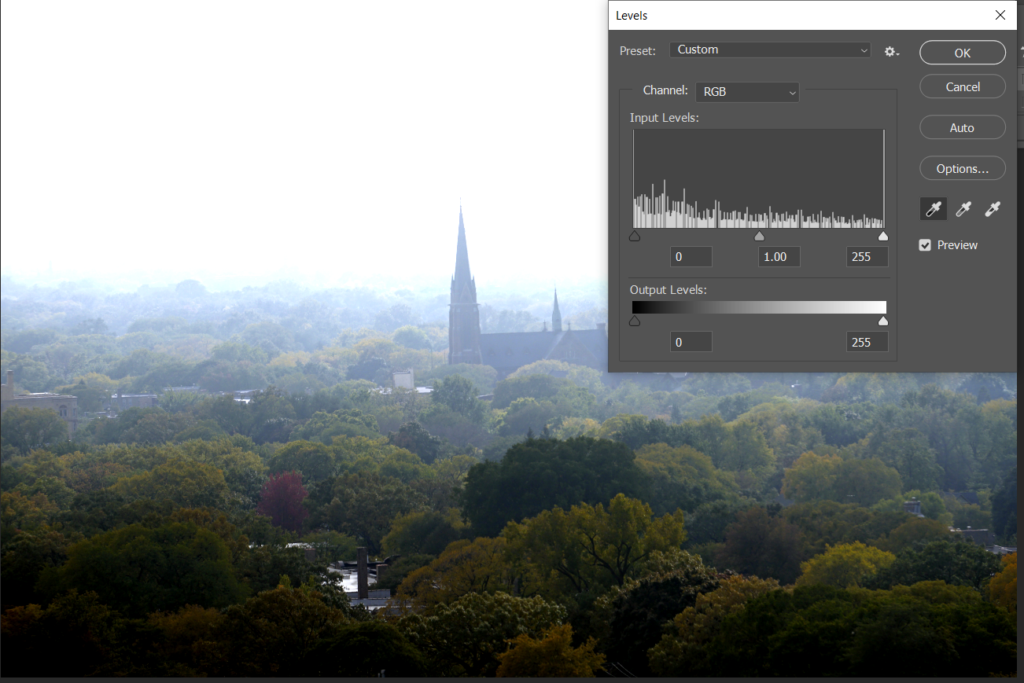
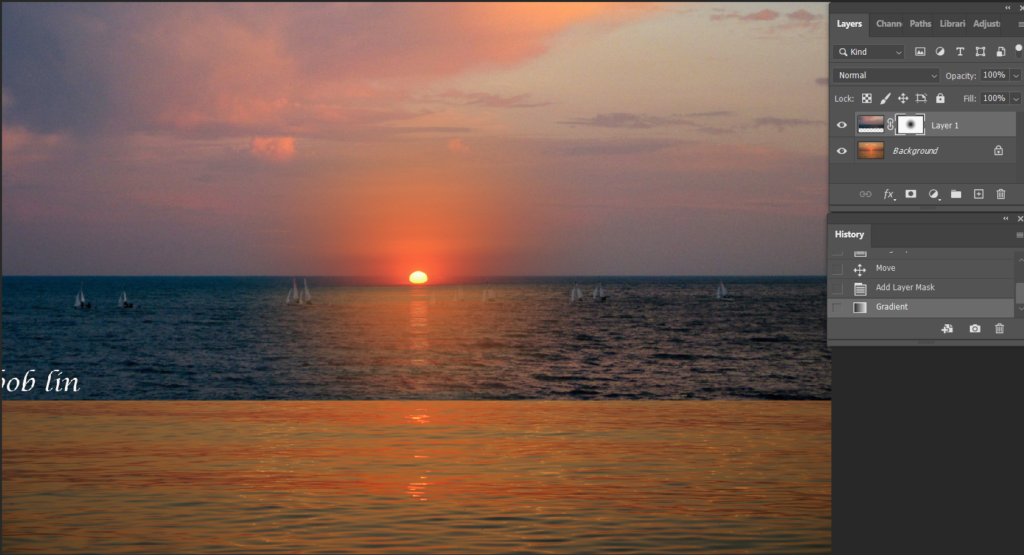
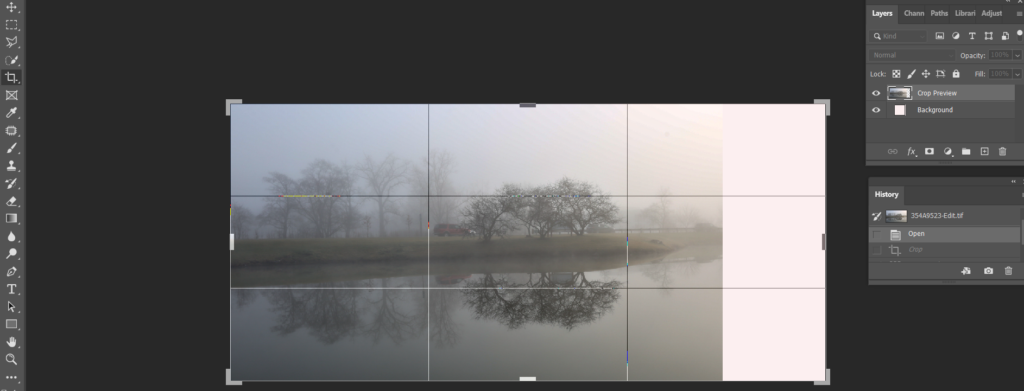
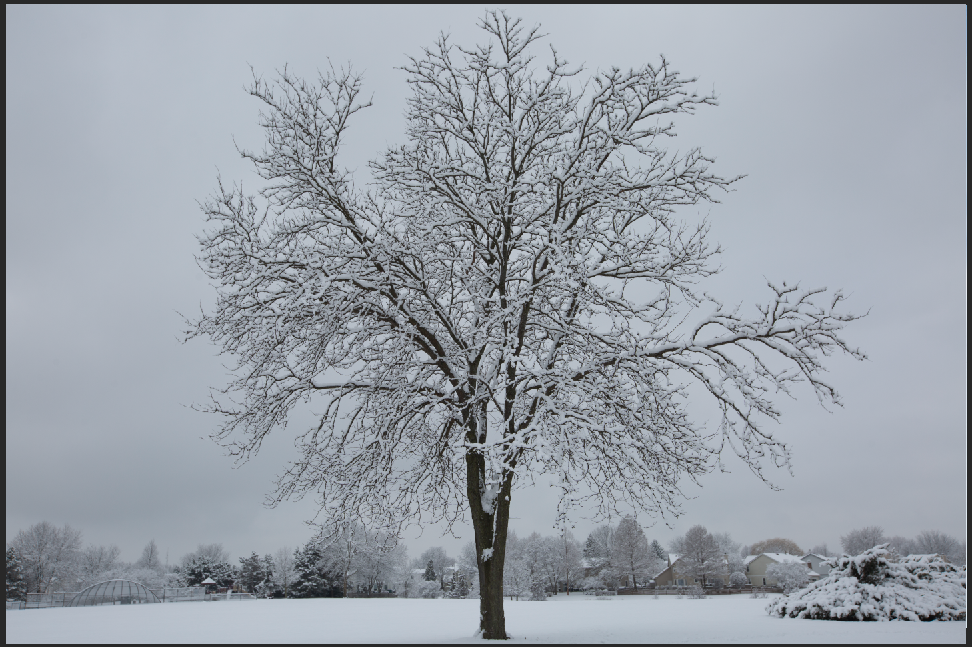
With the Photoshop Levels, I can adjust, correct the tonal range of an image. You will do it on the Levels histogram by adjusting intensity levels of image shadows, midtones, and highlights. There are 3 ways to do it.
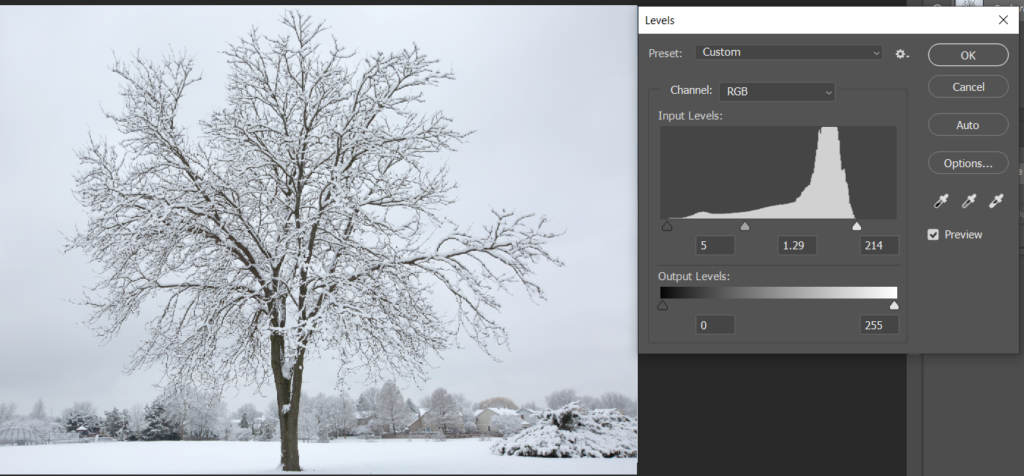
Adjust Input levels. Open Levels from Image>Adjustment>Levels.
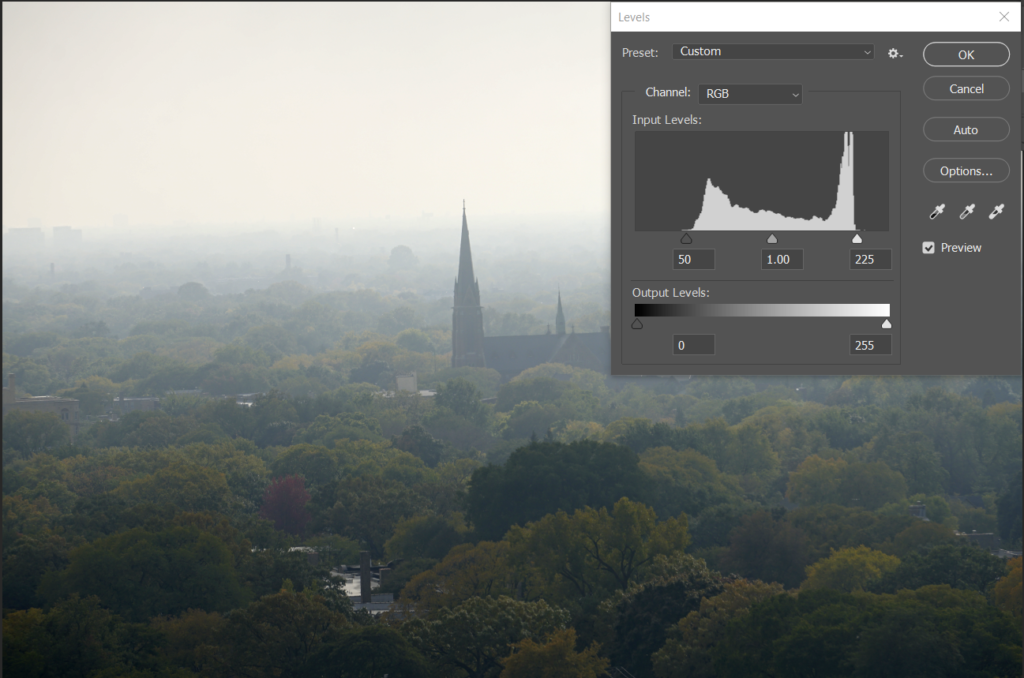
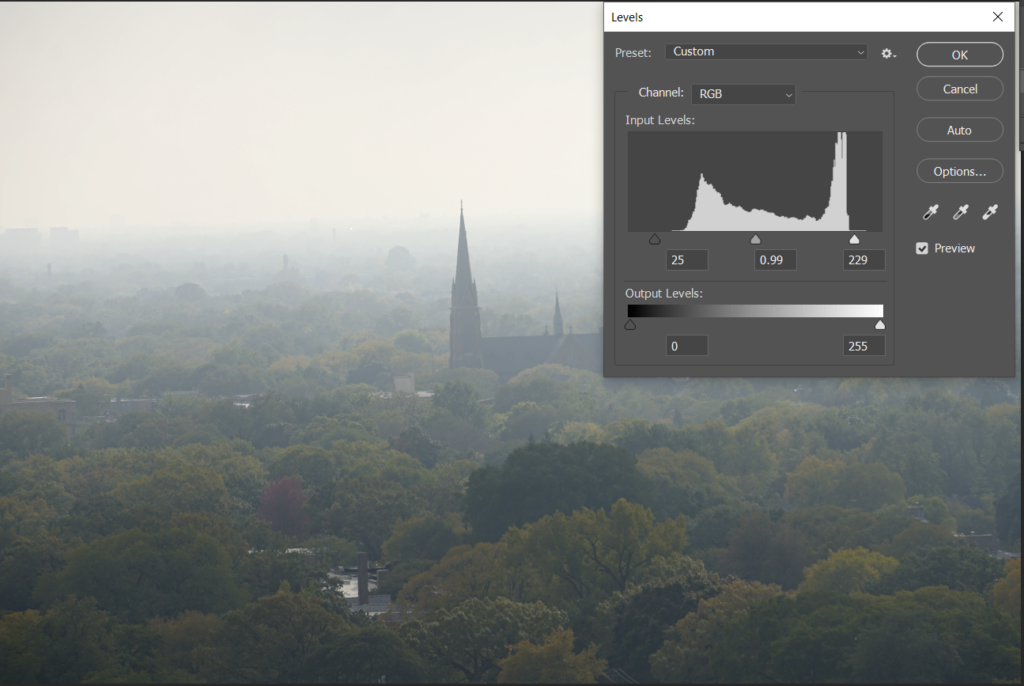
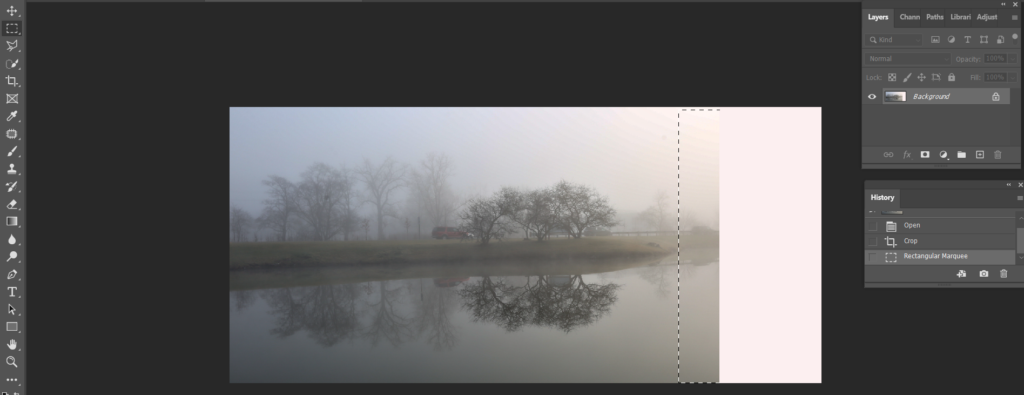
Our example, from 0 (black) to 50 and 255 (white) to 220 are empty. Move the left slider from 0 to 50 and right slider from right to 220. That will increases the tonal range and also overall contrast of the image.
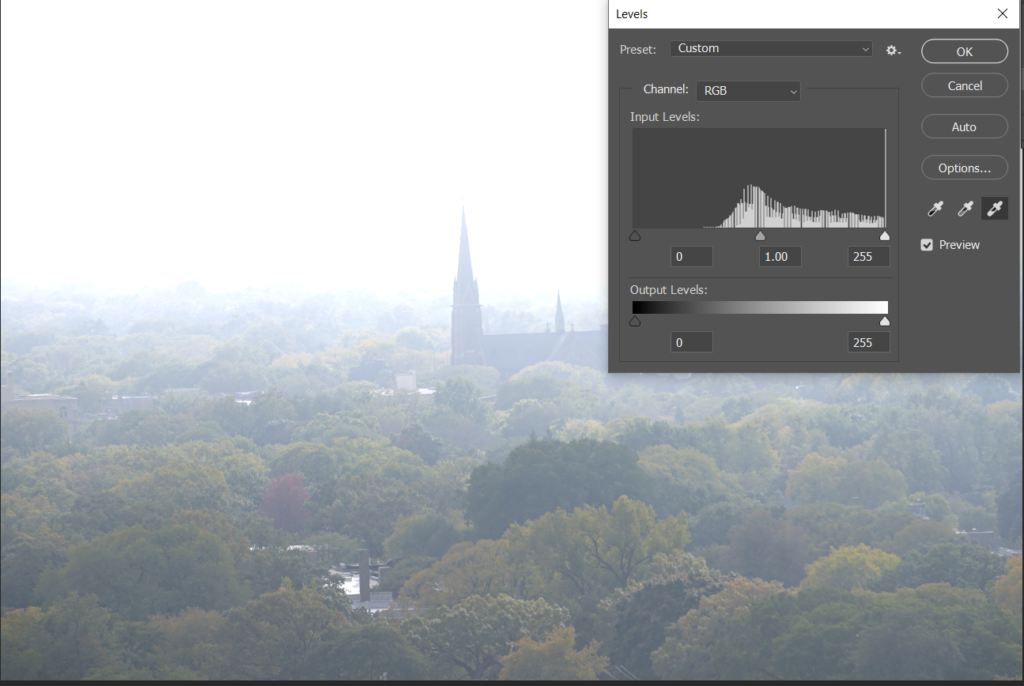
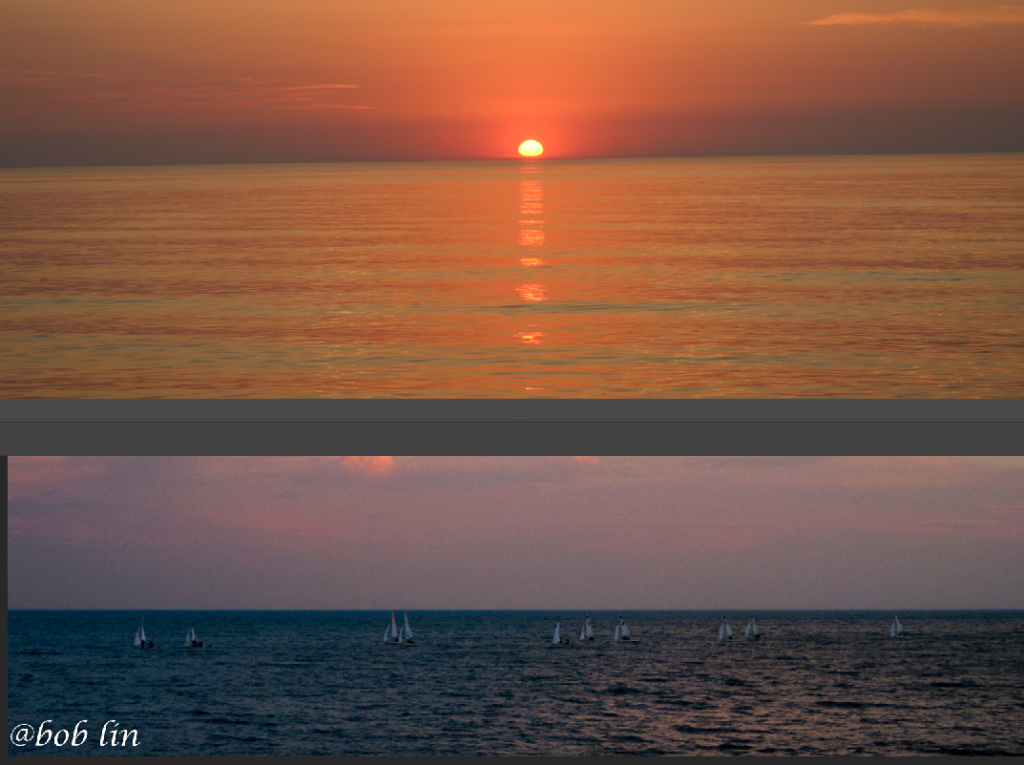
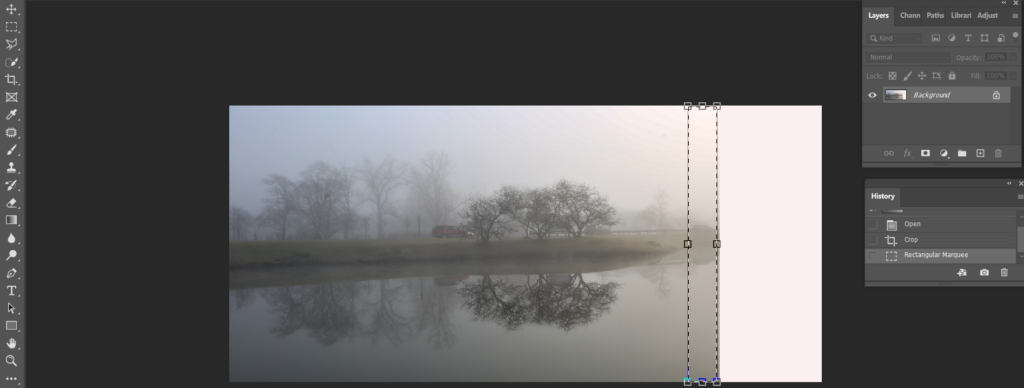
2. Use the point. Select White Point and then click on the white area.
Select Black Point and then click on the dark area.
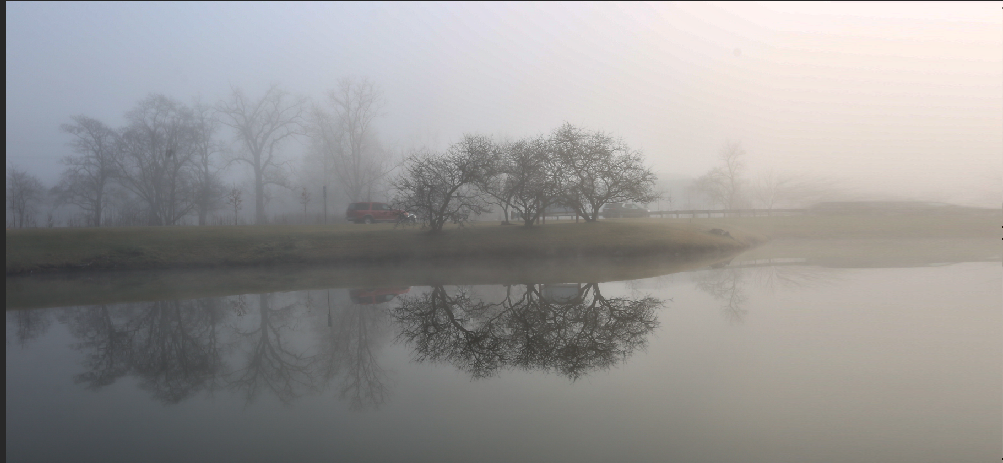
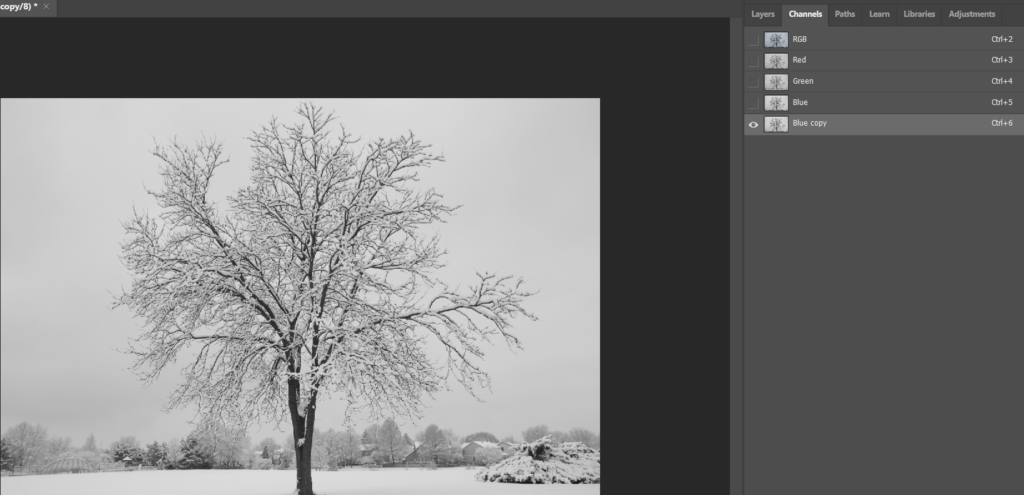
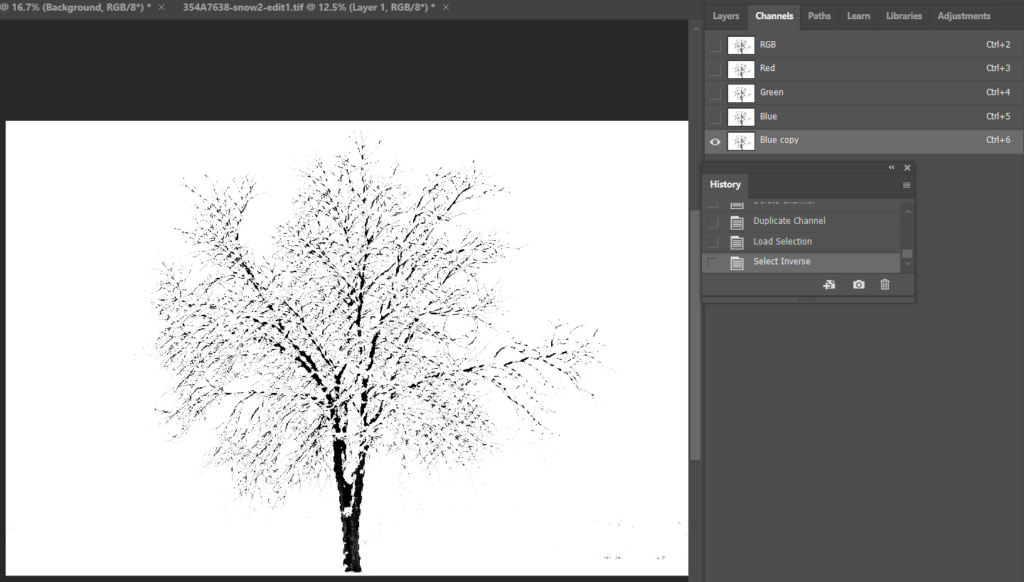
To select complexity object, you may need to use Alpha channel. Alpha Channel is a component that determines the transparency settings for certain colors or selections. In addition to your red, green, and blue channels, you can create a separate alpha channel to control the opacity of an object, or isolate it from the rest of your image. Photoshop’s Alpha Channels allow you to split your image up into red, green, and blue colors. Each channel you view appears black and white. The darker areas have less of the color in question, and the brighter areas have more. Here is how.
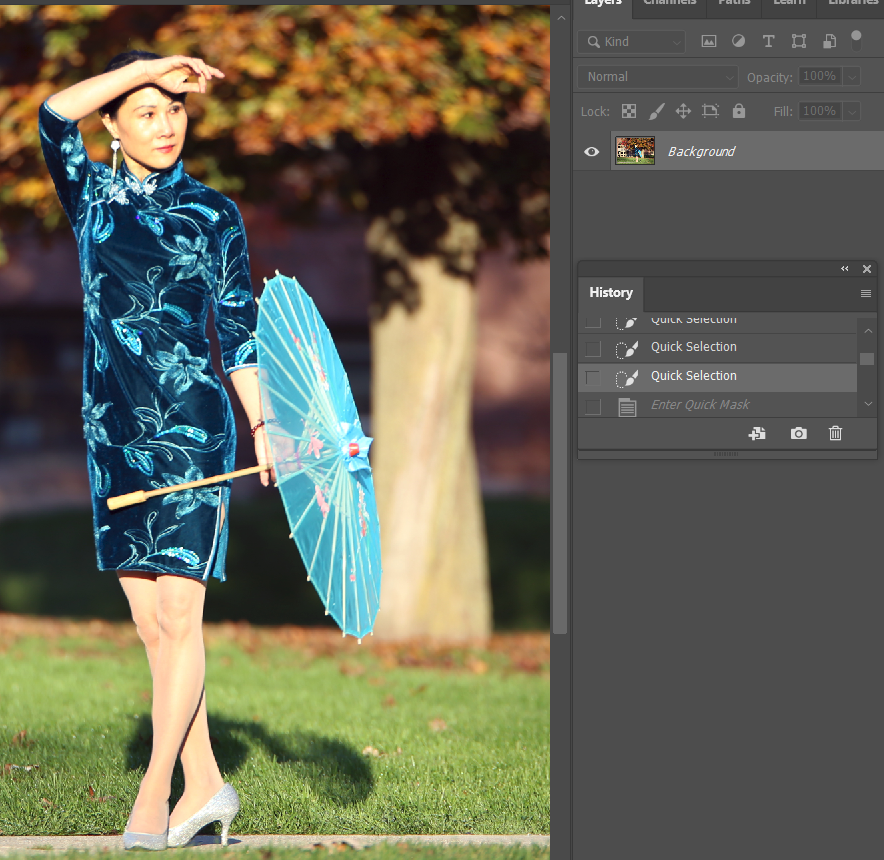
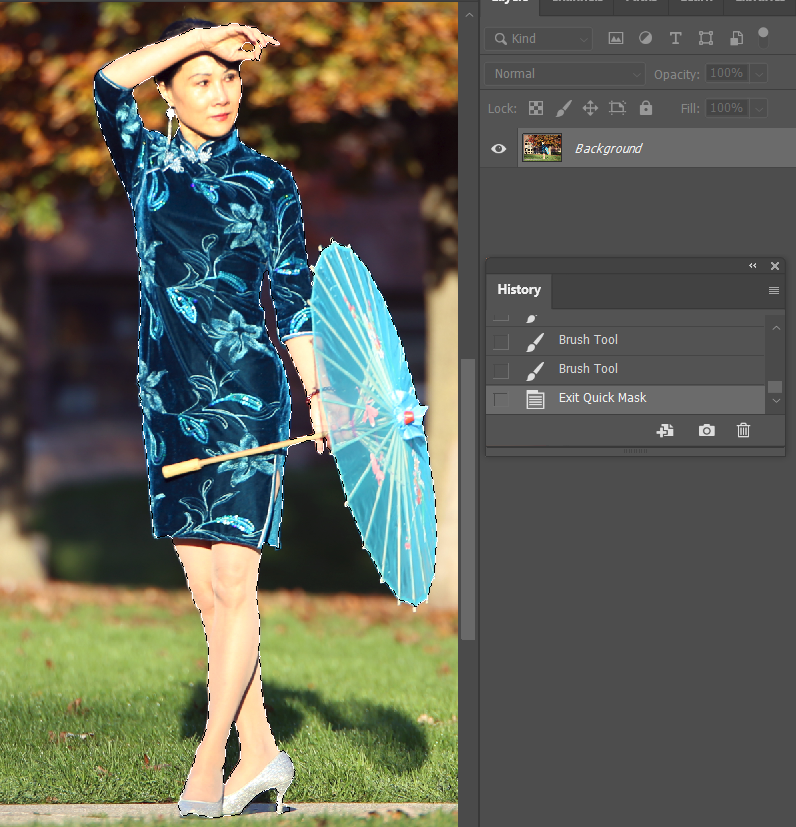
Open an image wit Photoshop.
2. Click Channel. Select the most contract Channel, Blue in our case. Then create a alpha channel.
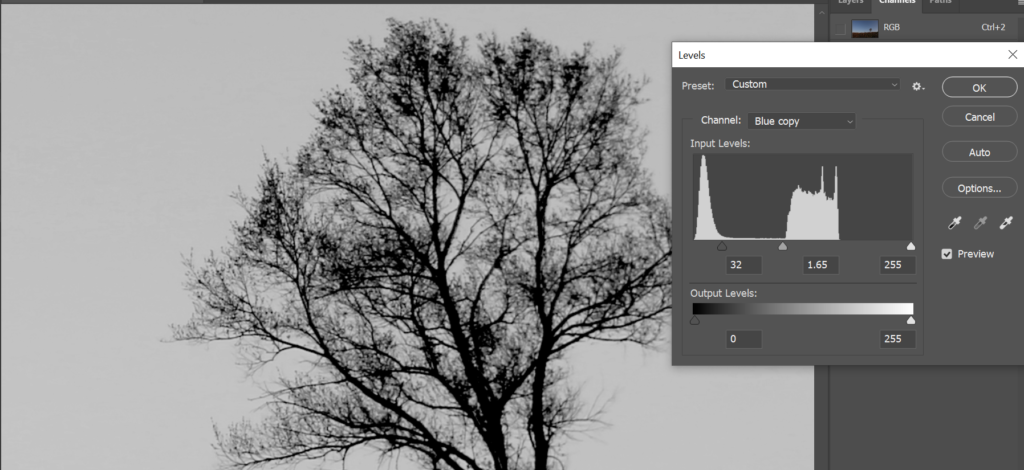
3. Make the image with the most contrast by using levels.
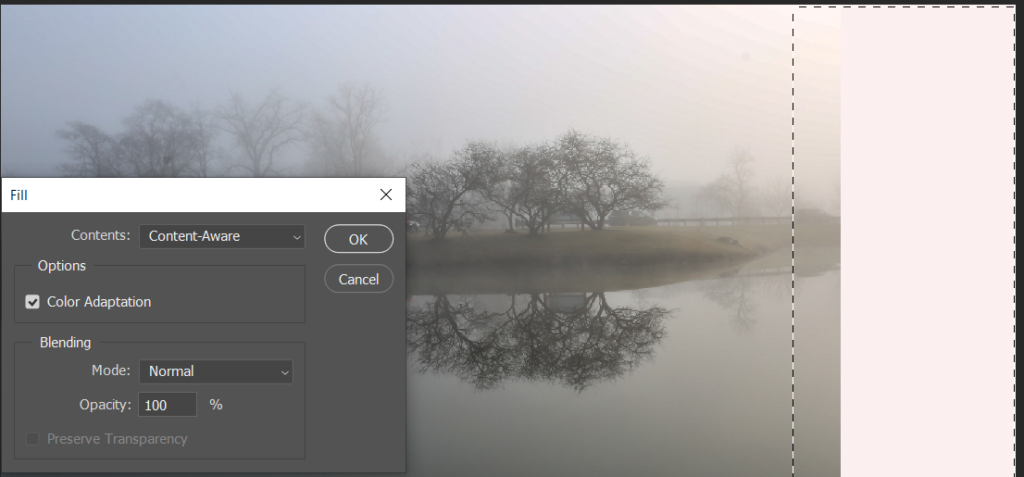
4. Open Levels from Images>Adjustment. Make the white is more white and black are more black.
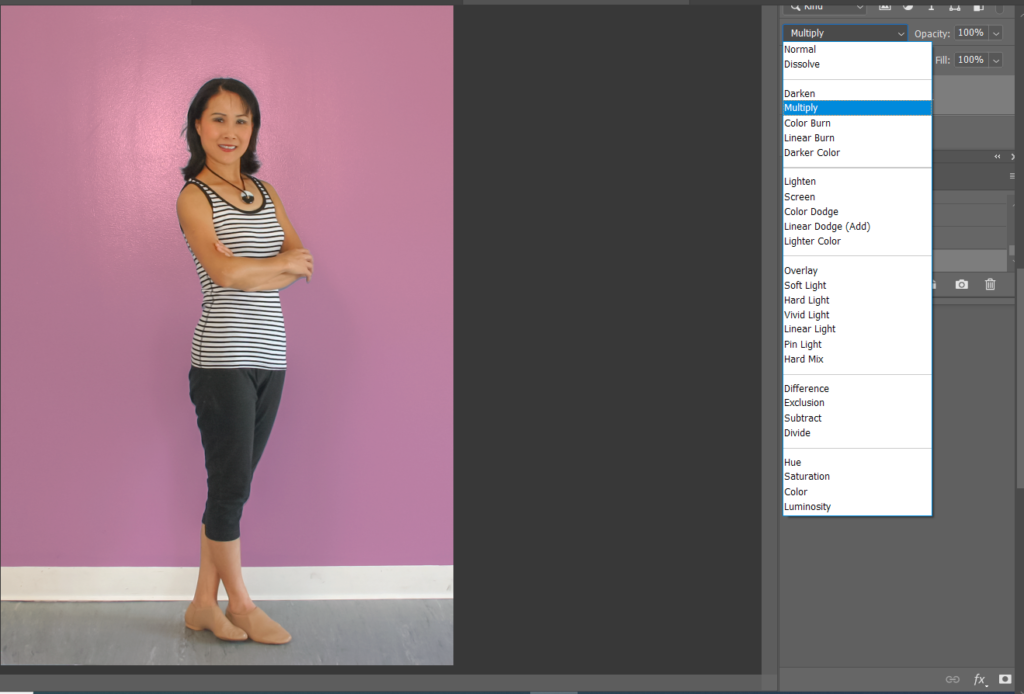
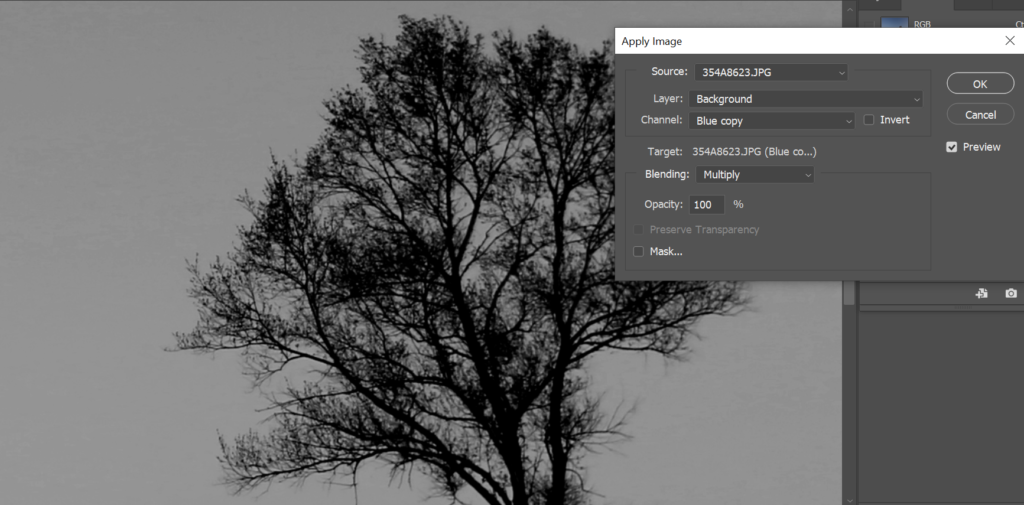
5. Open Apply Image from Images. Make sure the Channel is Blue copy. Change the Blending to Multiply.
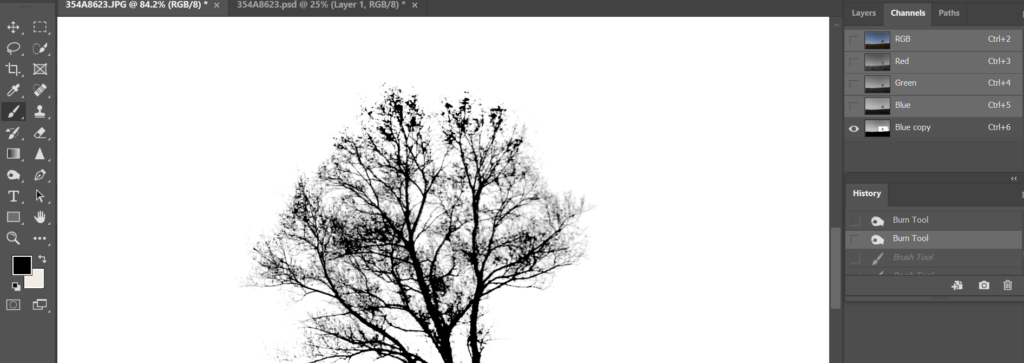
6. Use Dodge Tool to light the white area.
7. Use Burn Tool to dark the black area.
8. Select the brush tool with “overlay” blend mode.
9. Set foreground color white, to paint white.
10. Set foreground black white, to paint black.
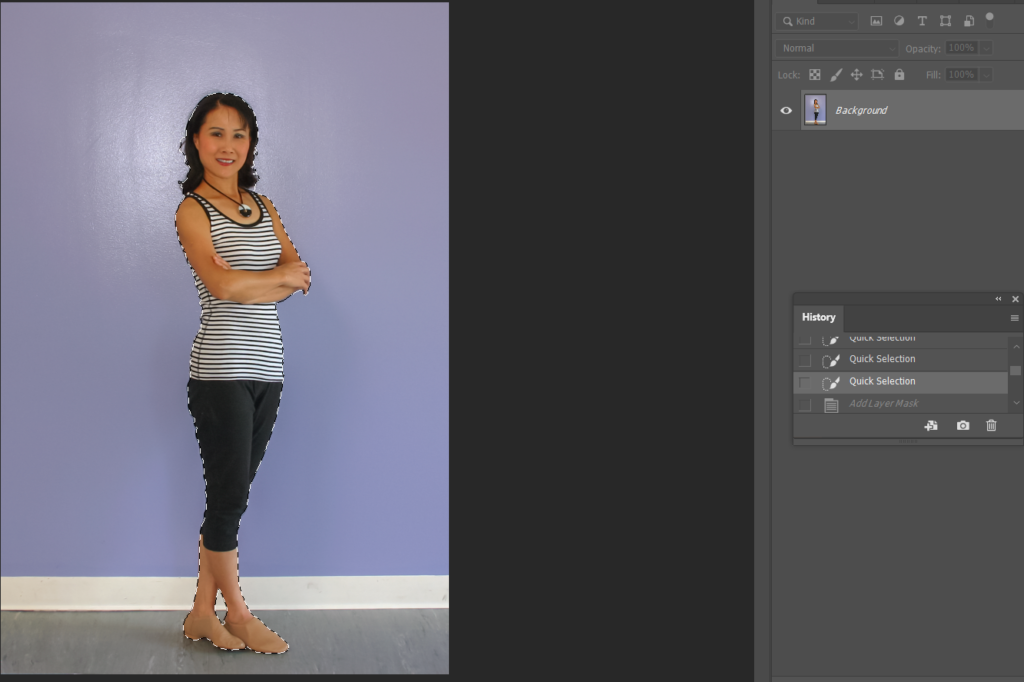
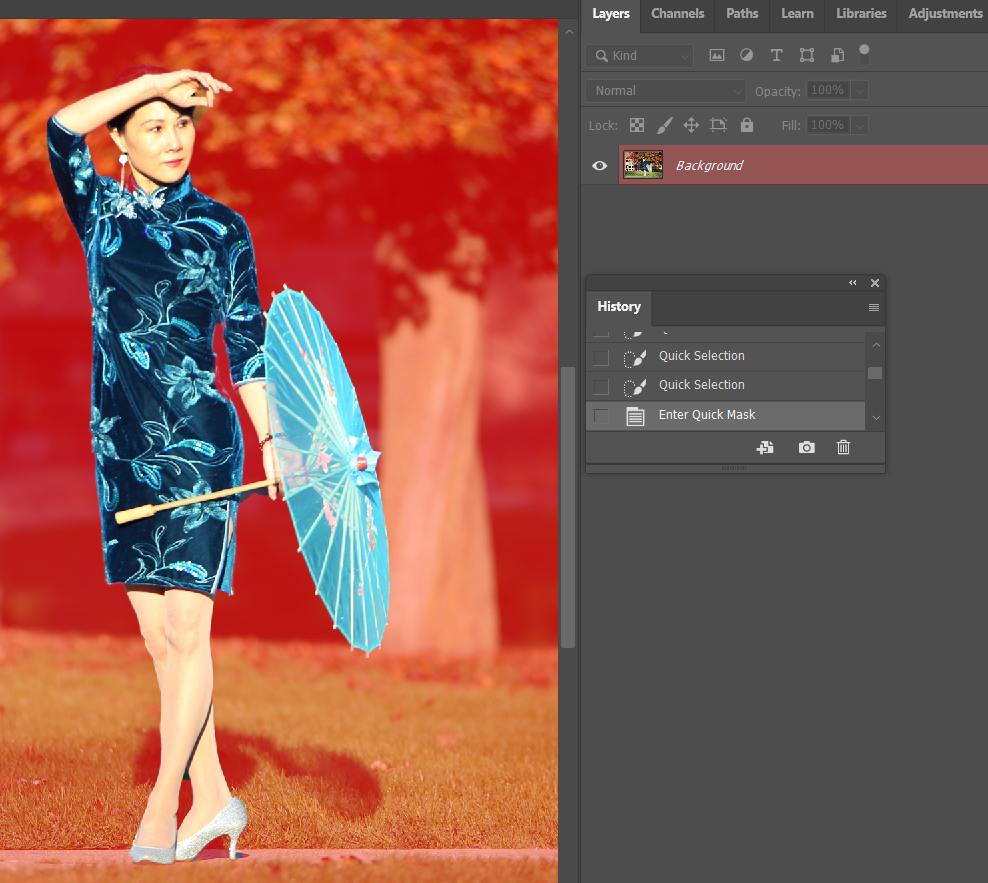
11. Hold Ctrl key click on Blue Copy to select all white.
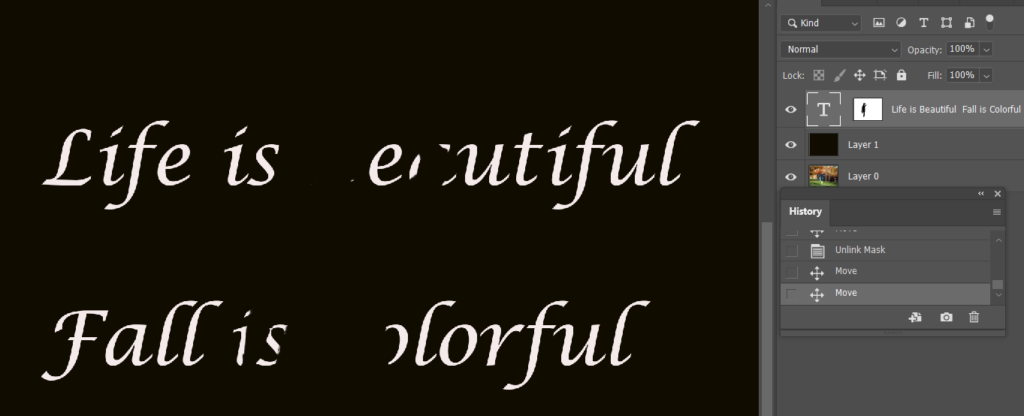
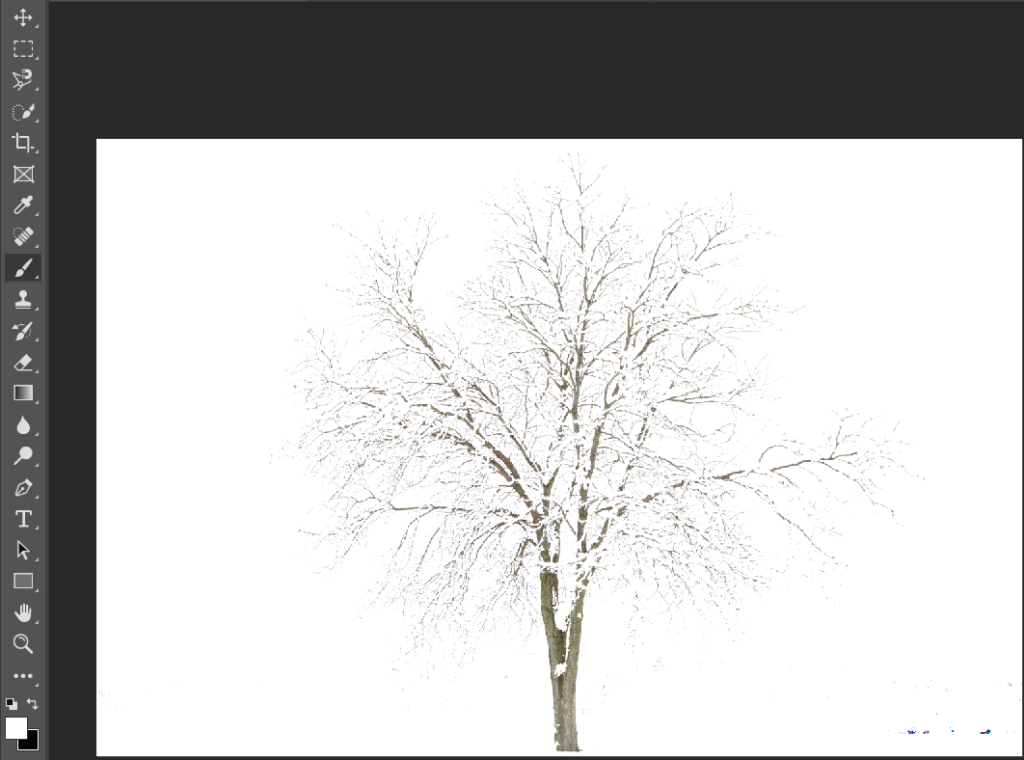
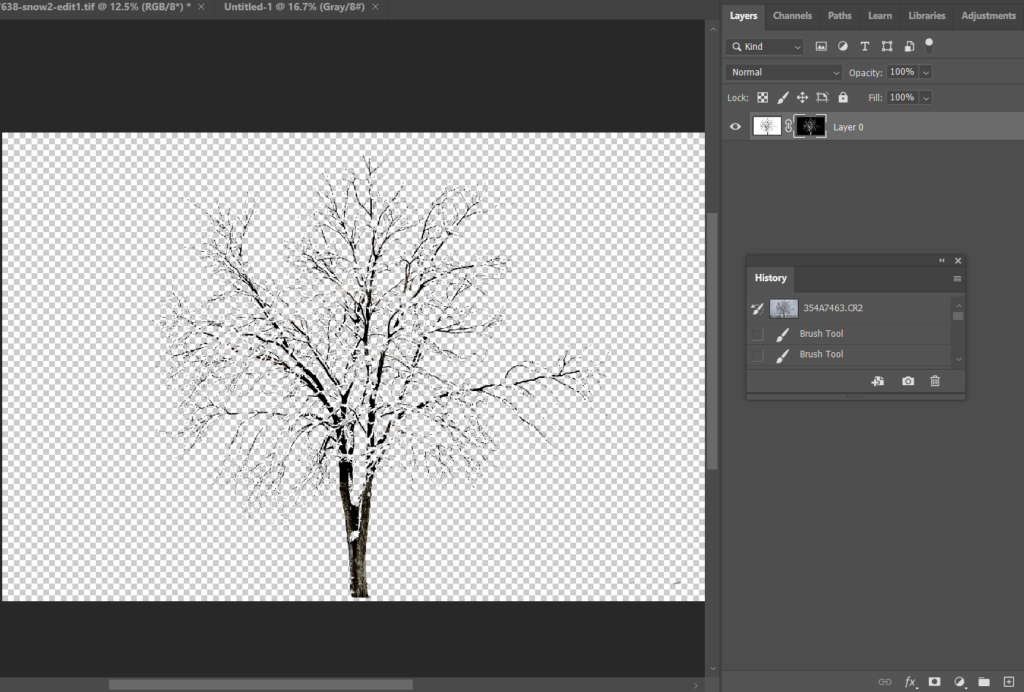
12. Go to Select>Inverse to select the tree.
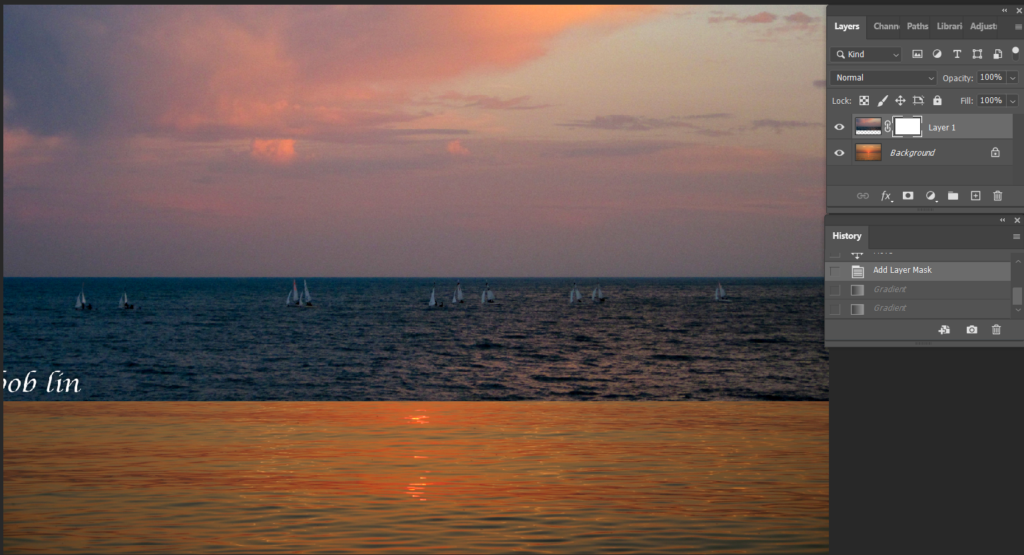
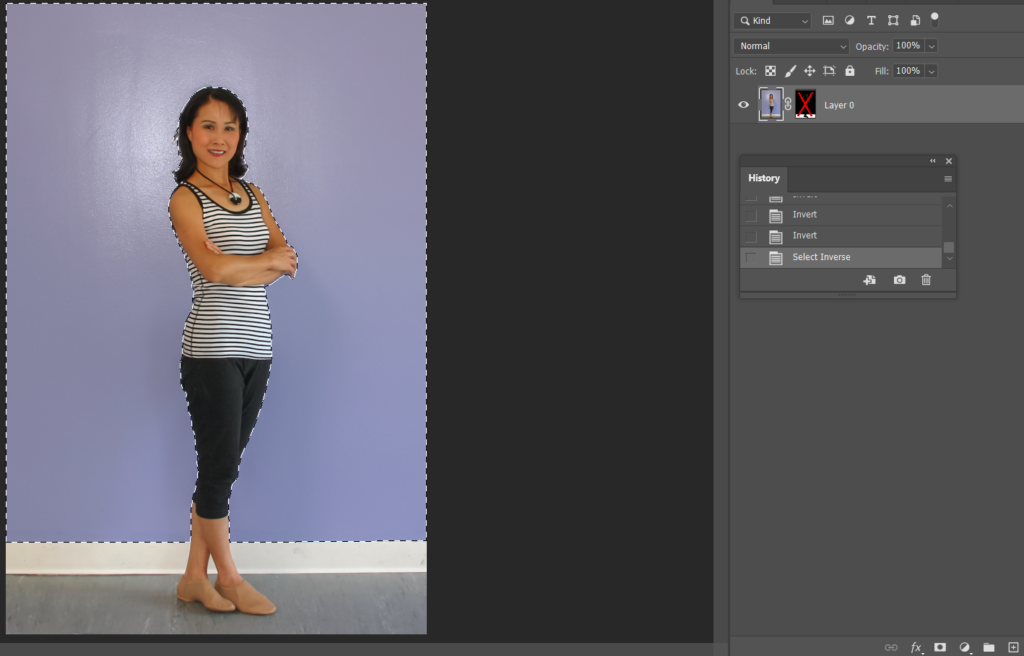
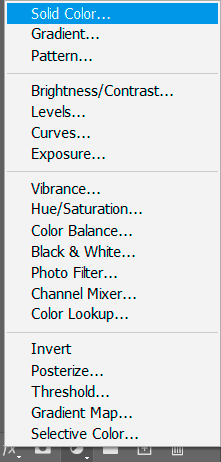
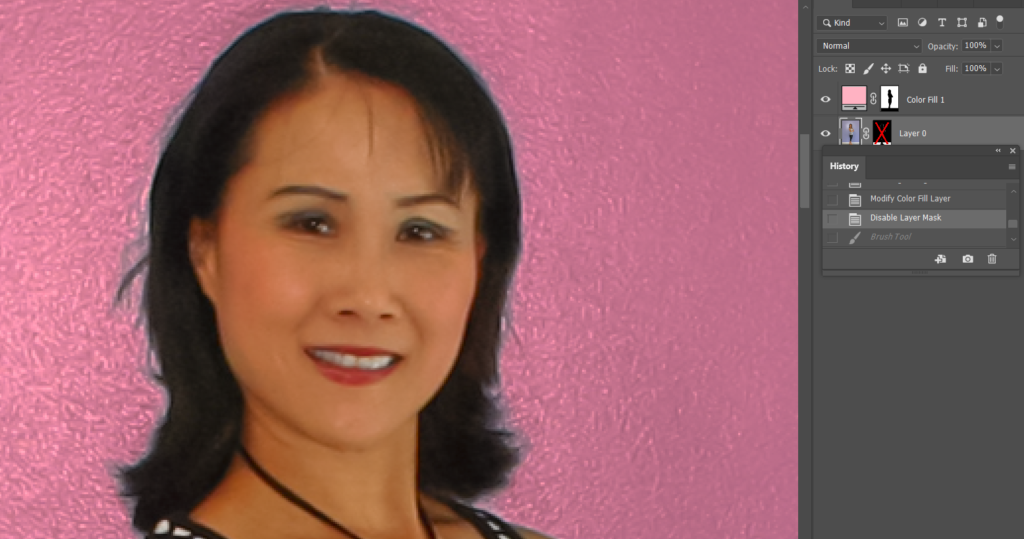
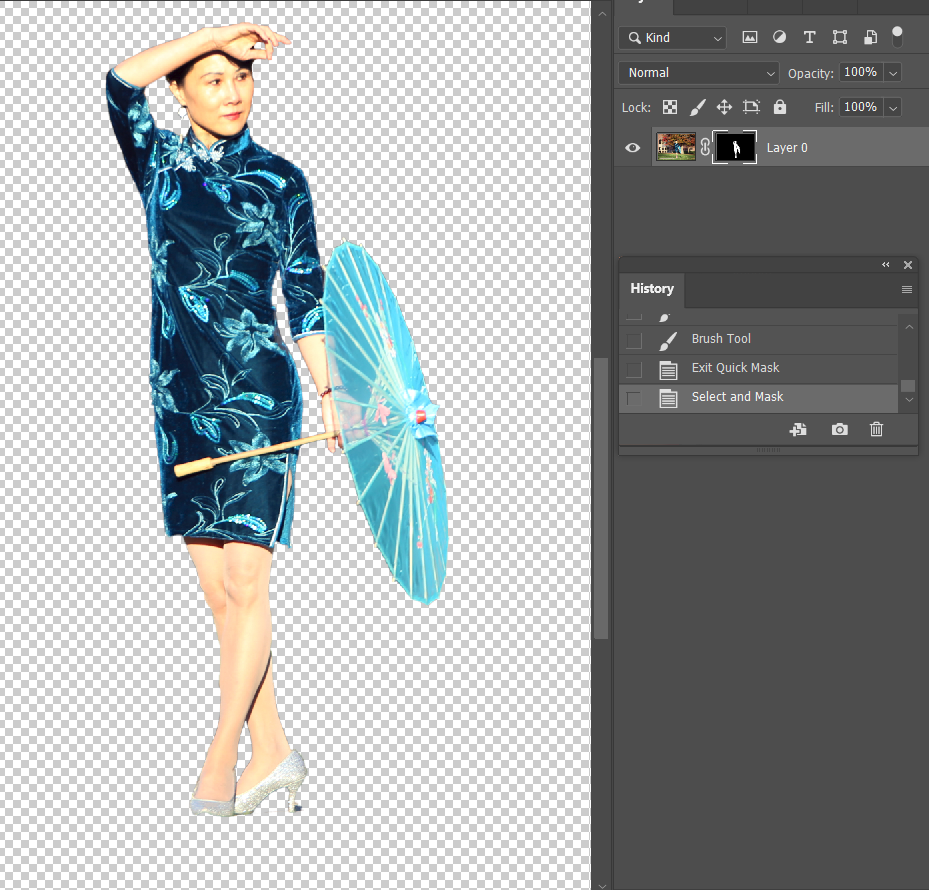
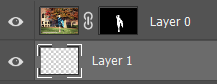
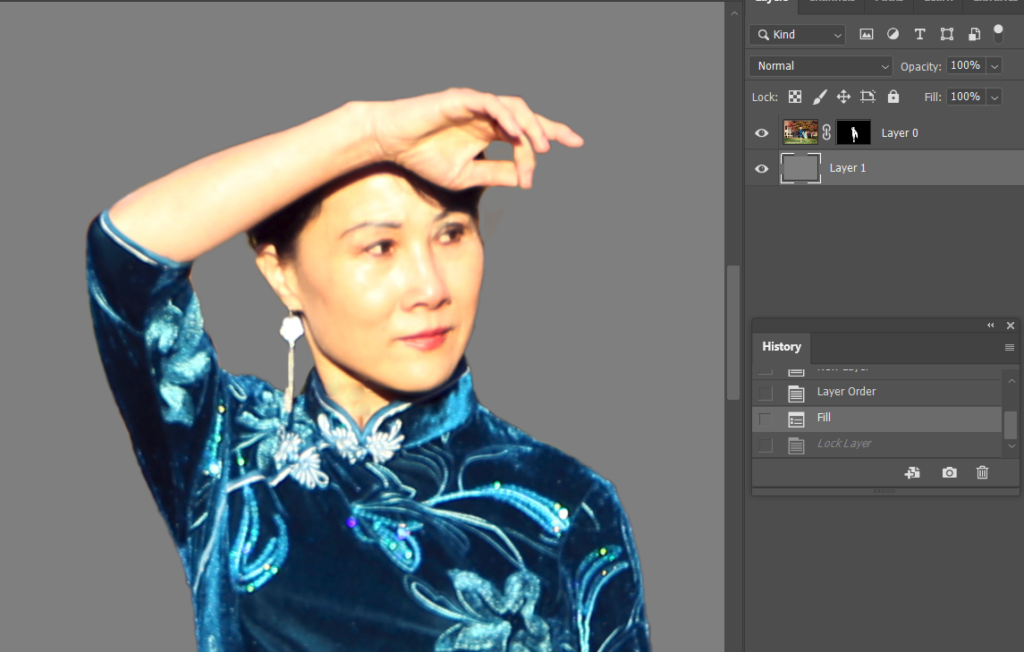
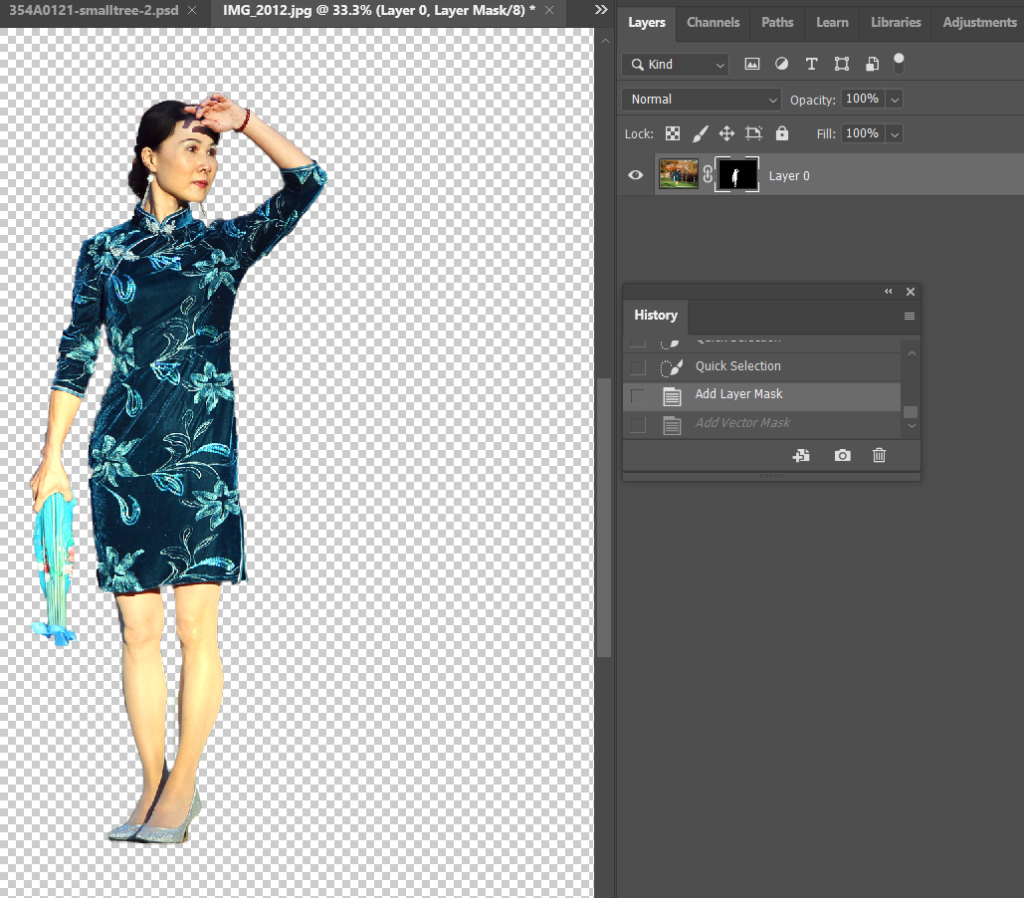
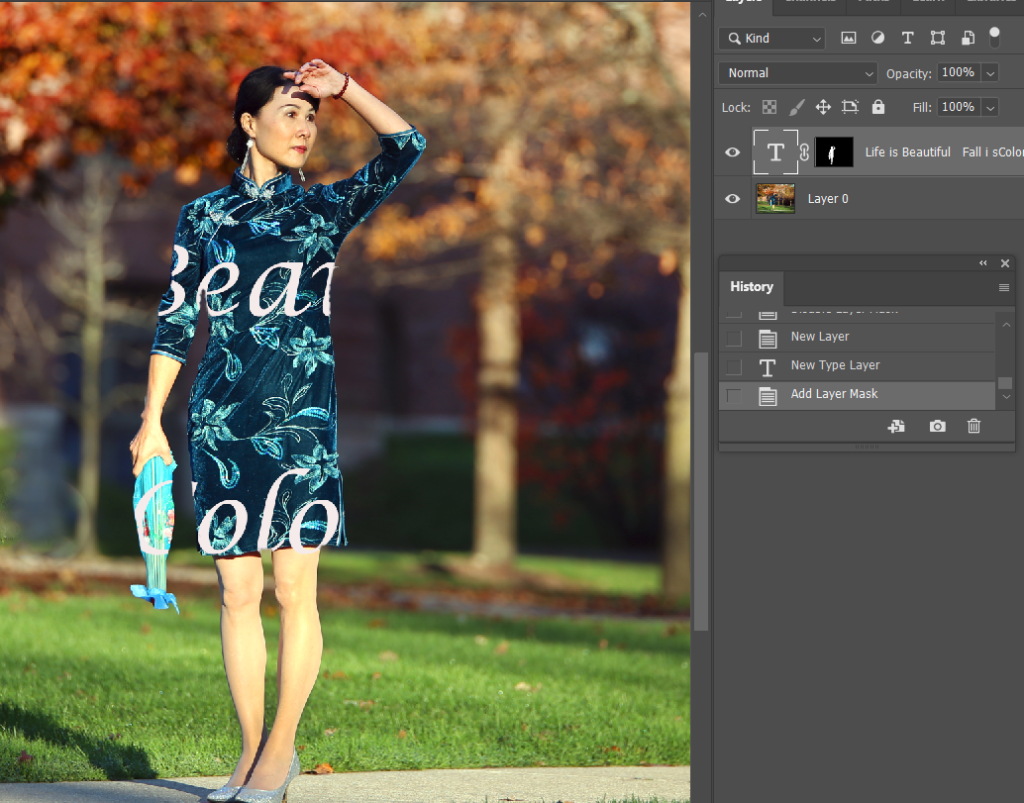
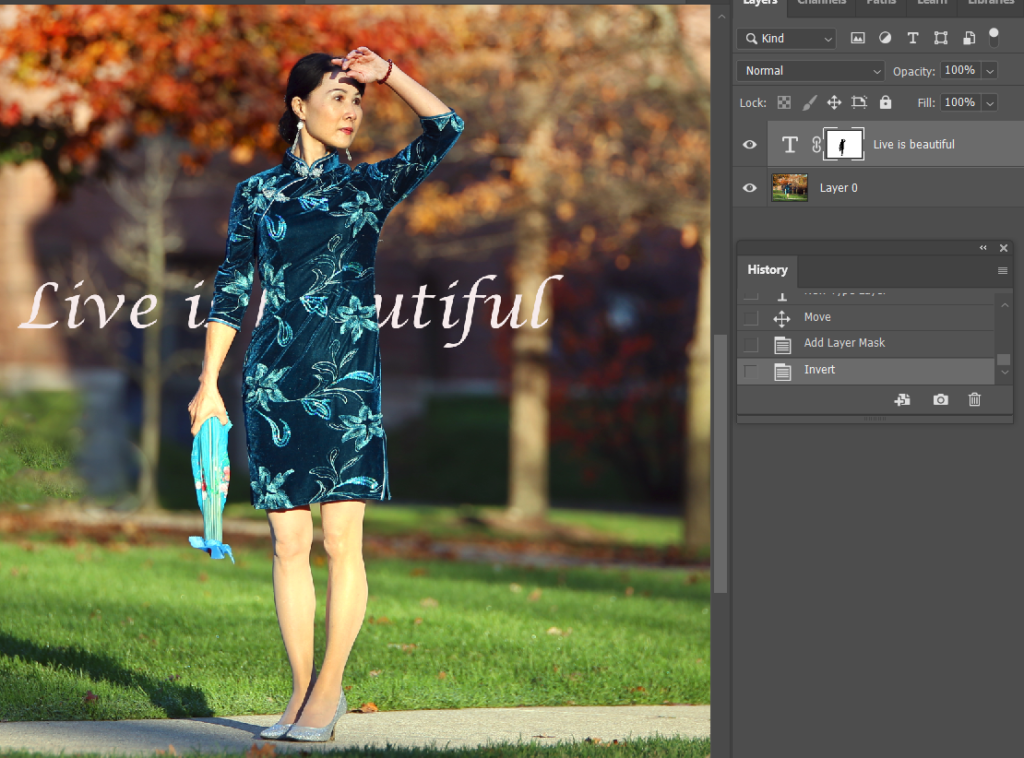
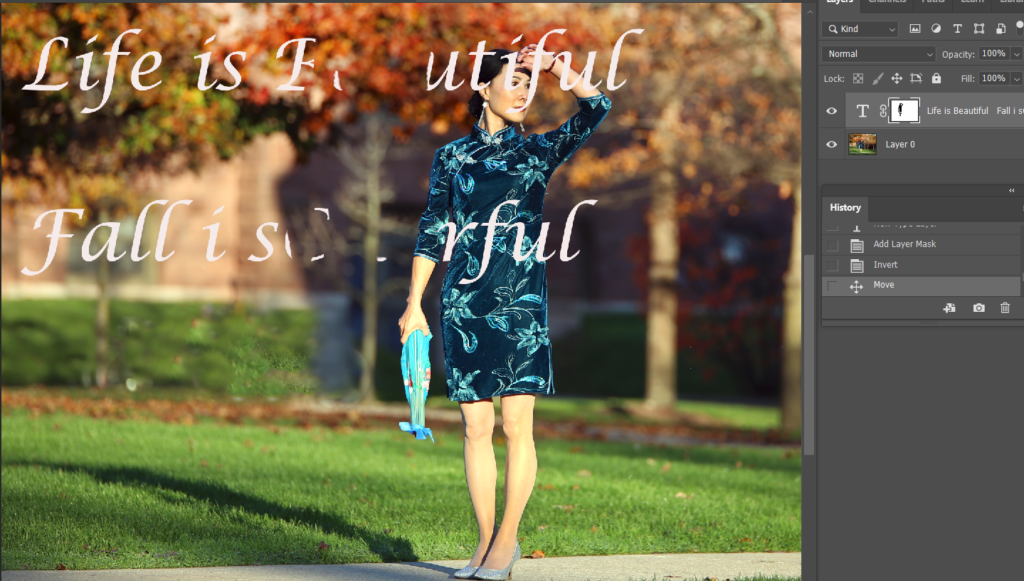
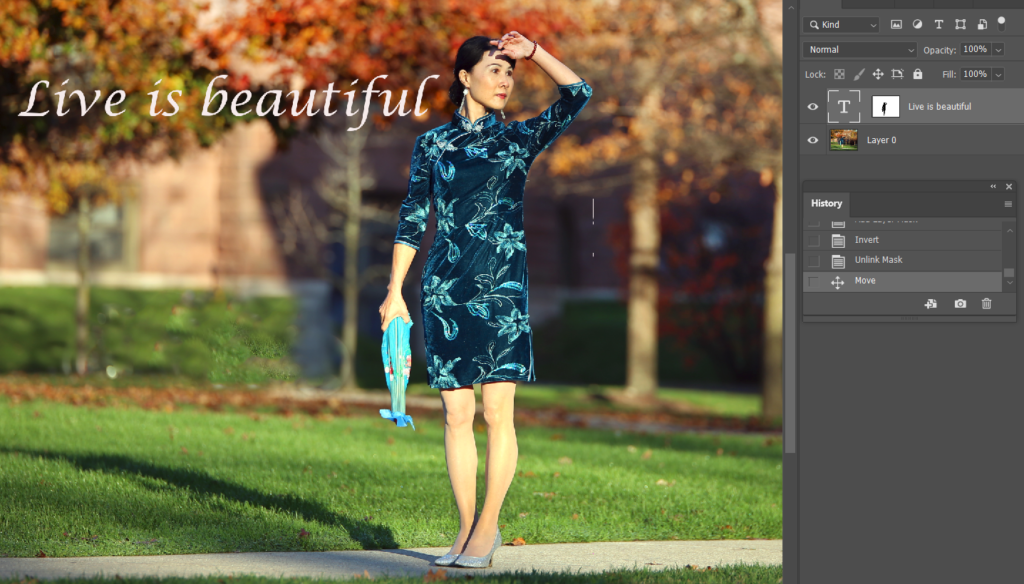
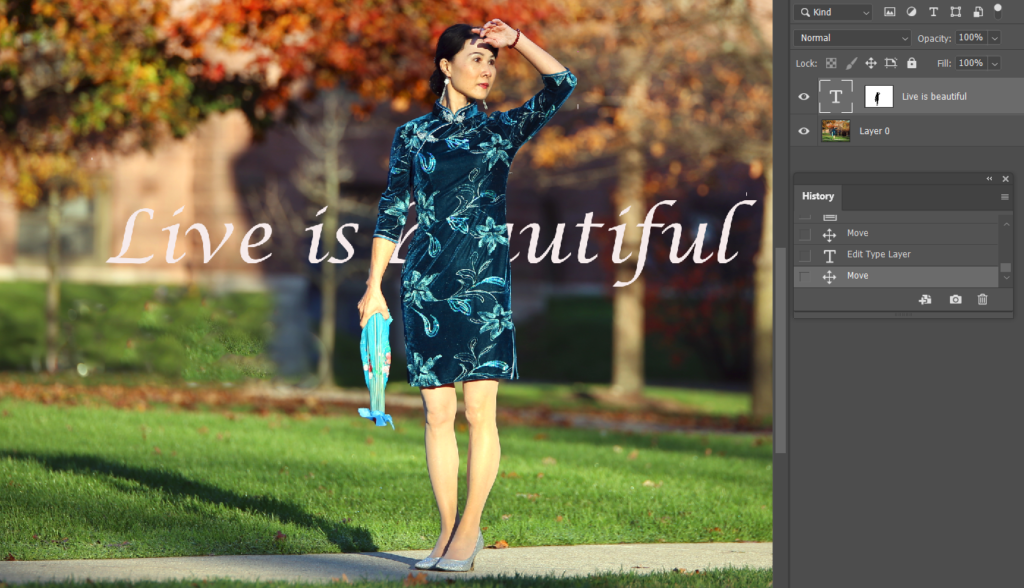
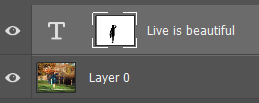
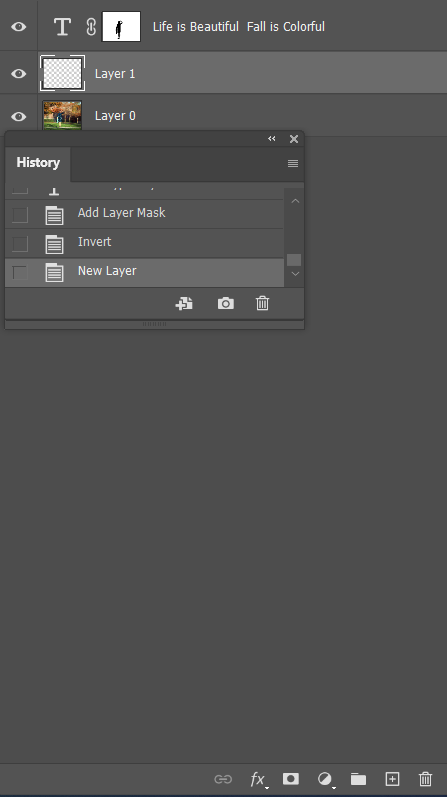
13. Click Layer and then Add Vector Mask .
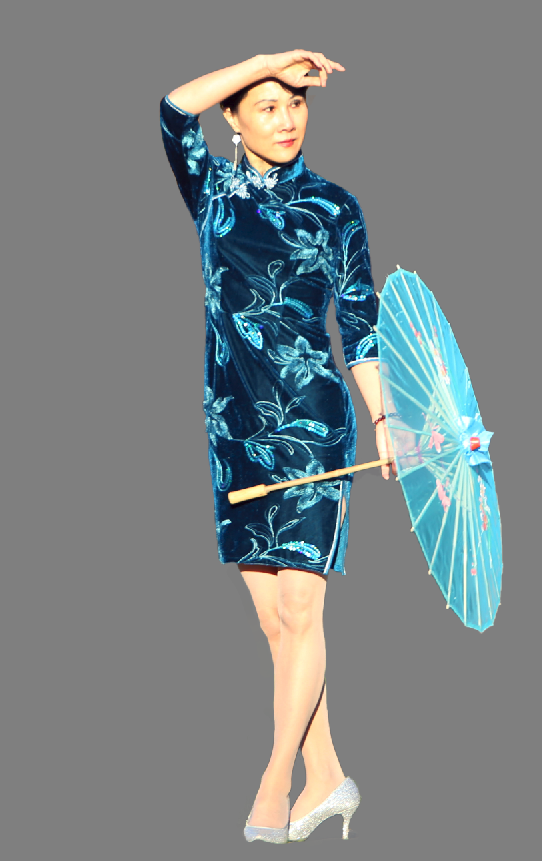
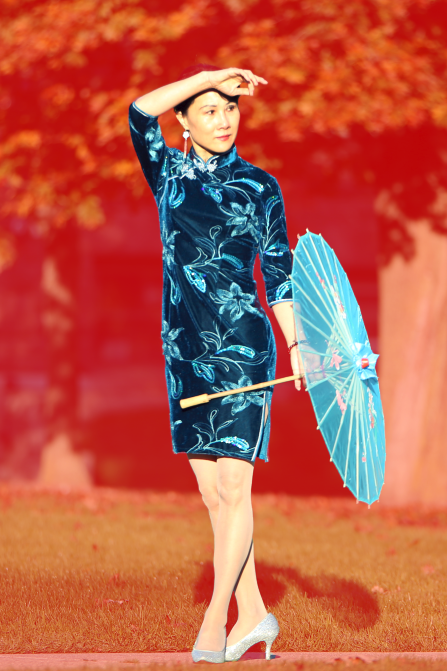
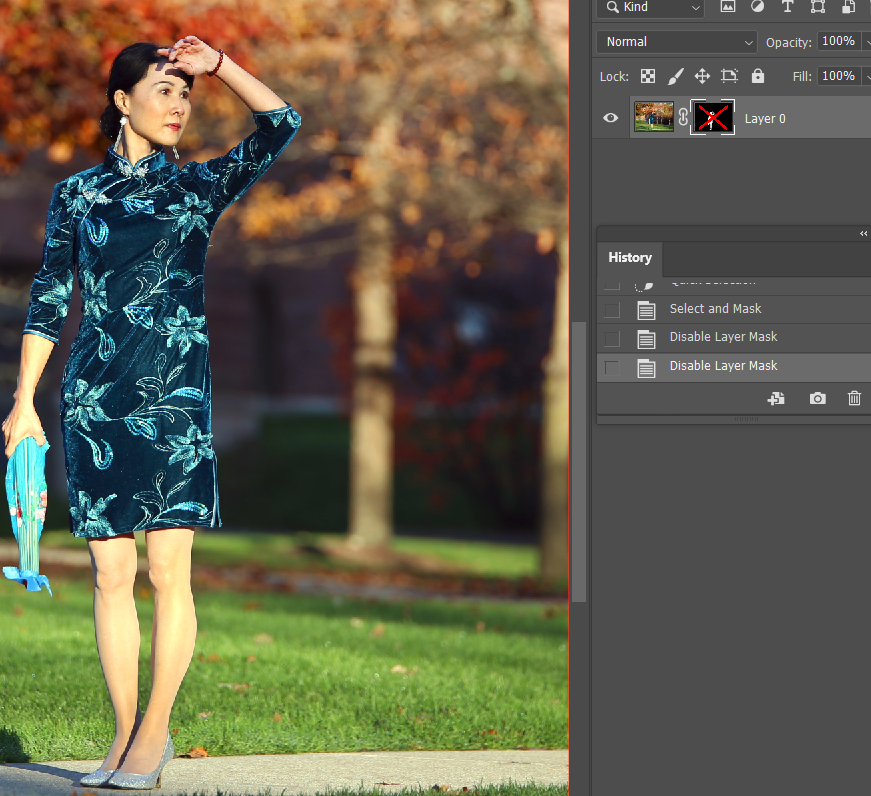
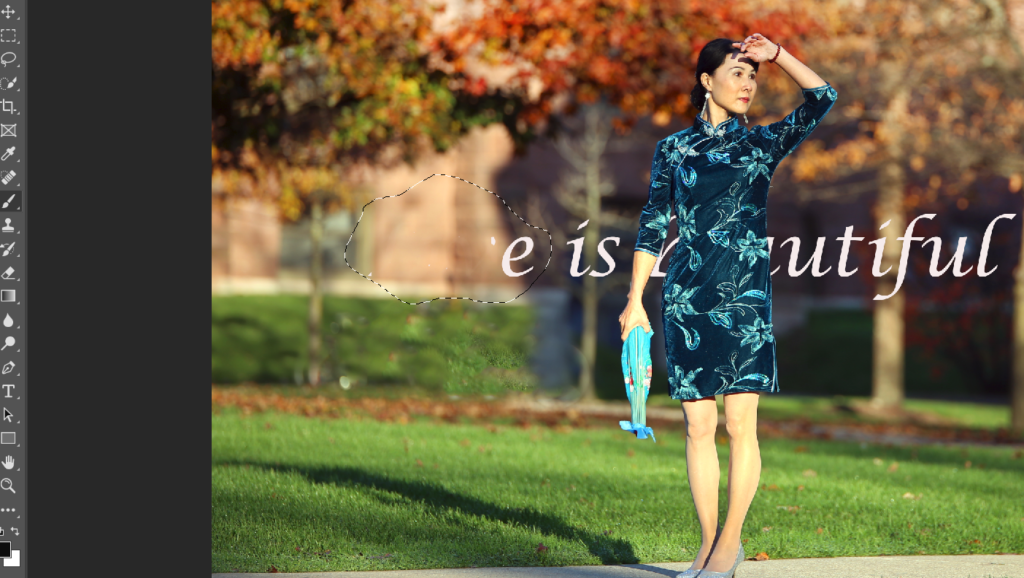
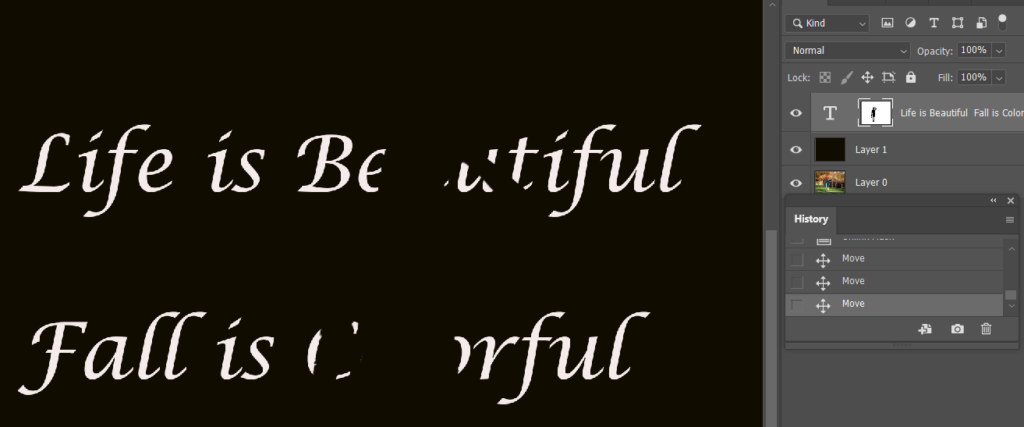
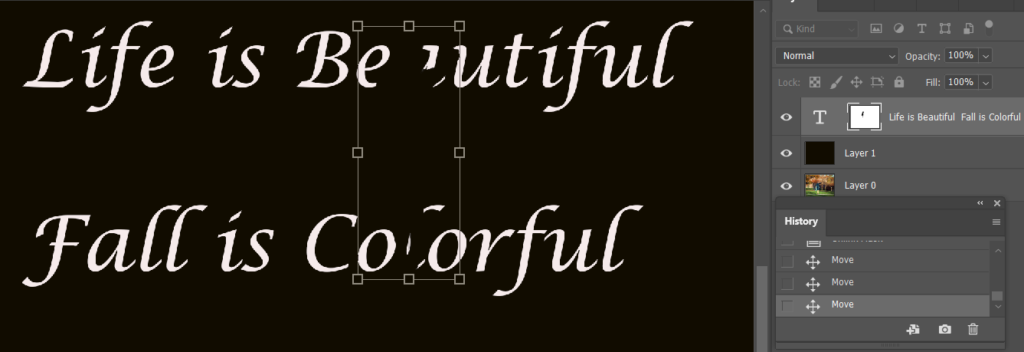
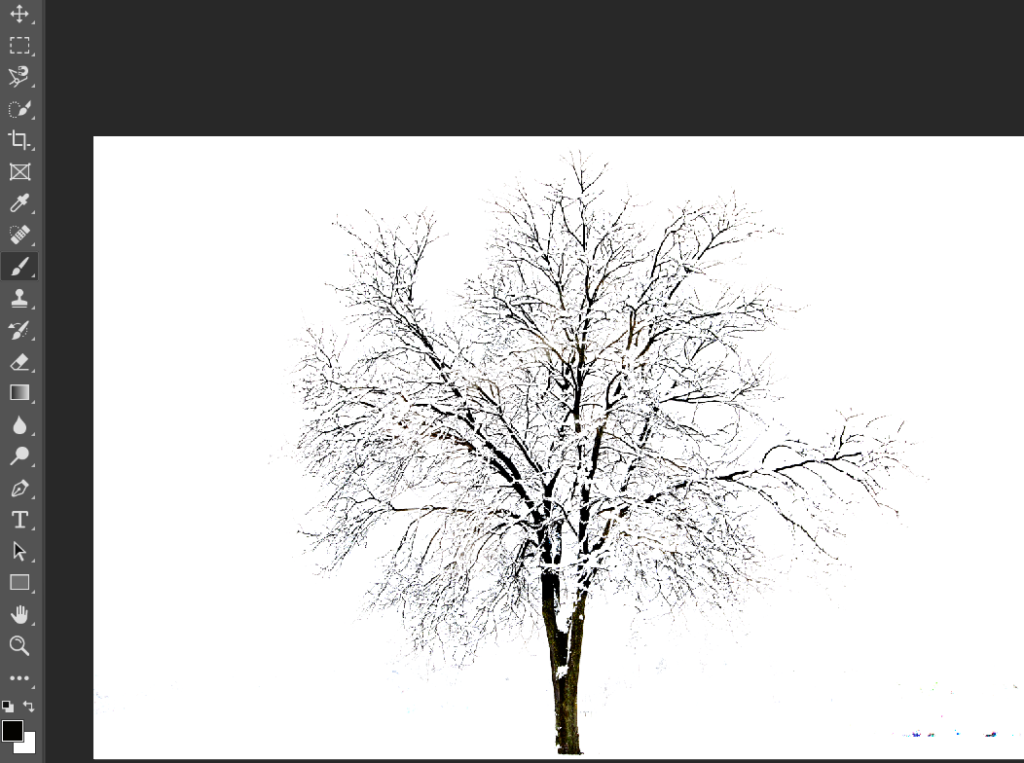
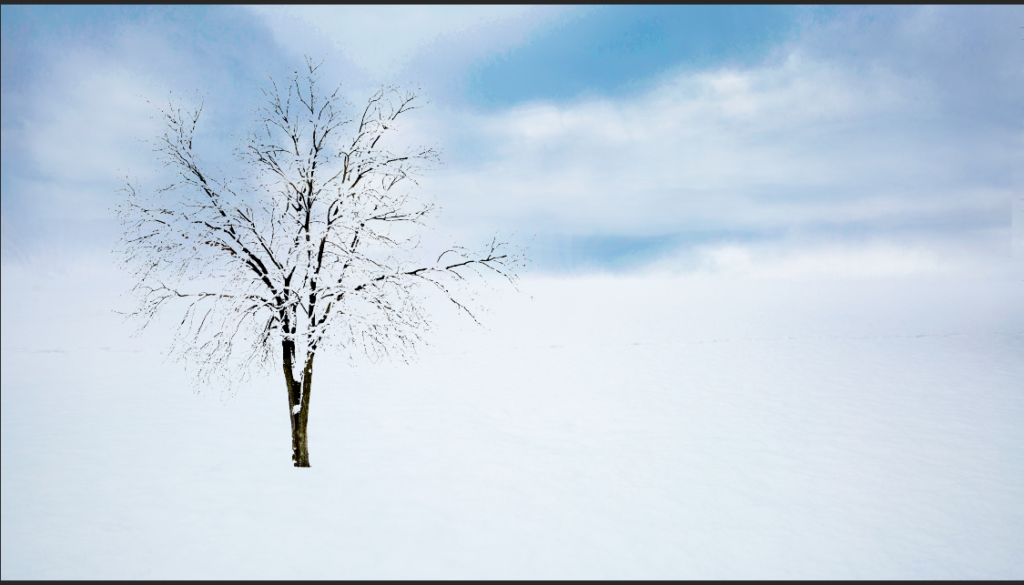
14. To see how good the selection, move into another image.