Situation: When opening Select and mask in Photoshop 2020,
“Show Edge” is grayed out and can’t be selected.
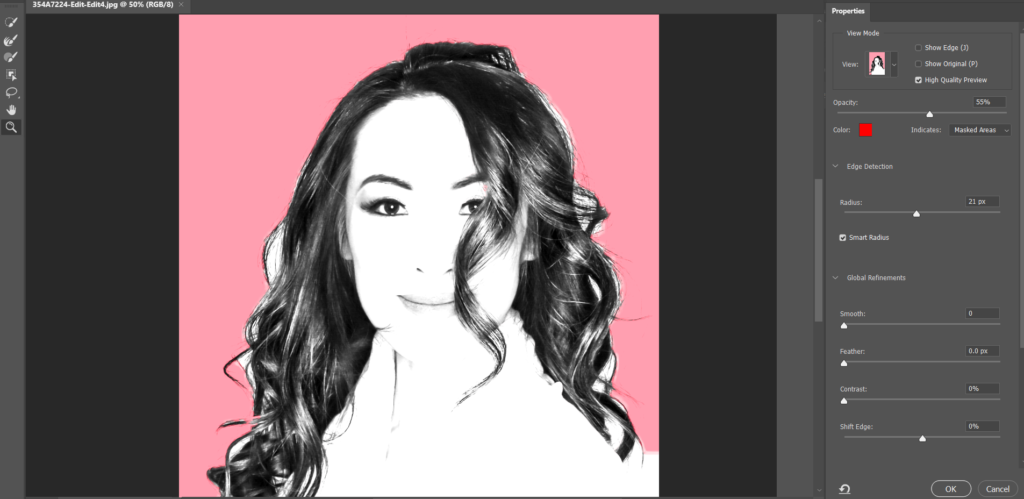
Resolution: If you select the Refine Edge Brush tool, you should be able to check the Show Edge.
Situation: When opening Select and mask in Photoshop 2020,
“Show Edge” is grayed out and can’t be selected.
Resolution: If you select the Refine Edge Brush tool, you should be able to check the Show Edge.
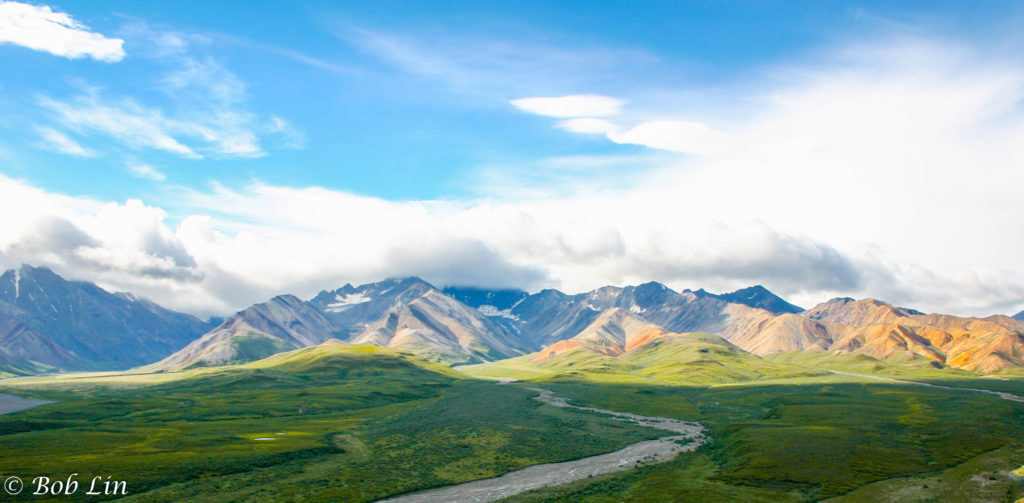
With Photoshop Selective Color Tool, we can correct, contract and exposure color. This is before.
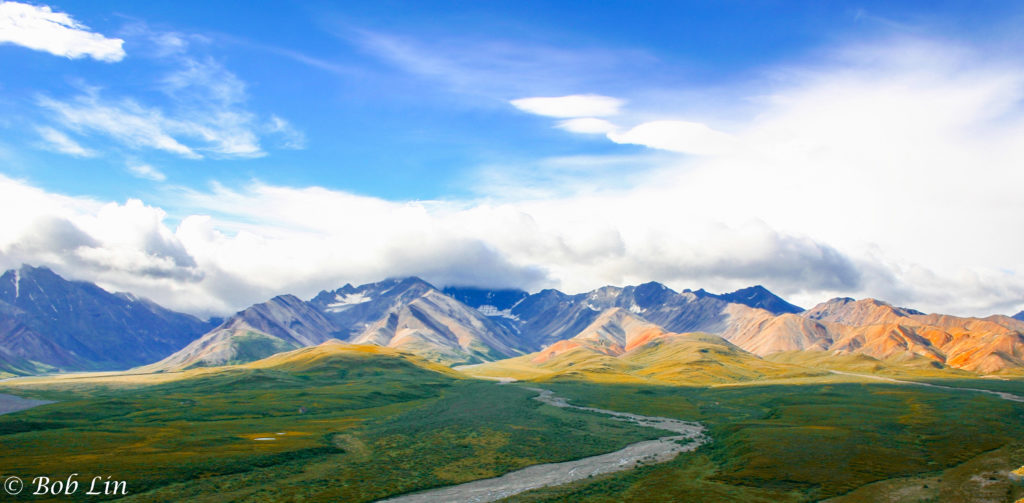
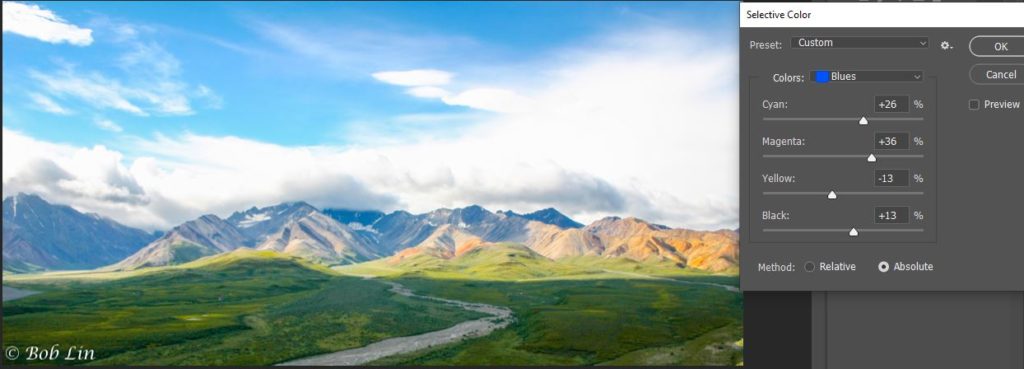
This is after.
Reference color pane.

3. To correct sky blue color, we select Blues in Colors. Based on Referenced color, blue mixes Cyan and Magenta so that we add more Cyan and Magenta (move the slid to tight). Yellow is opposite of blue so that we reduce the yellow. To make it clear, we may move black to the right and check the Absolute.
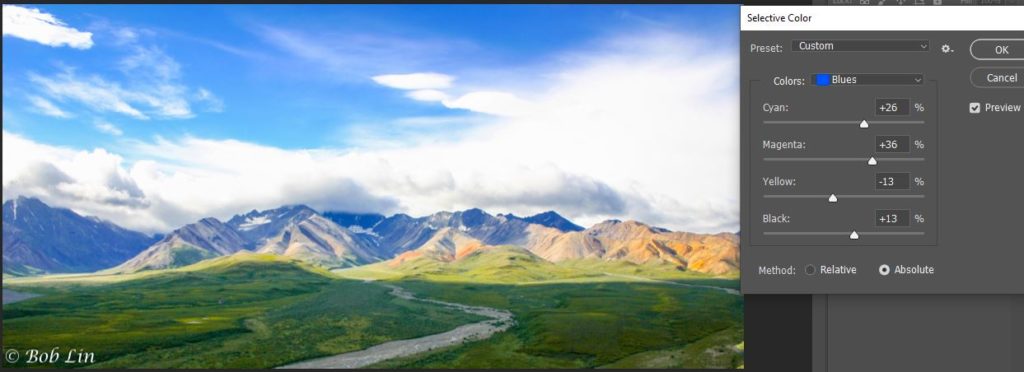
4. Click Preview to compare.
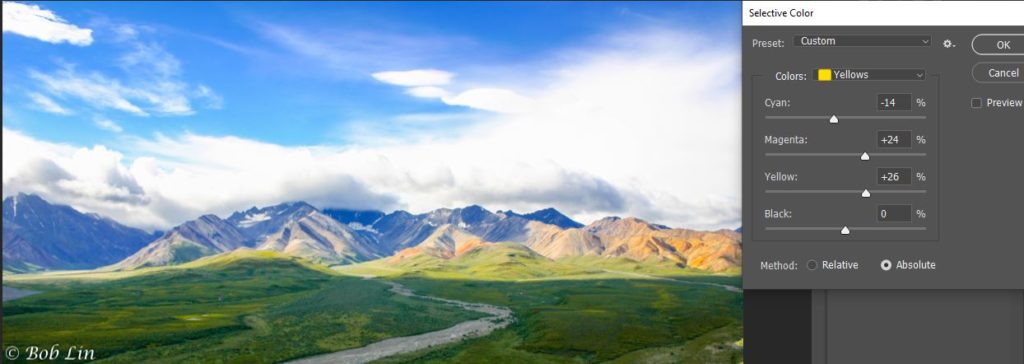
5. To add more yellow, select Yellow from the Colors. Reduce Cyan. Add Magenta and Yellow. Move the Black slid to the right and check Absolute in necessary.
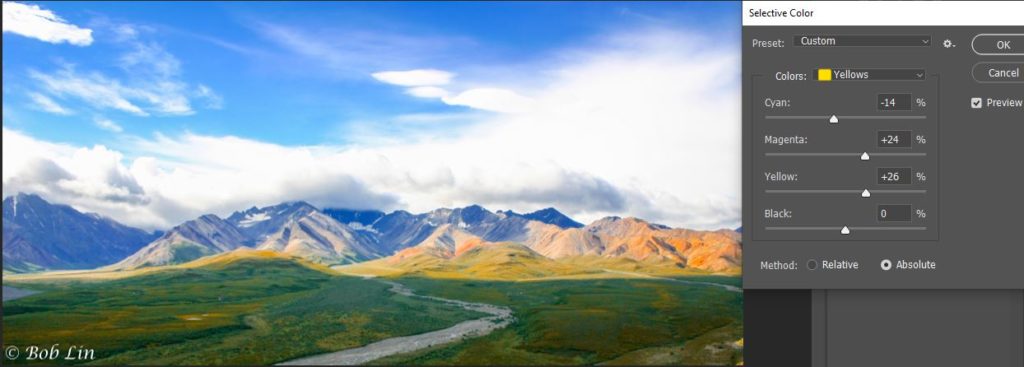
6. Click Preview to compare.
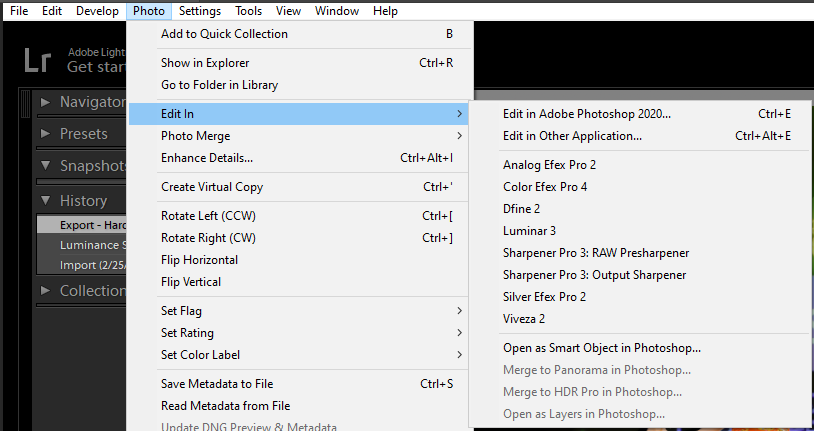
2. Nik Collection may not be installed correctly in Lightroom. This seems to occur because the “Store Presets with Catalog” option in Lightroom’s Preferences is checked. This option is in Edit > Preferences > Presets OR Lightroom > Preferences > Presets. Un-checking this box will make all of the plug-ins appear in the Photo > Edit In menu.
3. Install Nik Collection manually. Please refer to this page:
In a case you have a problem to install Nik Collection on Lightroom, you may want to install it manually. Here is how.
4. While Lightroom is still open, click Edit> Preferences OR Lightroom > Preferences.
5. Click on the “External Editing” tab at the top of preferences.
6. Right click on the “Choose” button and locate the Nik Collection application file for your product. Typically it can be found at either, C:\Program Files\DxO\Nik Collection\Viveza 2\Viveza 2.exe, OR Macintosh HD |Applications | Nik Collection | Viveza 2 | Viveza 2. For other products, replace Viveza 2 with the appropriate product.
7. Once located, select the program or application file as indicated above and click “Choose”.
8. Set the file format to “TIFF”, Color Space to sRGB (or the one of your choice), Bit Depth to 16-bit, Resolution to 240, and Compress to None.
9. Under Preset click, the drop-down selector and choose, “Save Current Settings as New Preset” from the list.
10. Type in the name of the plug-in such as”Viveza 2″ and click Create.
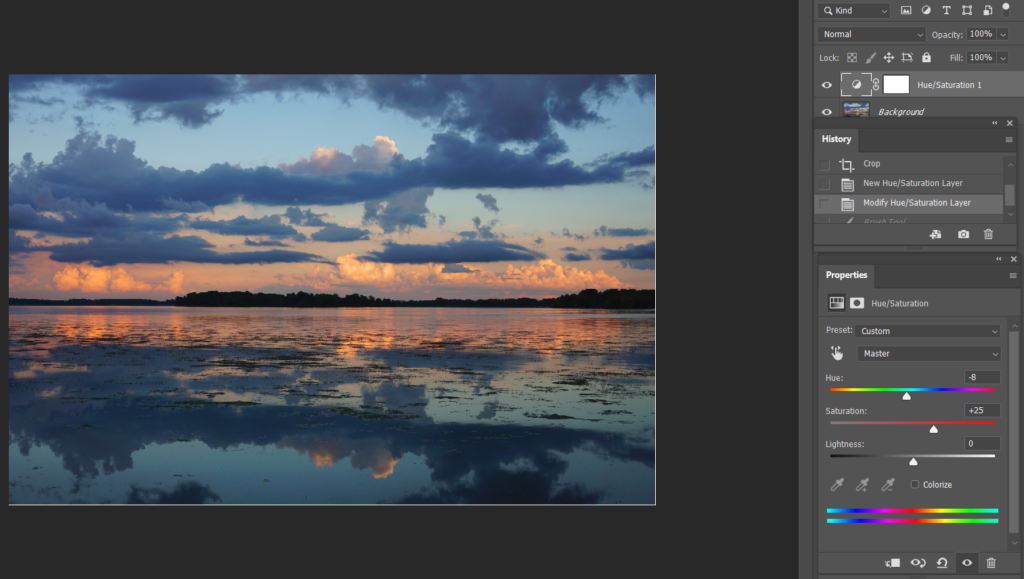
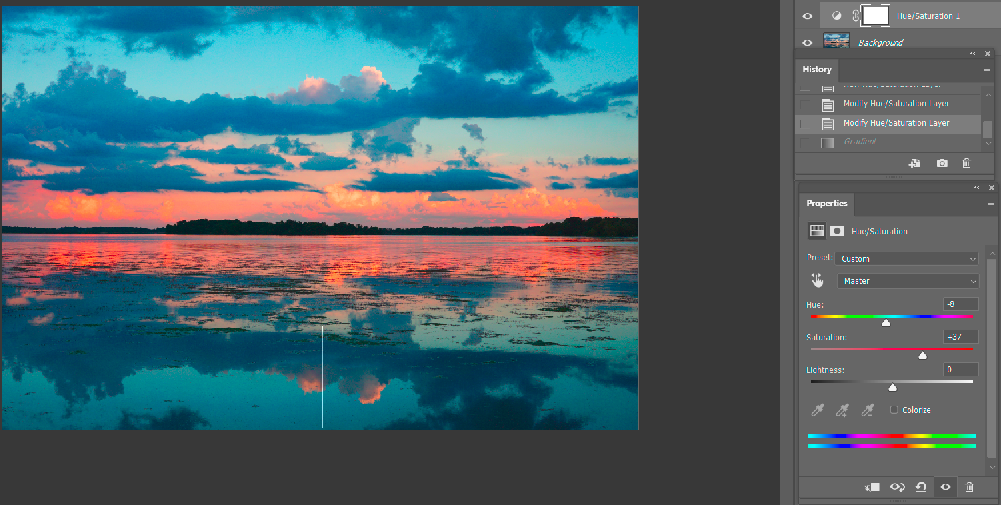
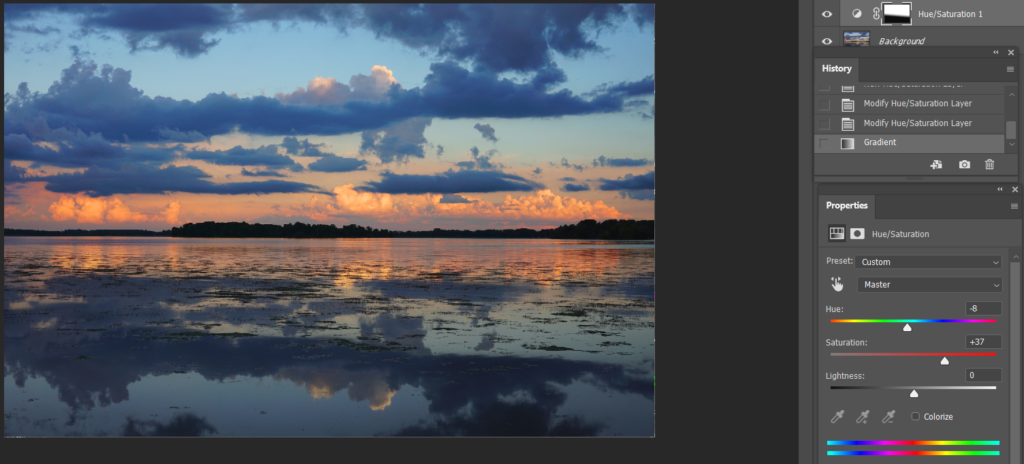
2. In the Properties, adjust Hue and Saturation.
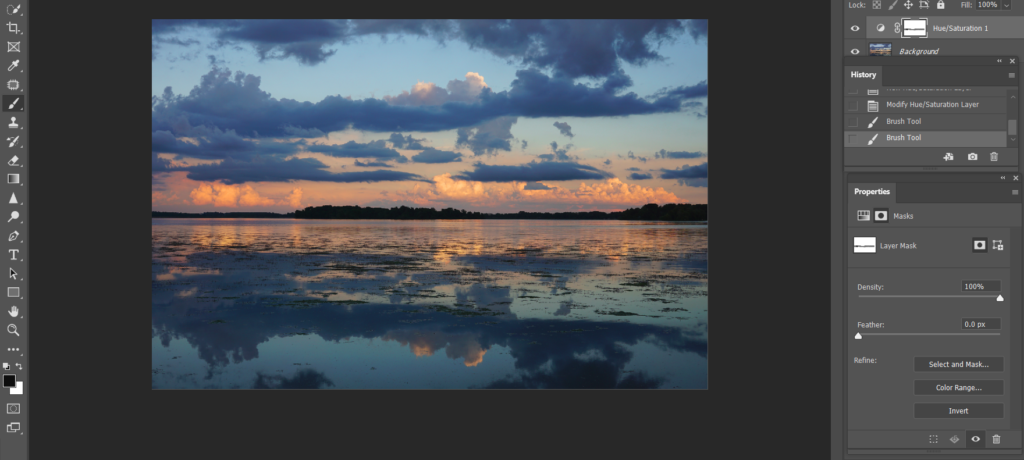
3. Make sure Hue/Saturation layer is selected and Frond color is black, use the Brush tool reduce the reflection Hue/Saturation.
4. Alternately, select Gradient tool.
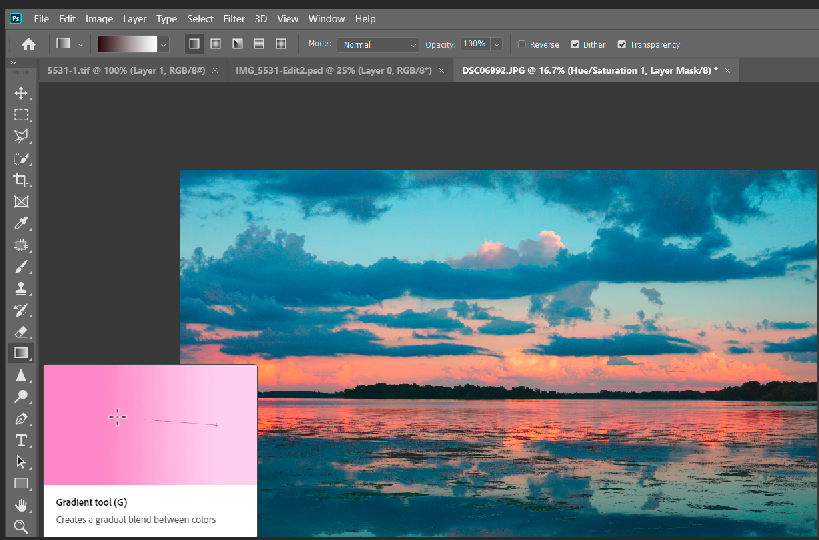
5. Move the Gradient Tool from the bottom to top or half to top. You can do that a couple times.
6. This is the result.
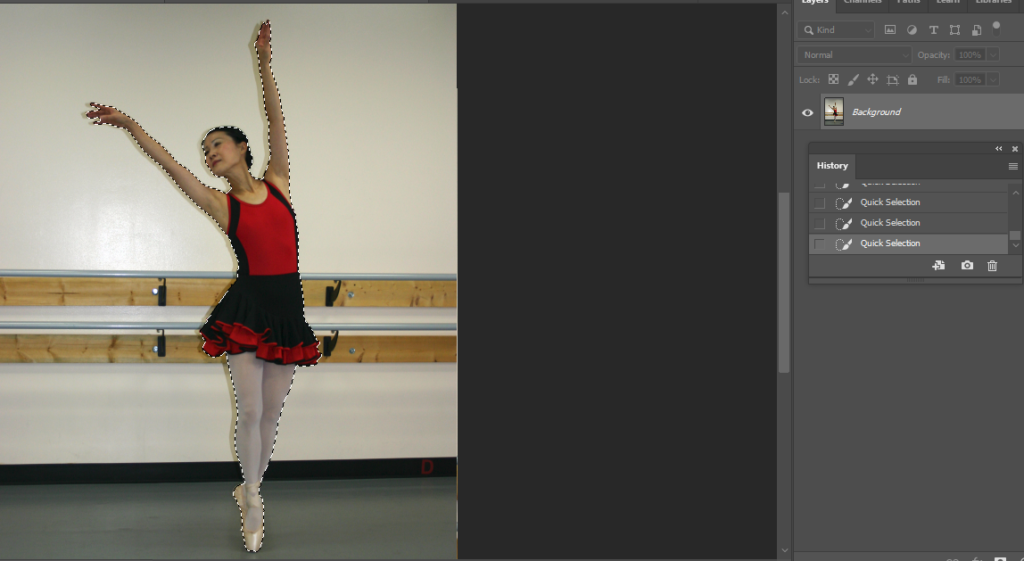
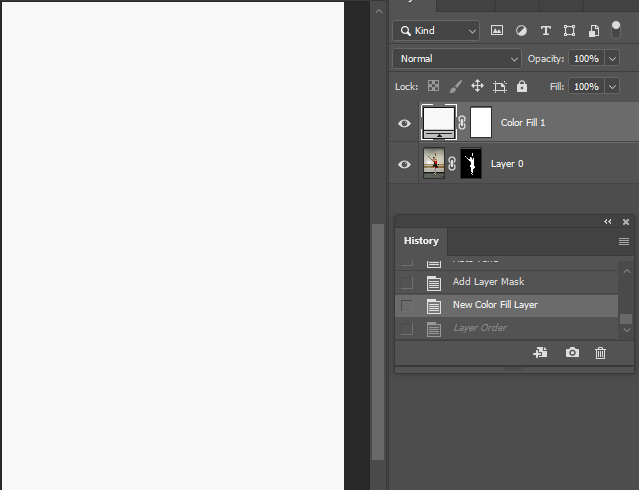
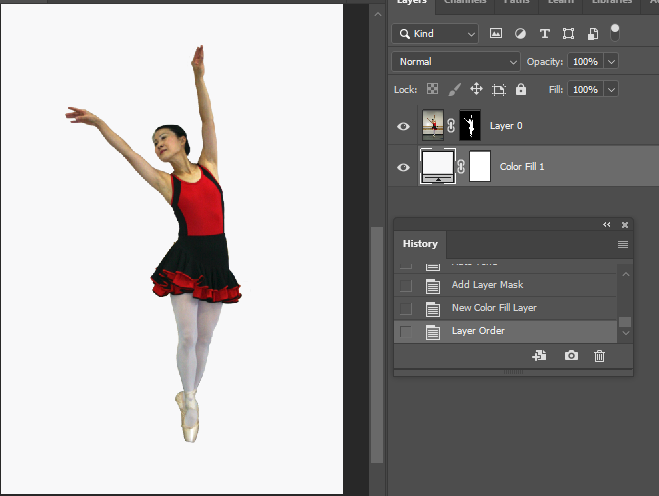
2. Use the Selection Tool to select the object.
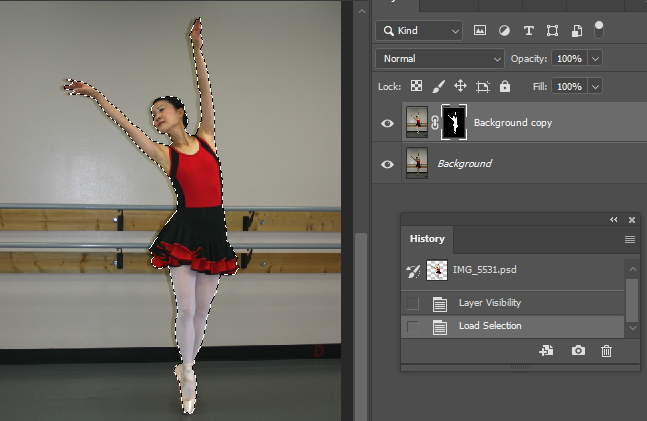
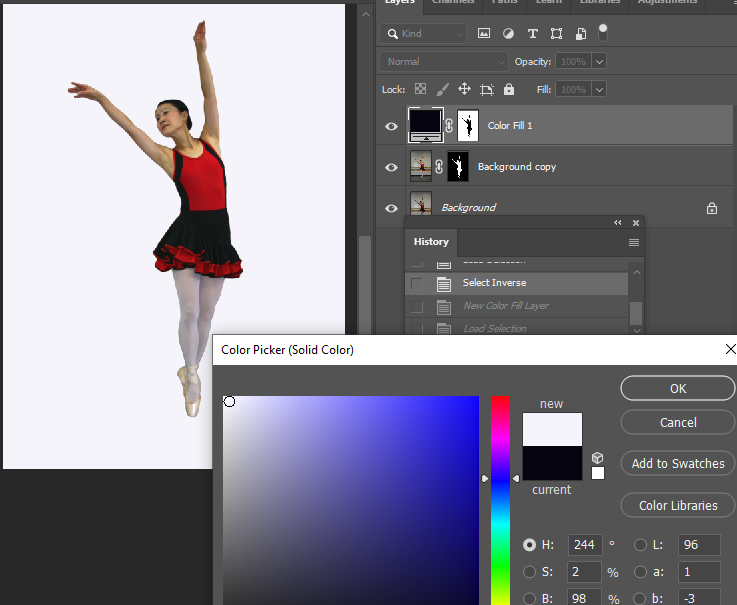
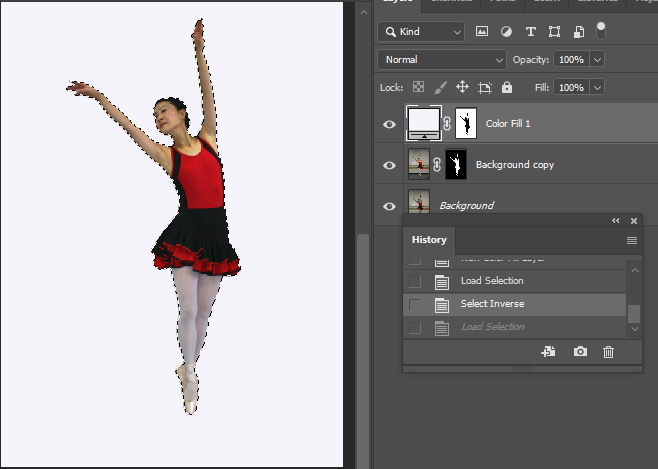
3. To easy to compare, change the background color. In Select menu, select inverse. Click on Create new fill or adjustment layer icon and select Solid color. Choose white color in out case.
4. Hold CTR + Click on the object and then Inverse to selected object.
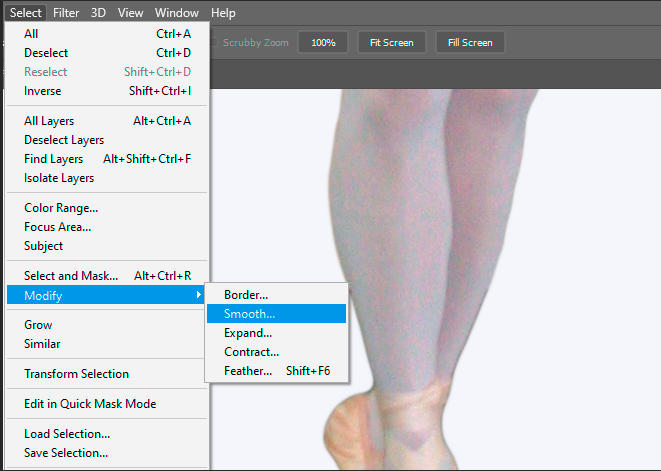
5. Enlarge the image. Then go to Select>Modify, adjust Smooth, Contract and Feather. Note: to hind selected line, hold CTR+H.
6. To compare before and after, click on the eye icon on the original layer.
Before
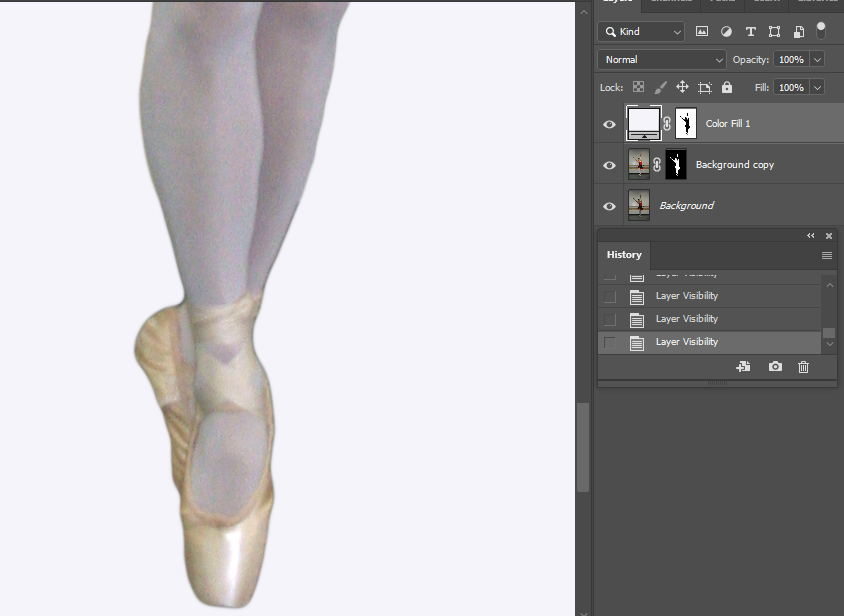
After
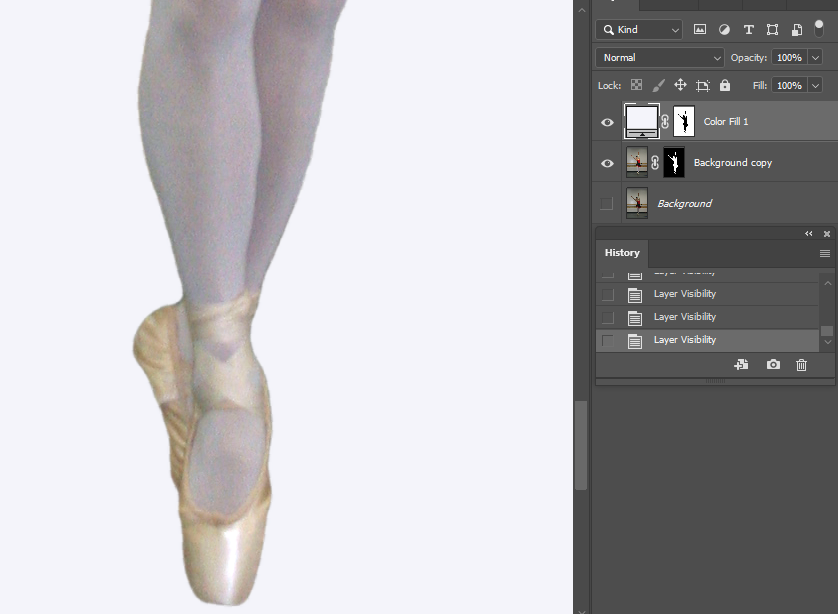
7. Now, make sure the select object and then inverse.
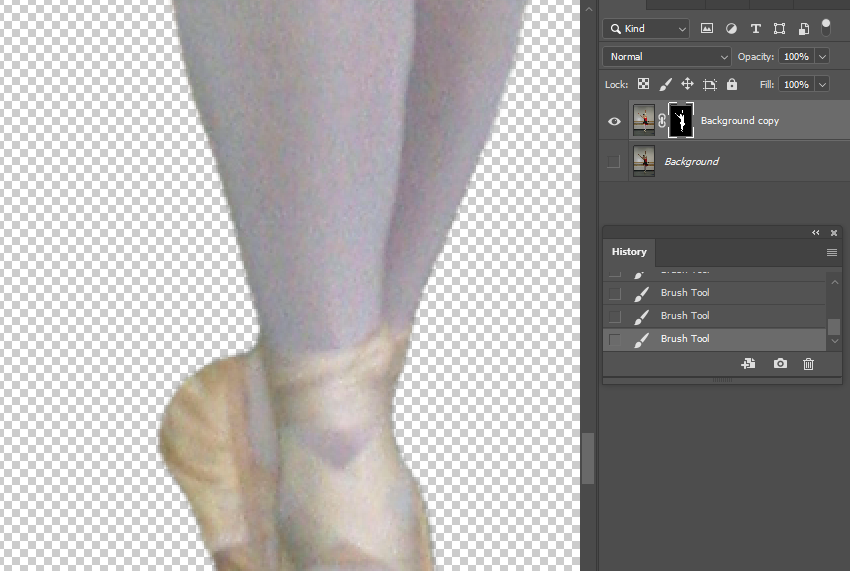
We will fix the dark edge of the object. Also make sue the color is black.

Select Brush Tool and brush the edge. This is before.
This is after.
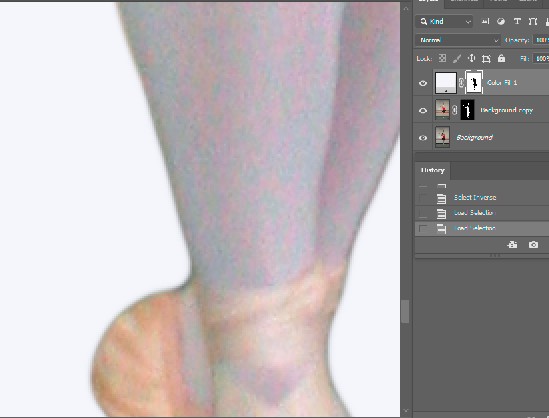
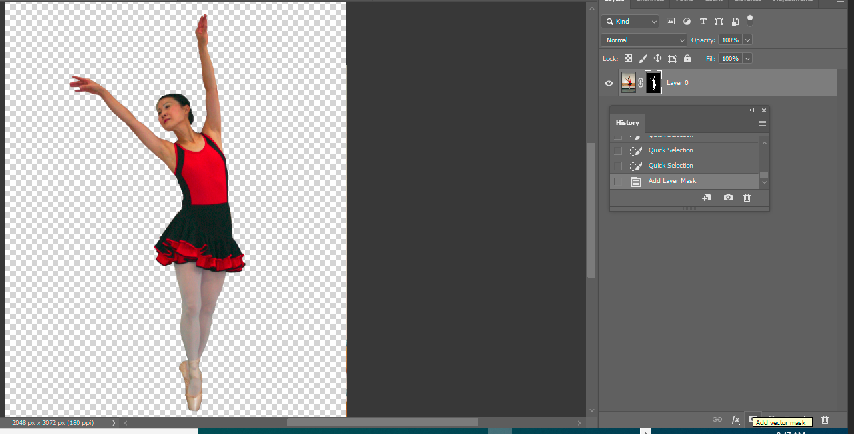
2. To check the selection, click Add vector mask.
3. We can also create a background color to double check the selection.
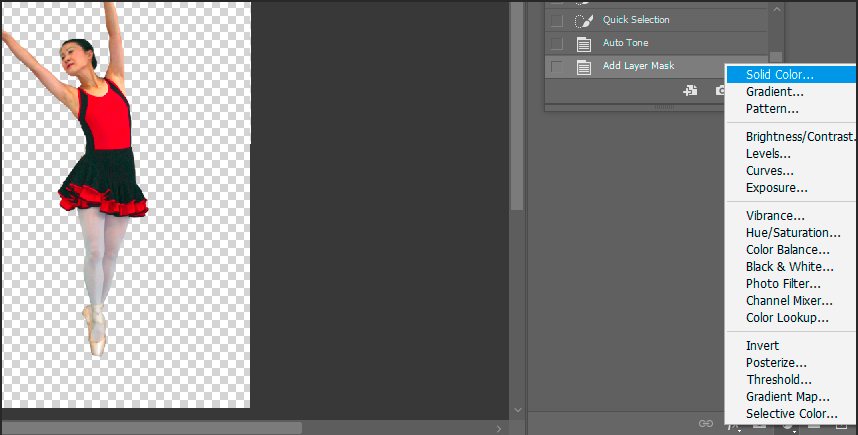
For example white color.
Note: the layer is white. You need to move the top new white color layer under the image.
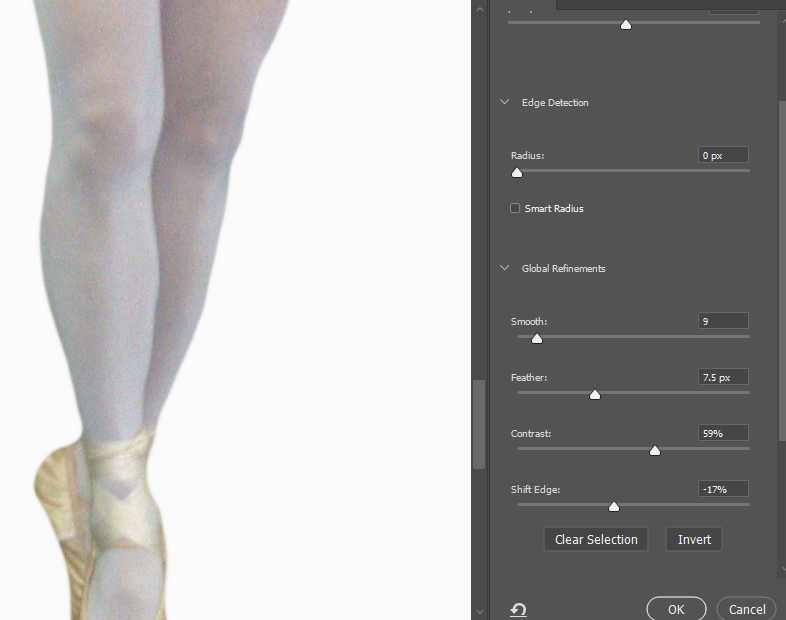
4. Make the selection lager. You will see the edge is not smooth. Now, click Selection and Mask from the Properties or from Selection menu. Note: Make sure the layer 0 selected Layer Mask is highlight (CTL+click).
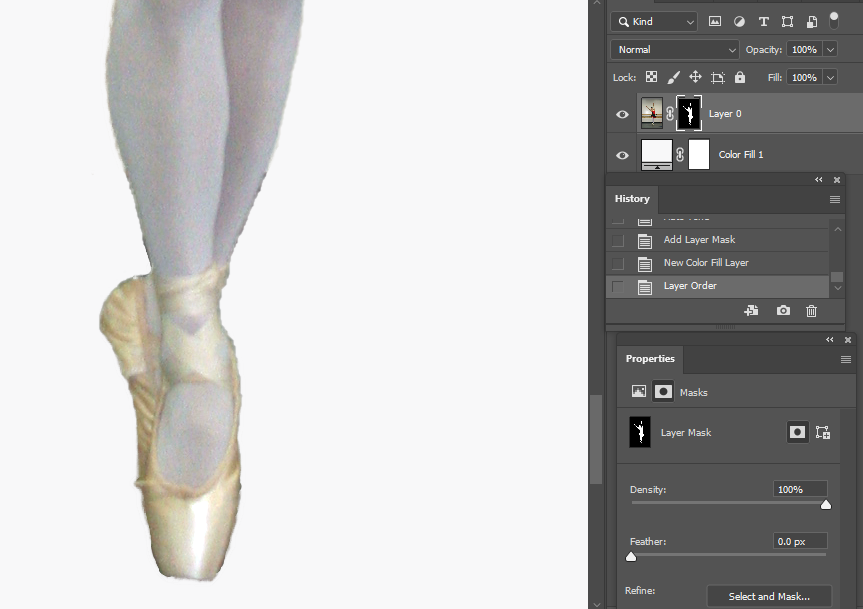
5. Adjust Smooth, Feather, Contrast, and Shield Edge.
This is a result example.

2. Use Polygonal Lasso Tool draw your desired shape of a light beam.
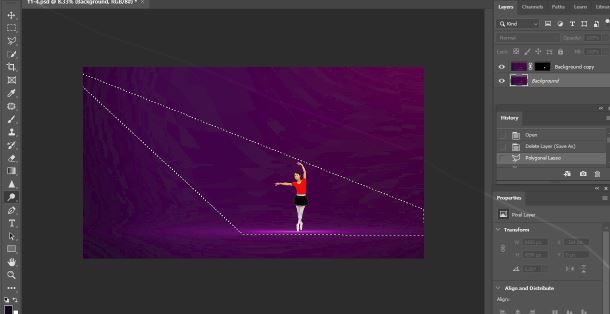
3. Click on Create a new fill or adjustment layer icon


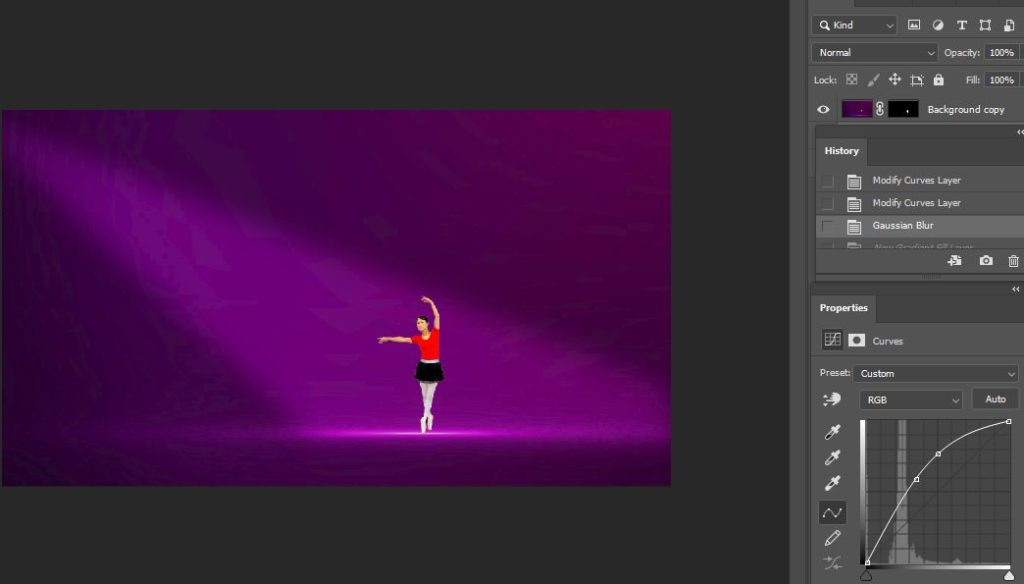
4. Select Curve and move the bar up.
5. In the Layer menu, go to New Fill Layer and select Gradient.
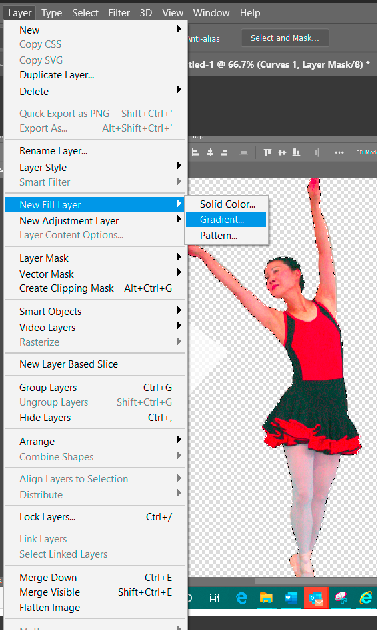
6. You have these options: Gradient Fit, Style, Angle and Scale.
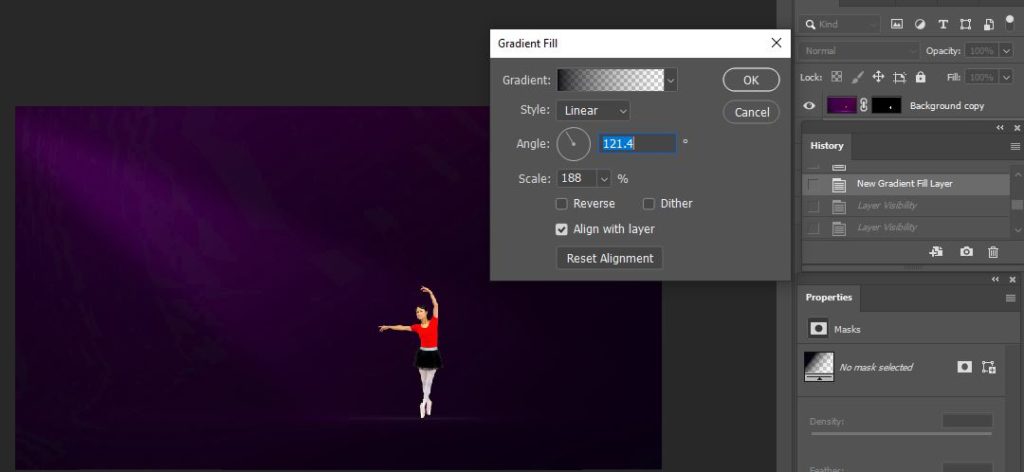
7. This is the result.

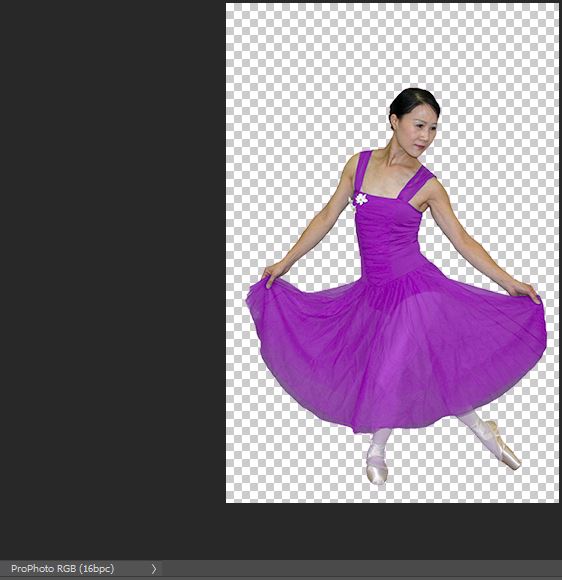
These are two images I try to merge them.

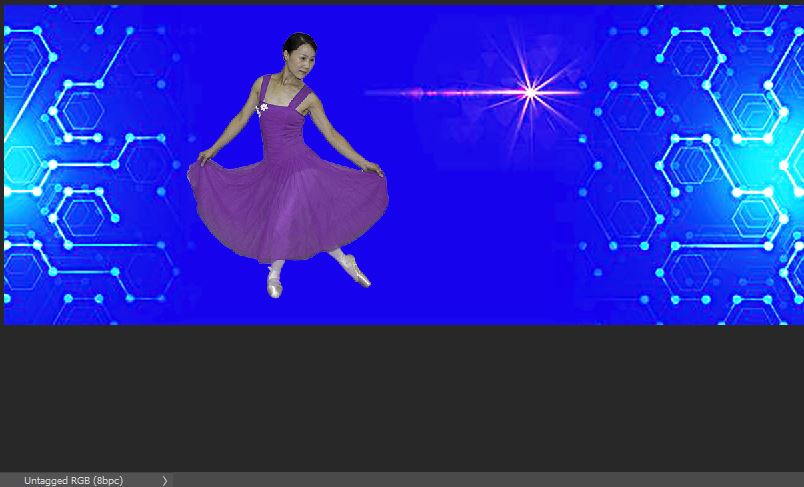
This is the result.
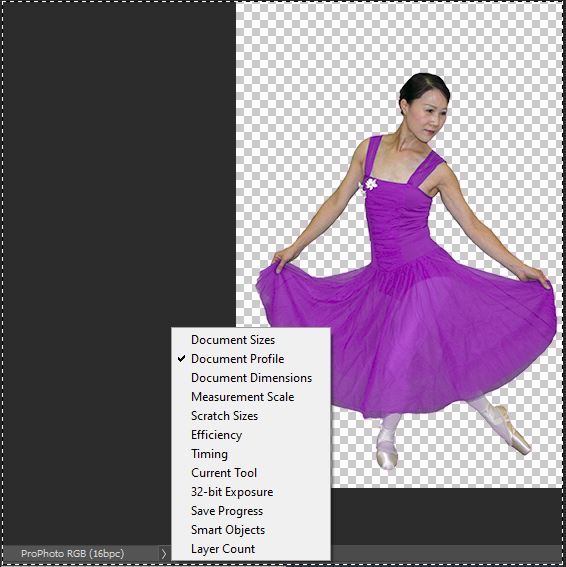
The reason is their profile colors are different. The first image is Untagged RGB. The second image is ProPhoto RGB. Note:
you can see it on the bottom. If you don’t see it, click on the same area, check Document Profile.
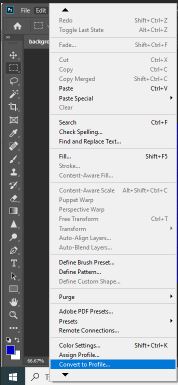
To fix the problem, match their profile color by going to Edit>Convert to Profile.
Change the Profile color under Source Space.
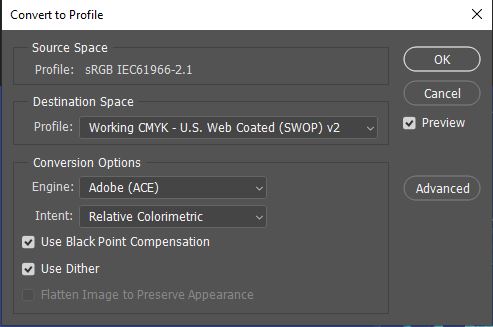

This is the fixed result.
