Bob Lin, MS-MVP, MCSE & CNE
Data recovery, Windows OS Recovery, Networking, and Computer Troubleshooting on
http://www.ChicagoTech.net
How to Install and Configure Windows, VMware, Virtualization and Cisco on
http://www.HowToNetworking.com
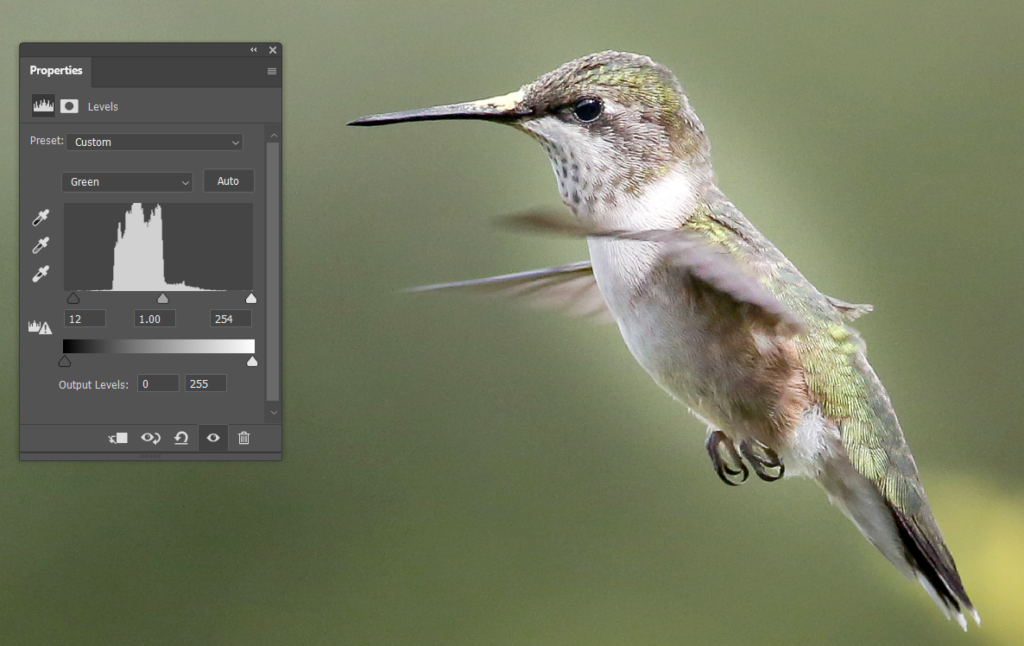
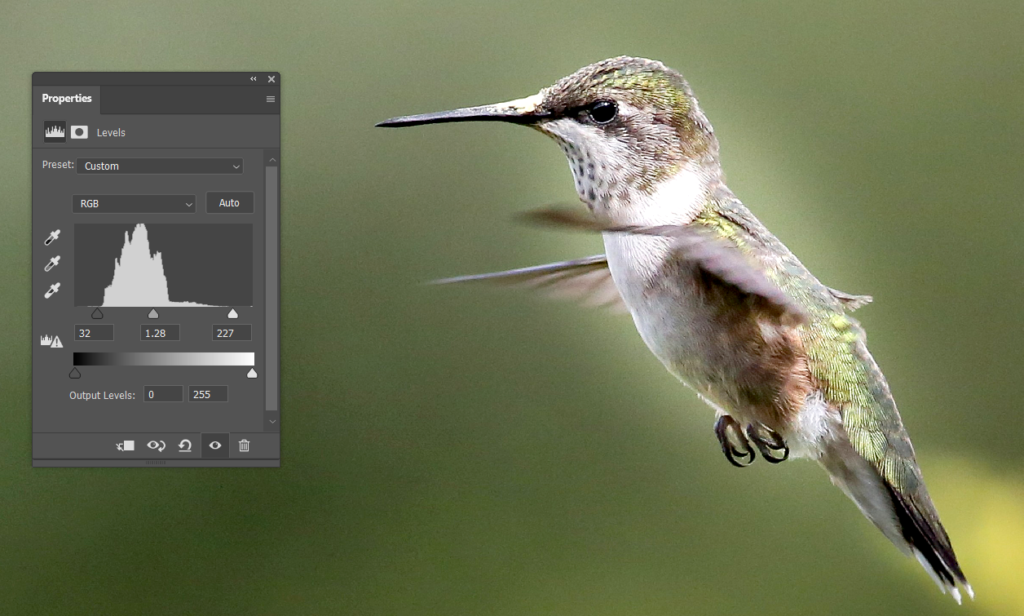
Levels is the simple method for making tonal and colorful adjustment. Or it corrects the tonal range and it corrects the color balance in an image. It works with histogram.
With the image open, go to Levels Properties.
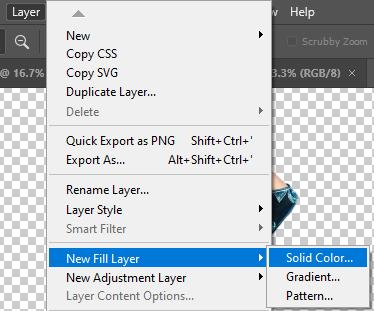
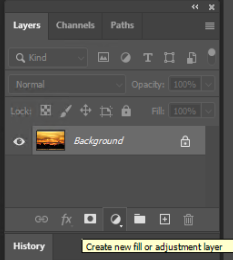
You can do it from Create new fill or adjustment layer in Layer panel.
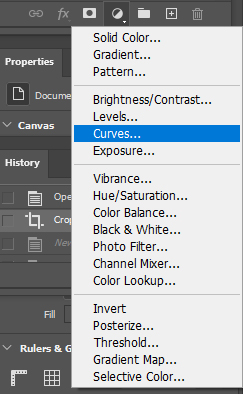
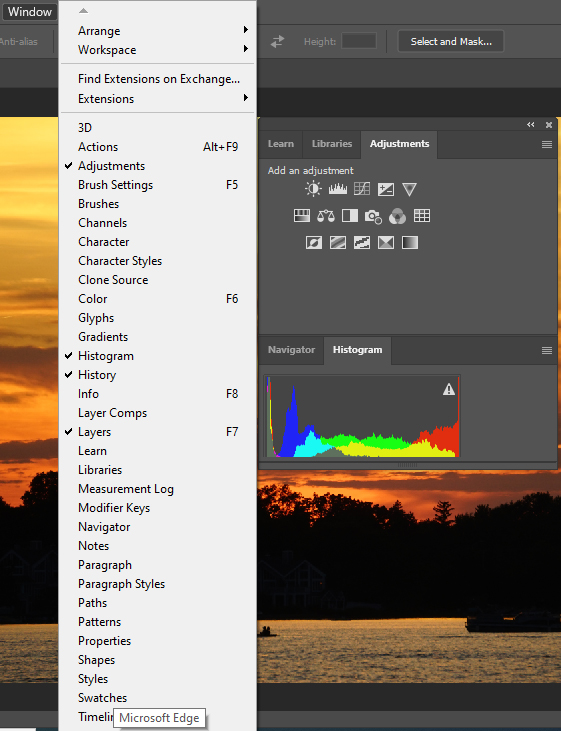
Or from Windows>Adjustment. Then select Levels icon.
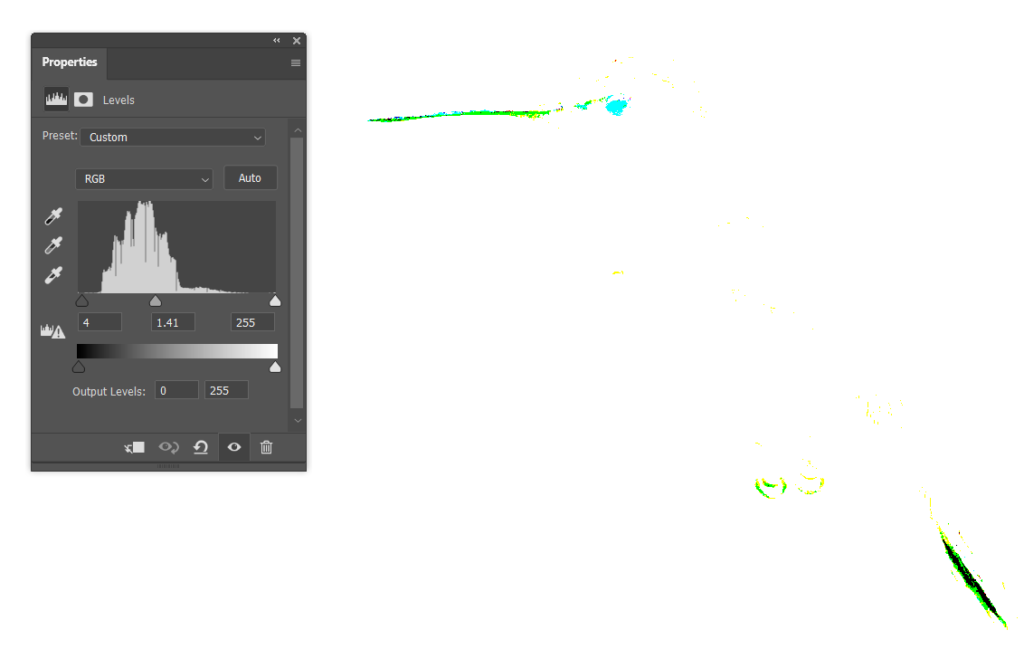
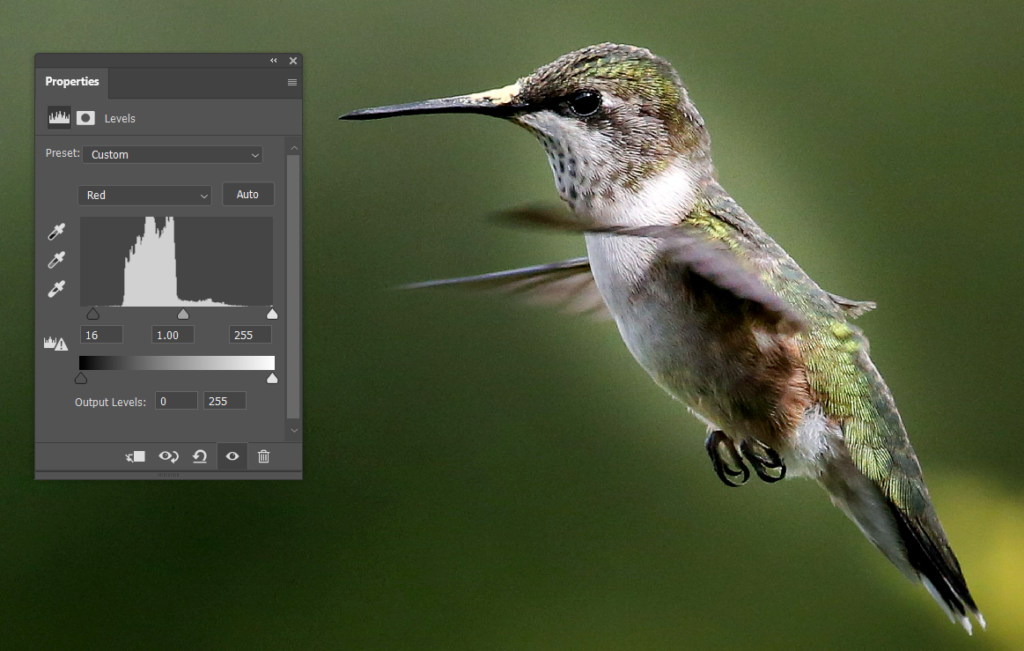
2. There are three sliders under the Levels graph. The shadow slider on the left determines how dark the image becomes. The highlight slider on the right establishes the highlights. The Gamma slider in the center lightens or darkens the midtones and is important in establishing the overall mood of the image.
3. The graph represents the darkest part of the image through to the lightest on a scale of 0-255. For maximum contrast, the graph should span the entire tonal range from 0 to 255. To adjust the contrast, make sure it is in RGB channel. Move the white slider in from the right to the edge of the histogram. Do the same for the black slider, adjusting it in to the edge of the histogram on the left. The important tip here is to make sure that you don’t overexpose the highlights and underexpose the shadows. Once you have those two sliders adjusted, you can adjust the mid tone slider to add some contrast to the scene.
Note: To make sure you aren’t losing detail in the shadows and the highlights, you can hold Alt key when you move slide.
This is a simple tip to use Curve Adjustment Layer to popup an image.
This is before.
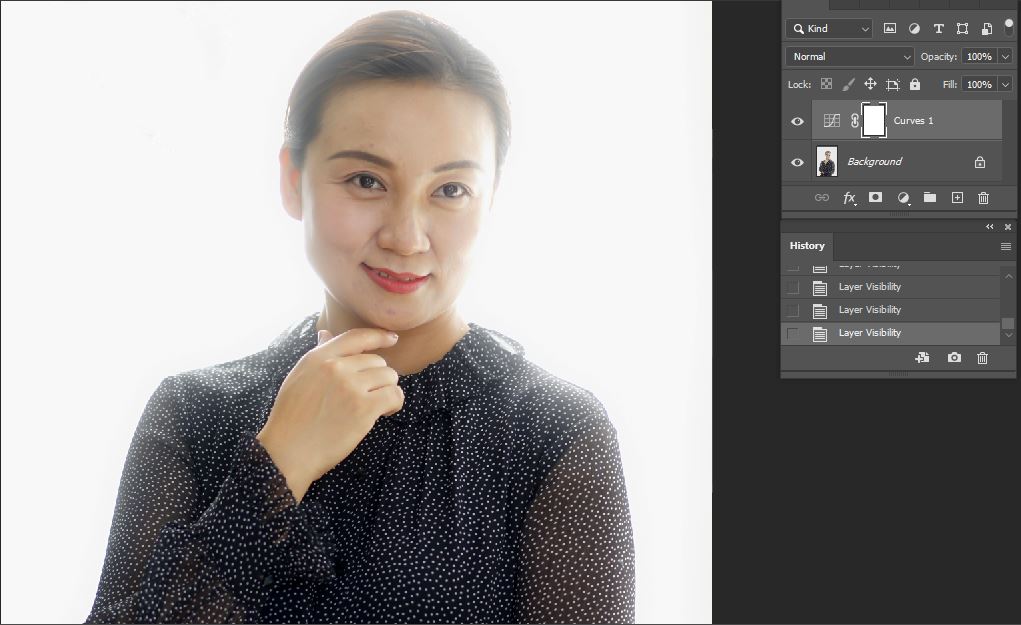
This is after.
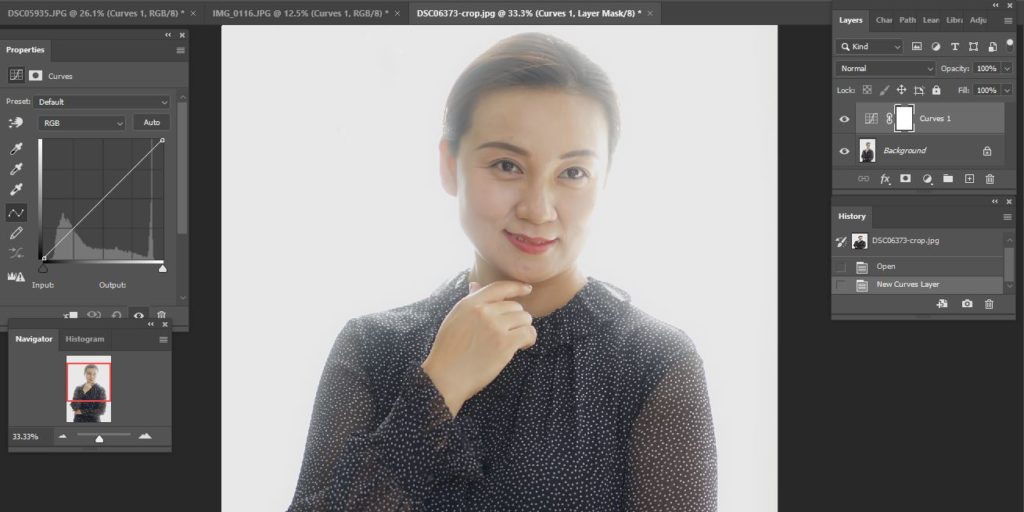
Open the image and Curve adjustment layer.
You can do it from Create new fill or adjustment layer in Layer panel.
Or from Windows>Adjustment. Then select Curve icon.
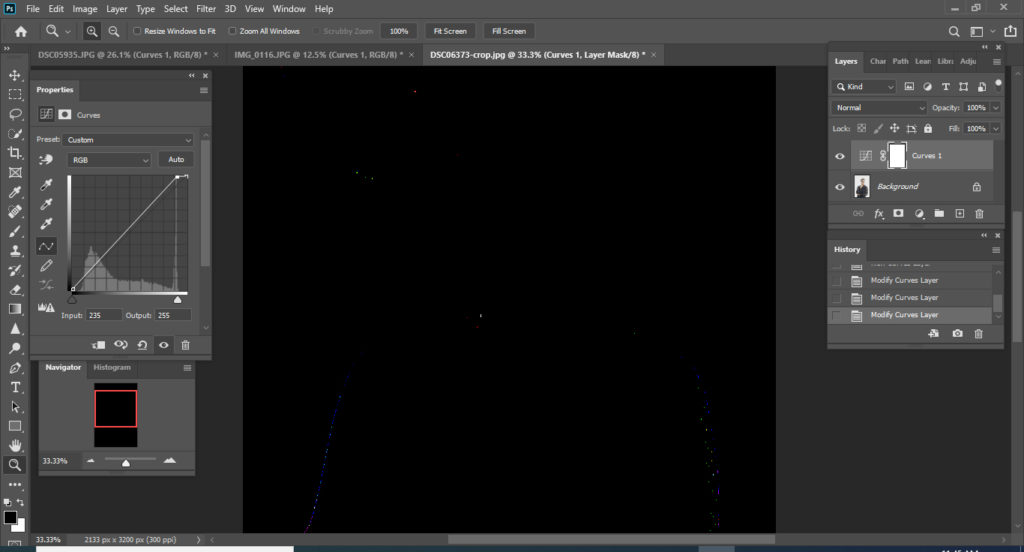
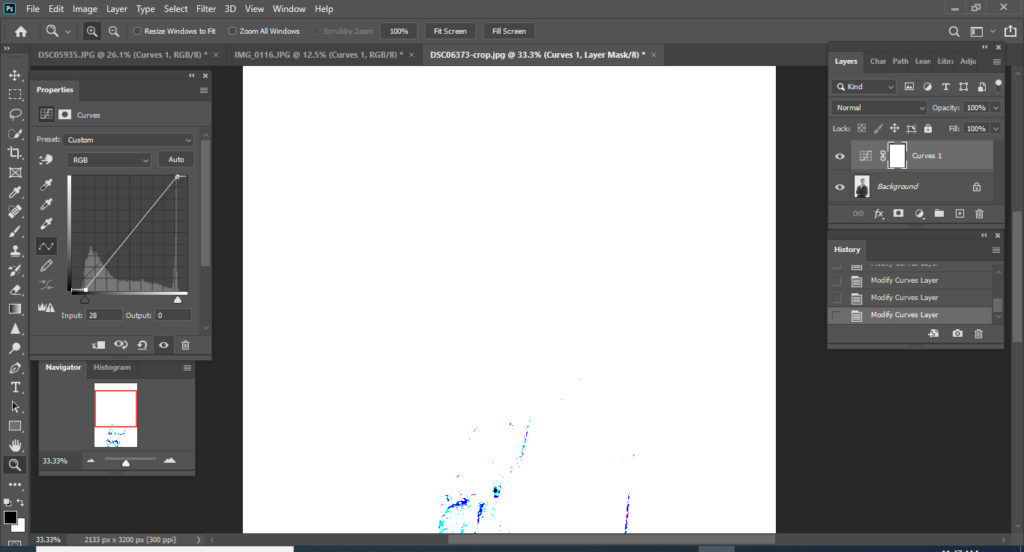
2. With the Properties of Curve open, you can see the left and right of Curve doesn’t have any ix or less pix. Hold Alt key and move the right course to left until you see the edge of the image.
Do the same by holding the Alt key and move the course from left to right until you see the edge.
3. Click the eye icon to compare before and after.
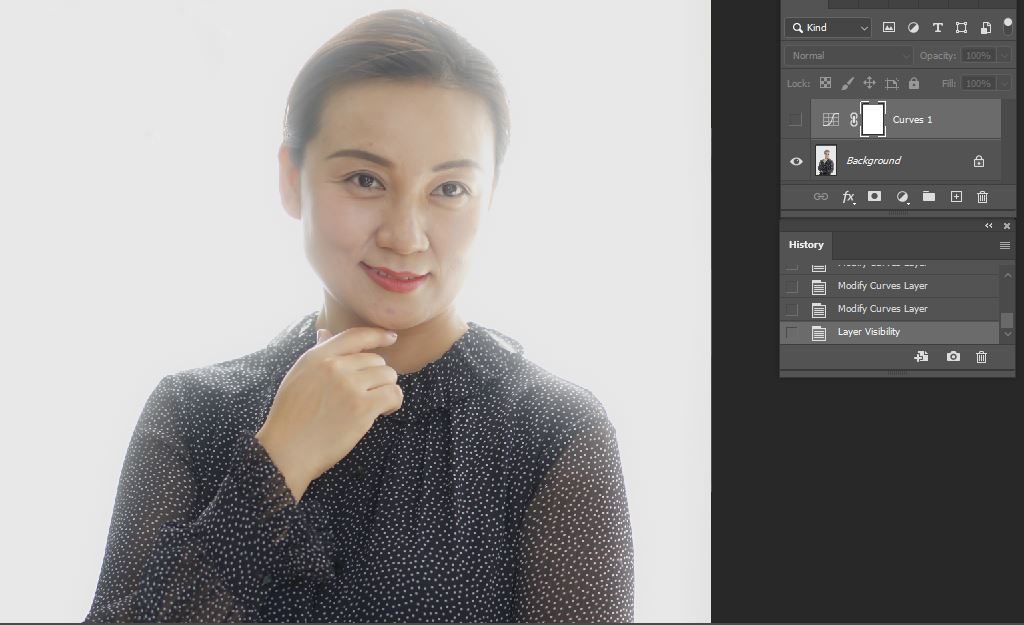
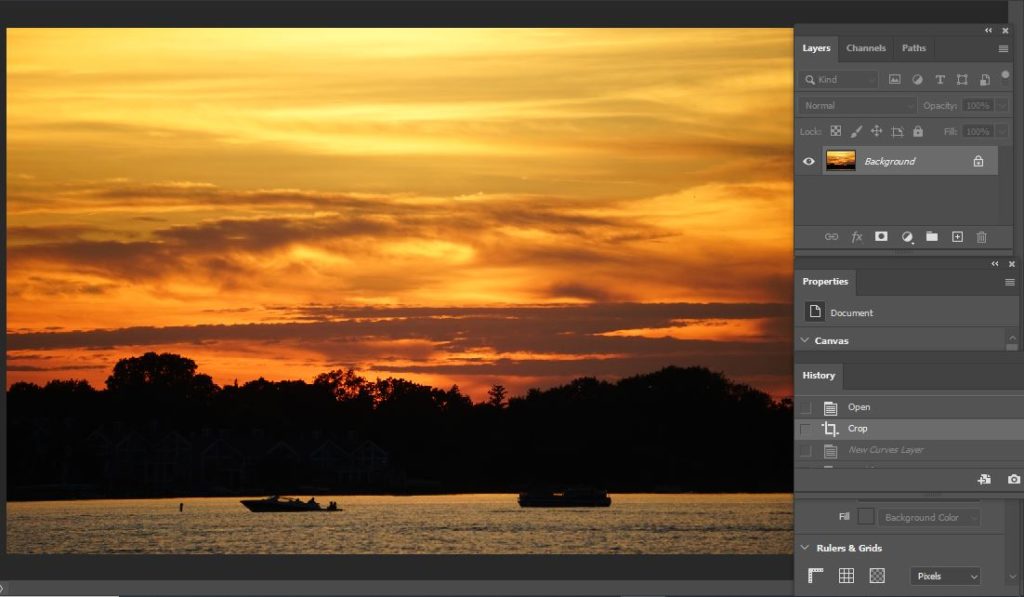
In this example, we will work on Curve Layer Adjustment. This is before
This is after.
Open and edit the image.
2. Create Curve layer. You can do it from Create new fill or adjustment layer in Layer panel.
Or from Windows>Adjustment. Then select Curve icon.
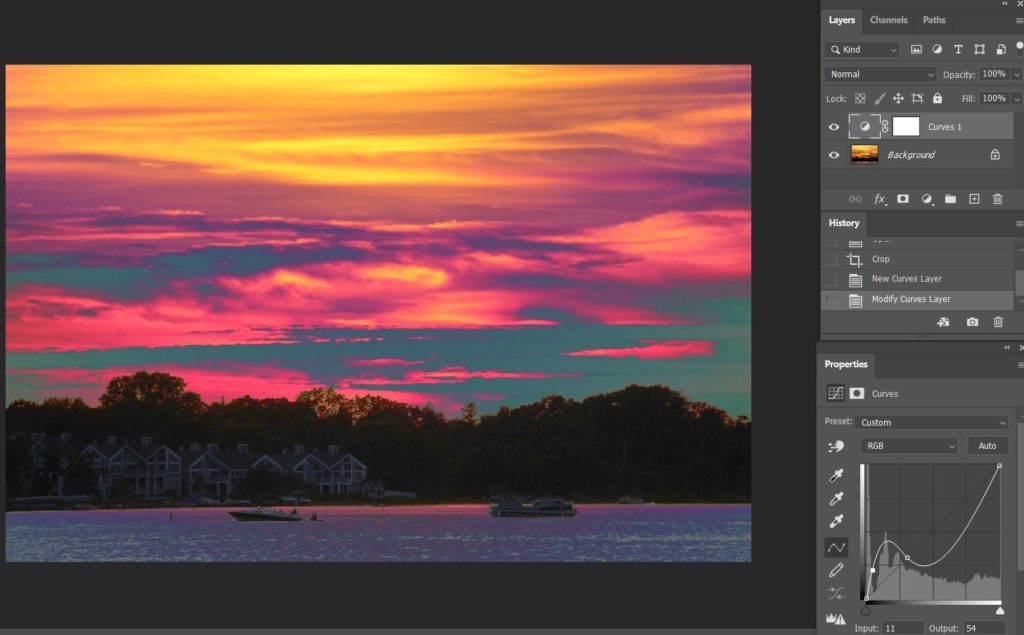
3. Our goal is highlighting the dark background. So adjust the Curve as shown this screenshot.
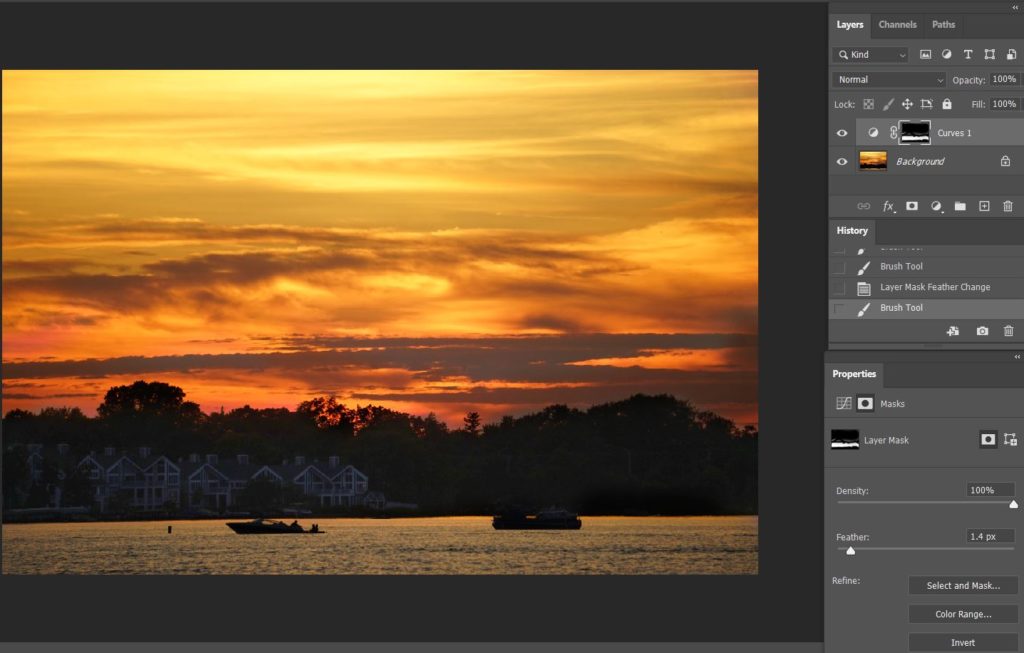
4. To highlight the dark background and keep other areas are the same as the original, you will use Brush Tool.
Make sure the the Front background is black, then use the brush to pain the areas you want to adjust.
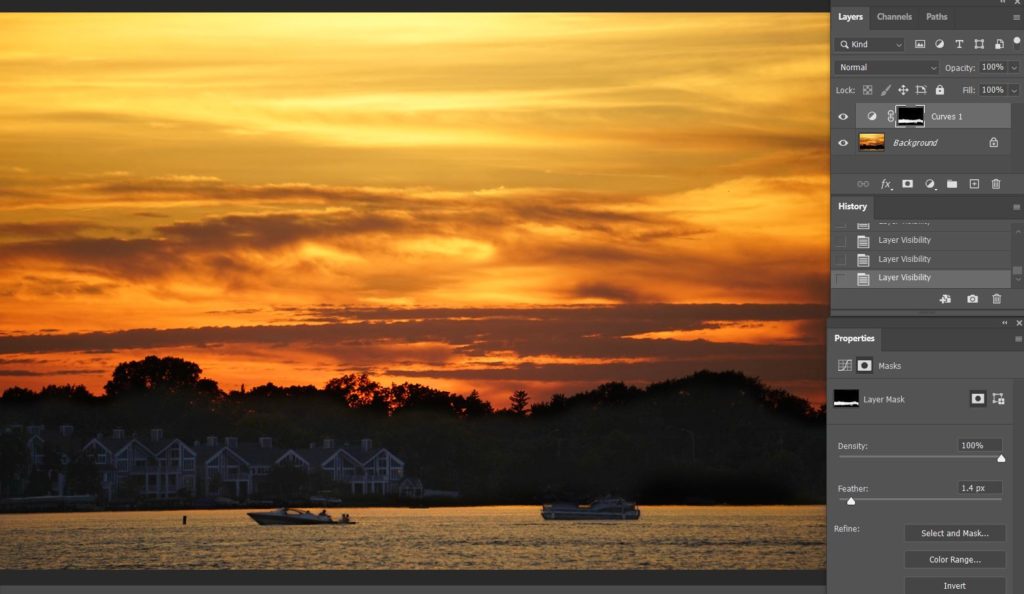
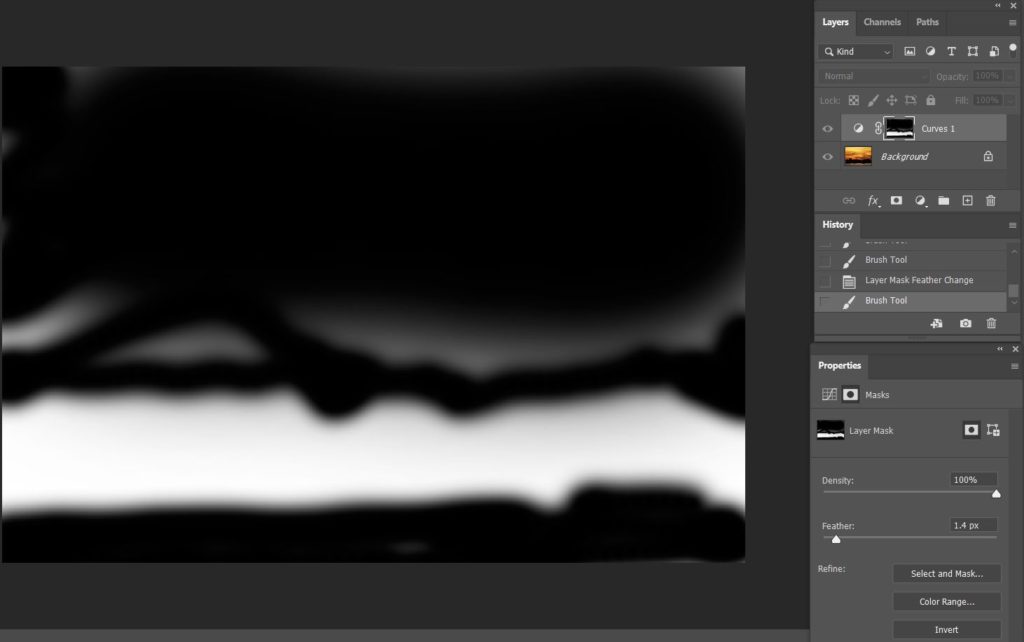
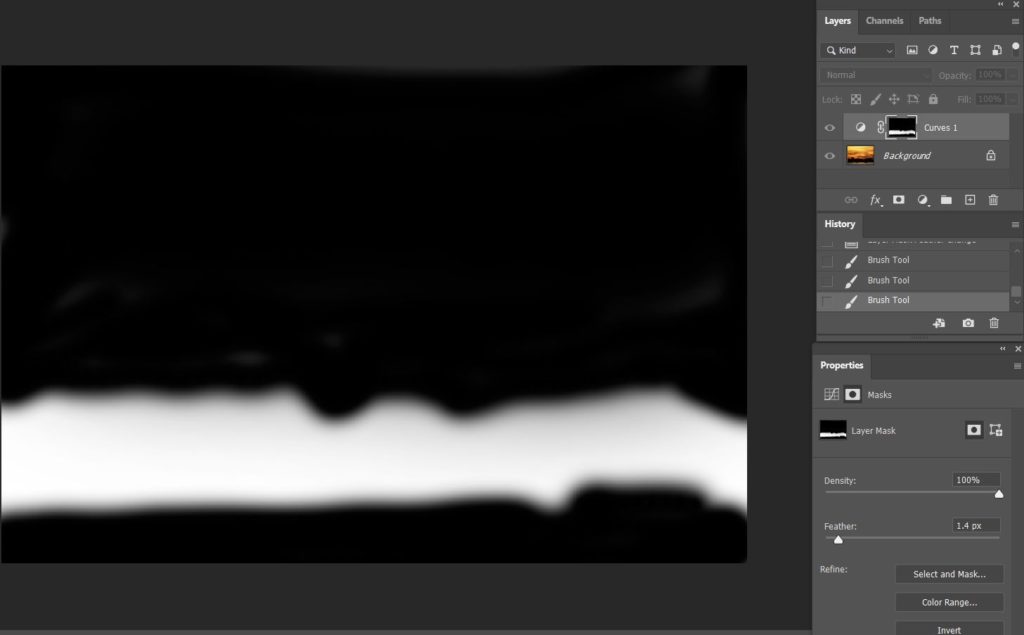
5. You can check the paining area by hold Alt and click on Curve layer.
In the Properties (if you don’t have the Properties open, you can open it from Windows), you can continue to pain and adjust Density and other refine. Here is the result.
With the image open, duplicate the layer, duplicate the Background layer by hitting CMD or CTRL + J on the keyboard or by clicking and dragging the Background layer to the New Layer symbol at that bottom of the Layers Panel.
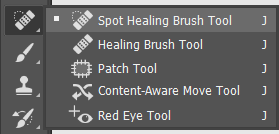
Open Spot Healing Brush Tool.
3. Remove small blemishes.
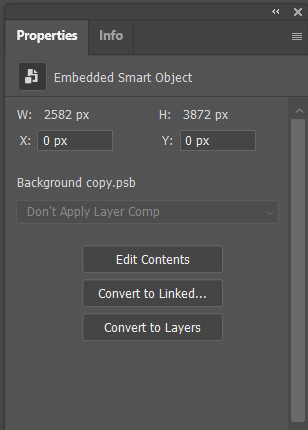
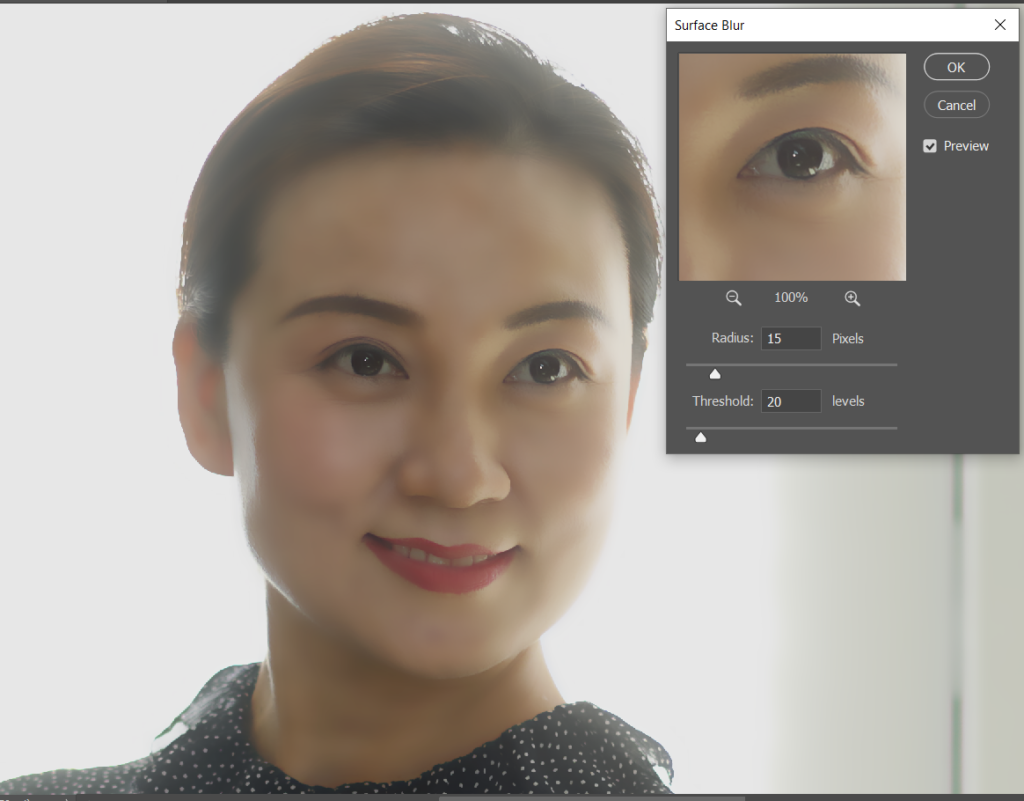
4. With background copy active, go to Filter>Convert for smart filter.
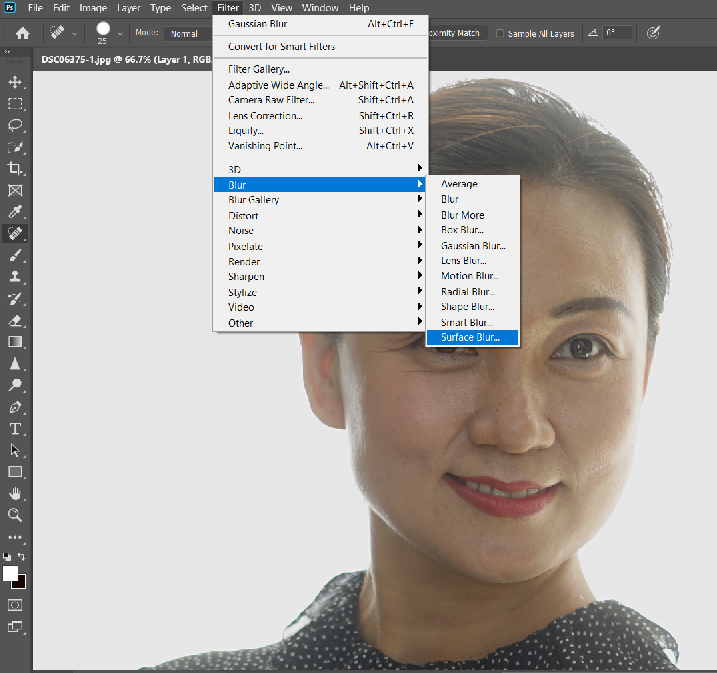
4. Open Surface Blur from Filter>Blur.
5. Adjust Radius and Thresholds, in our example, Radius=15, Thresholds=20. Check the preview to compare.
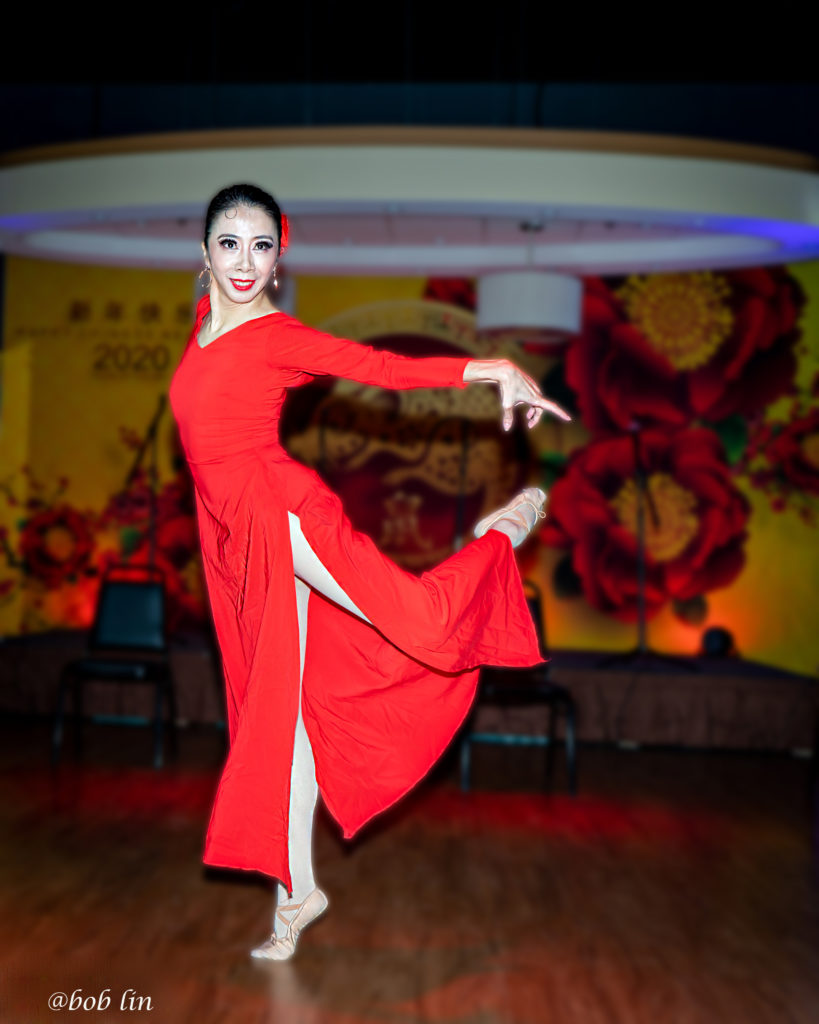
Blur a background can draw attention to a focal point. As always, the best way to do this is in-camera with a wide maximum aperture , F2.8 or low number. If you didn’t have the right lens with wide open aperture, Photoshop can help. In this example, we will use Gaussian Blur to blur the background.
Before
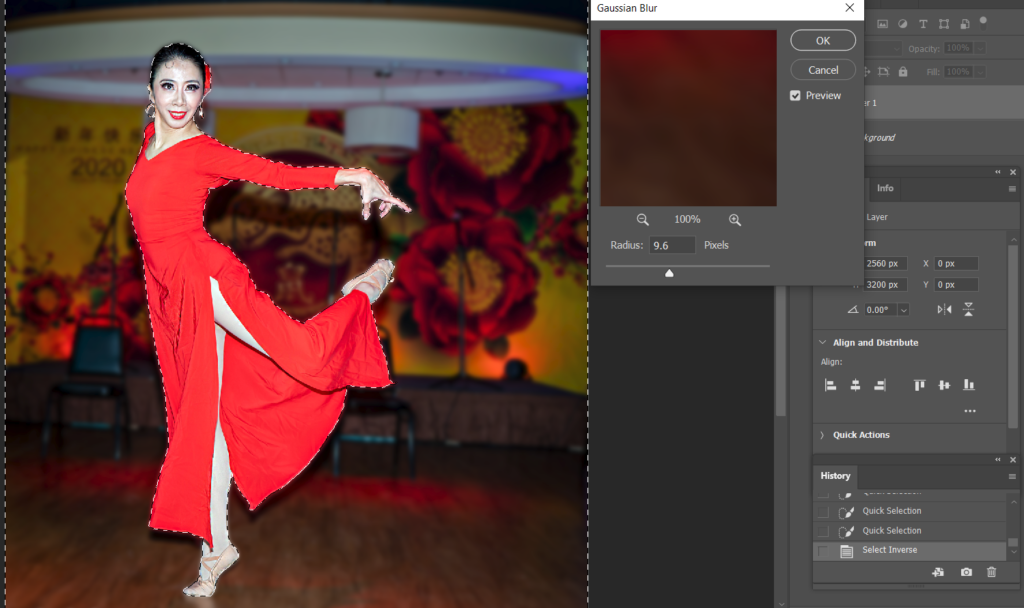
With the image open, duplicate the Background layer by hitting CMD or CTRL + J on the keyboard or by clicking and dragging the Background layer to the New Layer symbol at that bottom of the Layers Panel.
Use the select object tool to select subject. Please refer this post:
4. Pixels slider beneath and then moving the Pixels slider to the left or right the Gaussian Blur effect increases and decreases. Don’t over do it. You can check the preview to compare before and after.
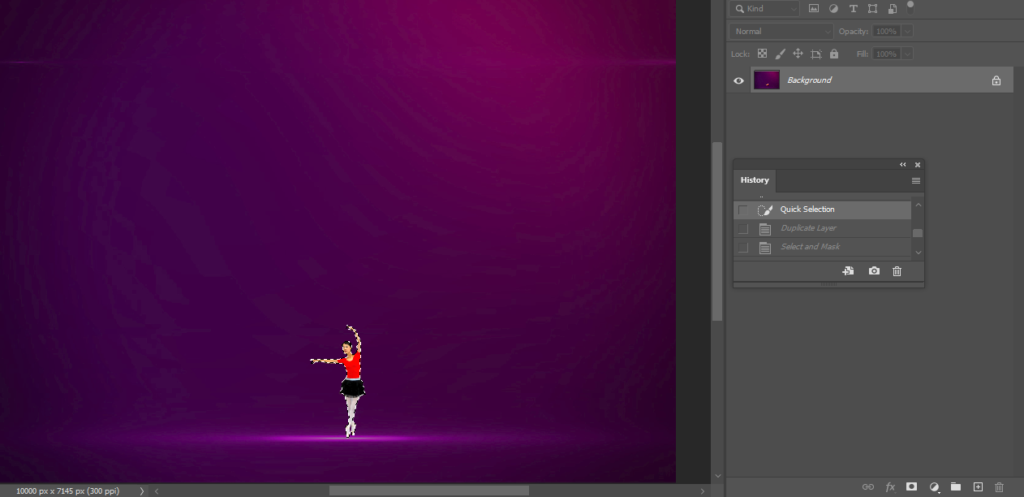
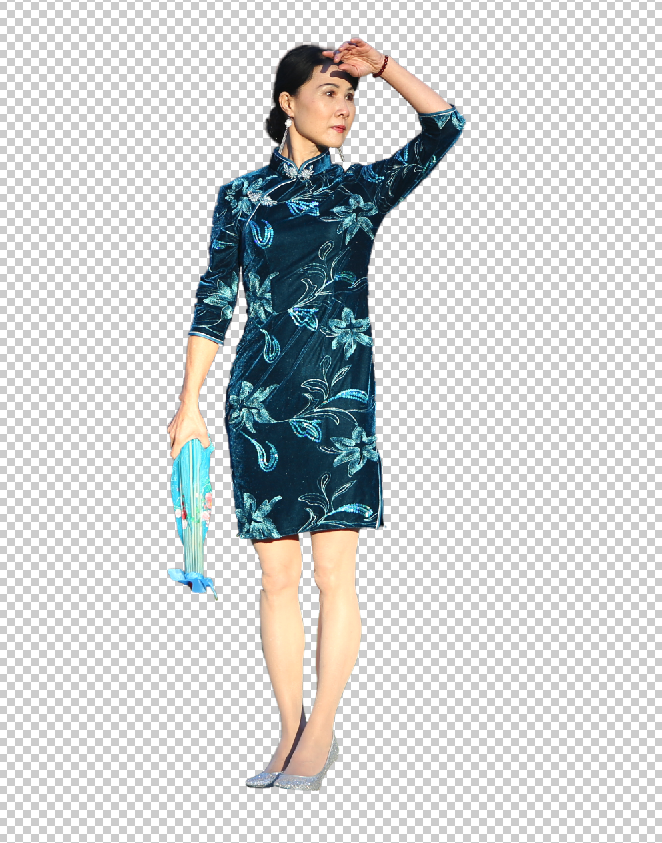
Making selections of scattered hair in Photoshop is not easy. with a uniform background are perfect to start with. Here is how.
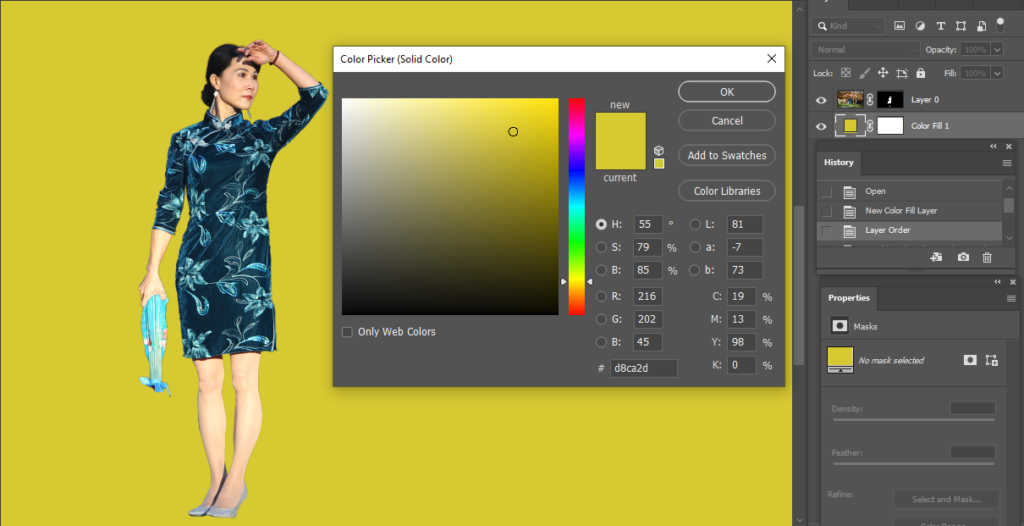
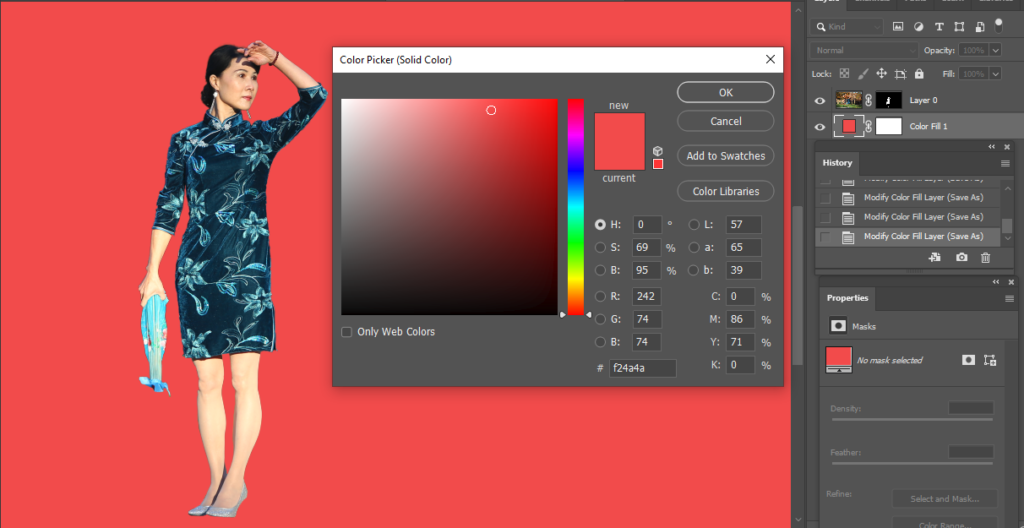
Use a select tool to select background or subject. In our example, I use Magic Wand Tool.
2. After using Magic Wand tool select all white background, use Quick Select Tool deselect subject.
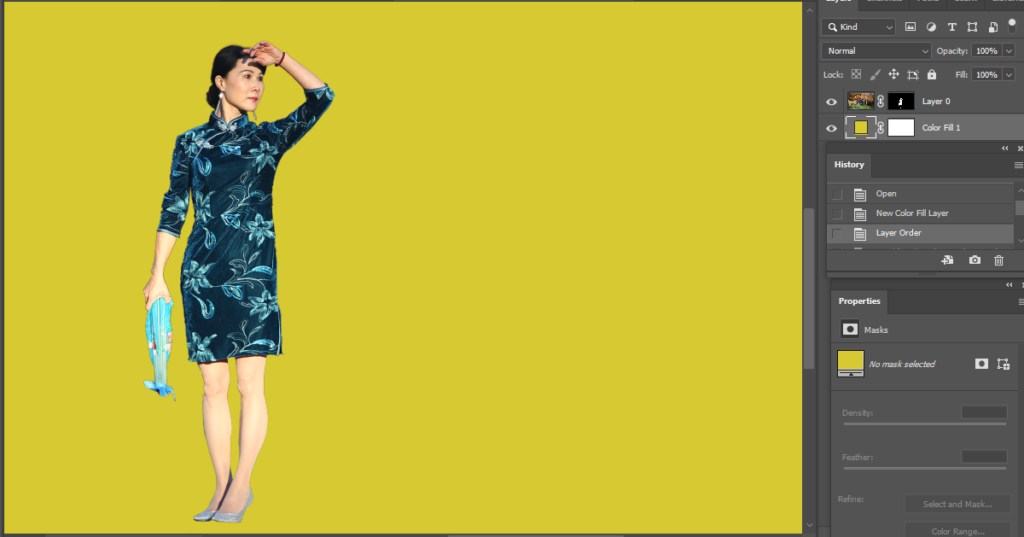
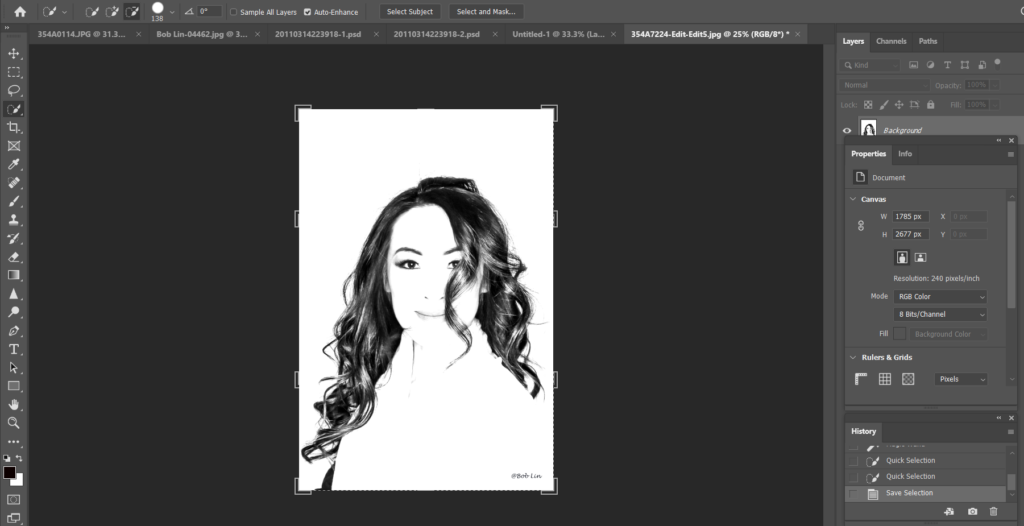
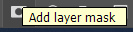
3. Go to Select to Inverse from background selection to object selection. Now, click Add layer mask icon
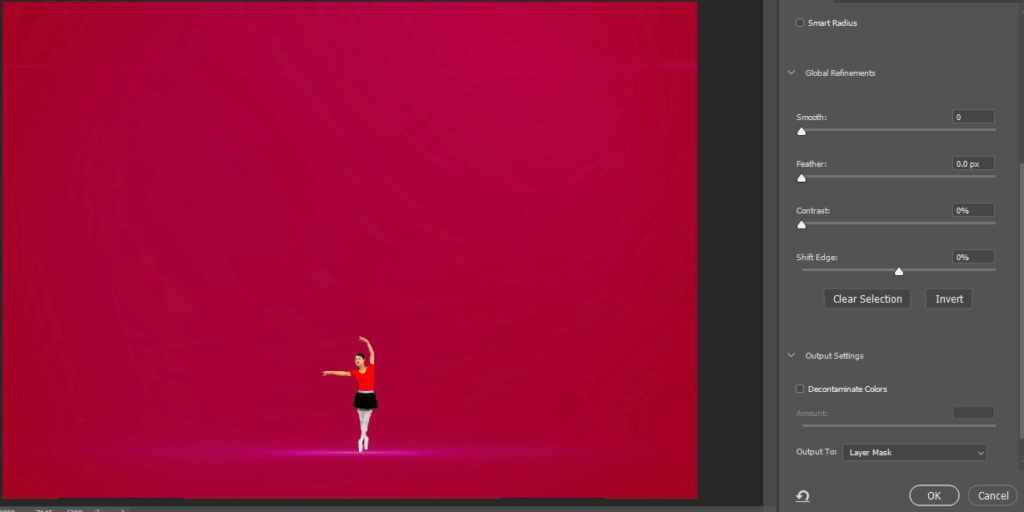
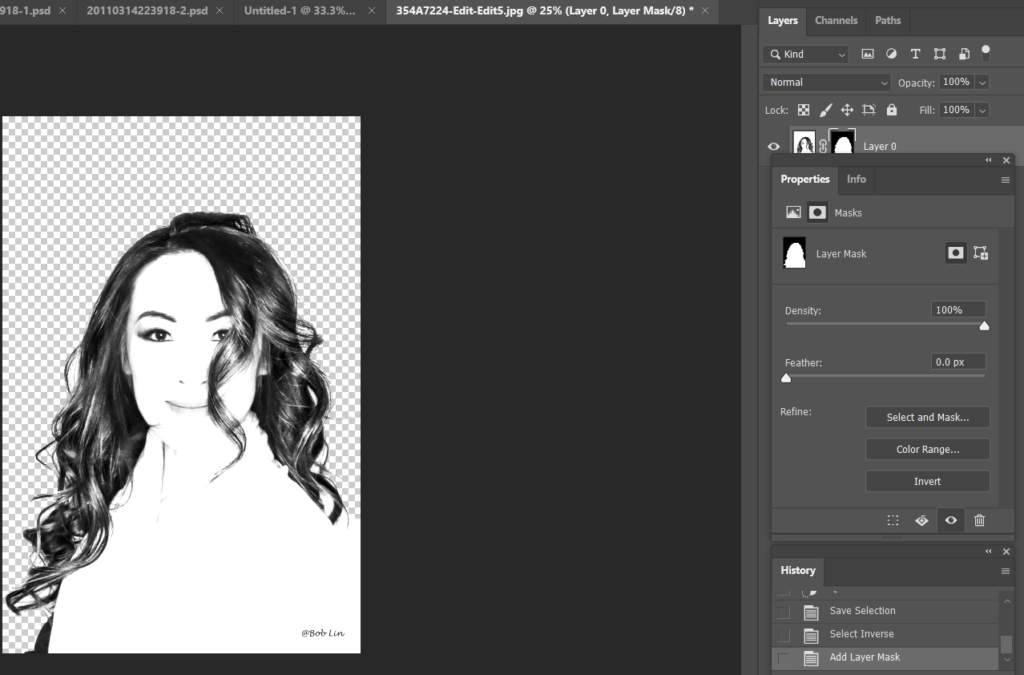
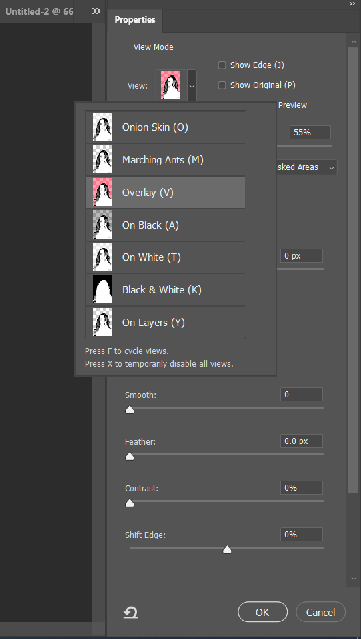
4. Click Select and Mask on the top or Go to Select>Select and Mask.
5. Select Refine Edge Brush Tool (R)
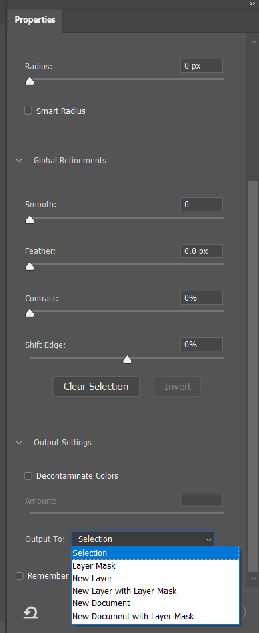
6. In the properties of Select and mask, you have these options: Show Edge, Show Original, View Mode. Normally, I start Opacity at 50%, check Smart Radius. Adjust Global Refinements such as smooth, feather, contrast and shift edge for the perfect result.
Decontaminate Color helps you to reduce the edge of the leftover colored pixels around the edges of a selection.
Output Todrop-down menus has these options:
Selection: When you press OK after refining the edge, then your output will be just a selection. It leaves you with marching ants.
New Layer: Creates a new layer which contains only the selection. It deletes the background.
New Layer with Layer Mask: Creates a new layer with a layer mask.
Layer Mask: Add a layer mask to the selection. One of the most used output by me.
New Document: Create a new document/file which contains only the selected pixels.
New Document with Layer Mask: Creates a new document with a layer mask which only contains the selected image.