Bob Lin Photography services
Real Estate Photography services
1.Use the Correct Exposures. Generally, slightly overexpose your images for whiter snow. Almost every camera has an exposure compensation dial designed to be used in just these circumstances. Compensate the exposure by slowing your shutter speed, widening your aperture, or increasing your ISO. All options will result in more light reaching your sensor. All you need to do, when you go skiing, is turn the dial up to +1, or even +2 if it is a sunny day and your pictures will be 'over exposed' by normal standards, but should be just what you want.
 |
2.Use a relatively fast shutter speed for falling snow if you want to capture those beautiful flakes as sharp white specks. 1/250 of a second is a good place to start.
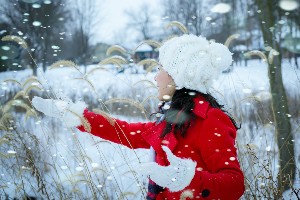
3.Use a tripod and a slow shutter speed when it's snowing to cause a "streaking" effect in the image. A slower shutter speed is recommended to capture variants in the light, particularly at sunrise or sunset. Try 1/15th of a second first.
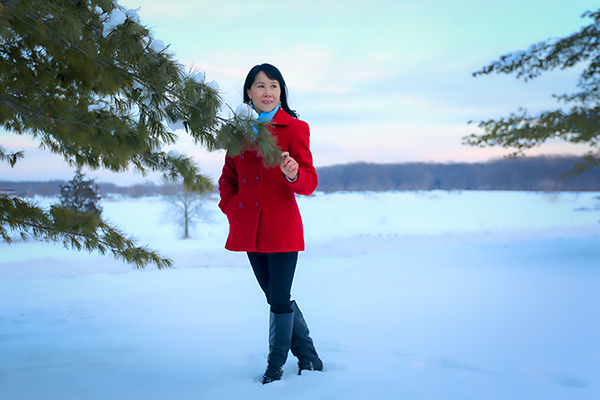
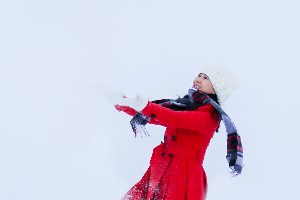
4.Snow is gorgeous in black and white. There’s often little to be gained by snow pictures in color. On the other hand… Something red in a snow scene is gorgeous, too. Think Courier and Ives here.
5.Always use Manual for the same reason of # 1, 2, 3 and more control.
6.A walk in the woods alone at 7 AM after a fresh snowfall is a religious experience.
7.Use White Balance in Snow. If you do not intend to do any processing in the computer but want to get everything right in the camera, it is recommended you set the white balance to the setting for 'flash' instead of the automatic setting. This will usually give a warmer result as it is designed to compensate for the slightly blue white color of flash lighting.
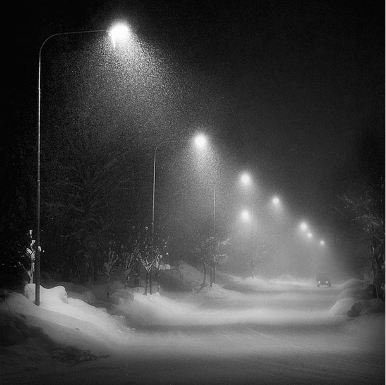
8. Taking snow pictures at night is easier than you would think. You may have to turn up your ISO, but street lights bouncing off of fresh snow are actually quite bright. A dark sky against the new snowfall is beautiful. And the whole thing just oozes with mood.
