Bob Lin Photography services
Real Estate Photography services
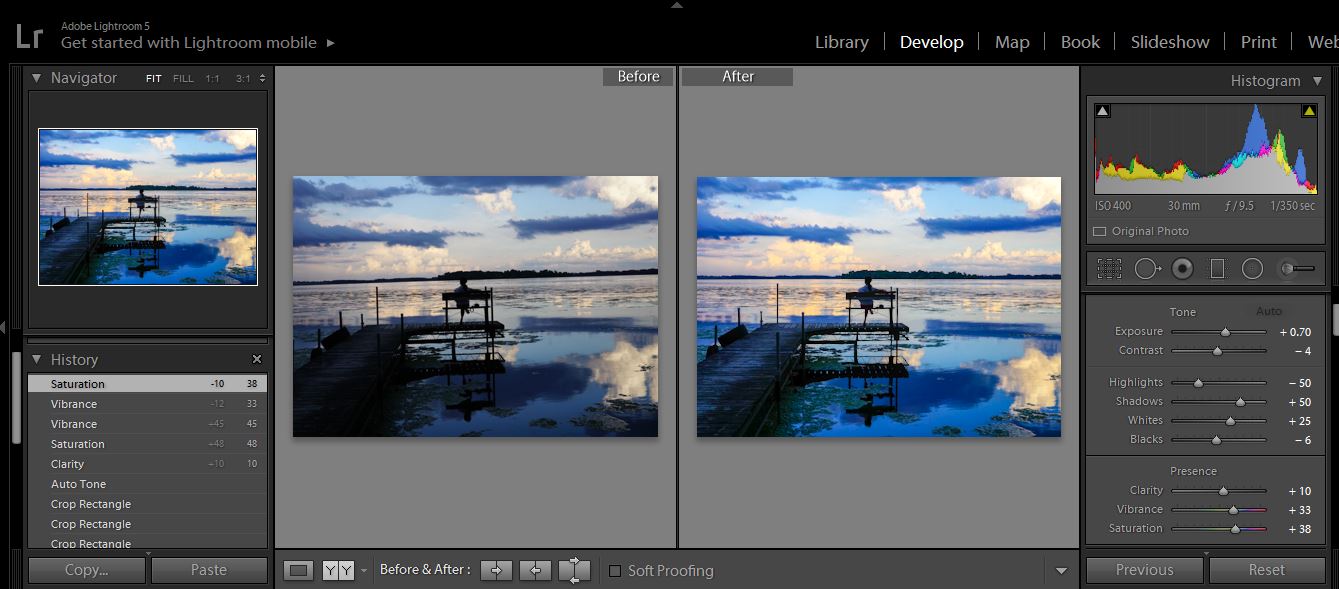
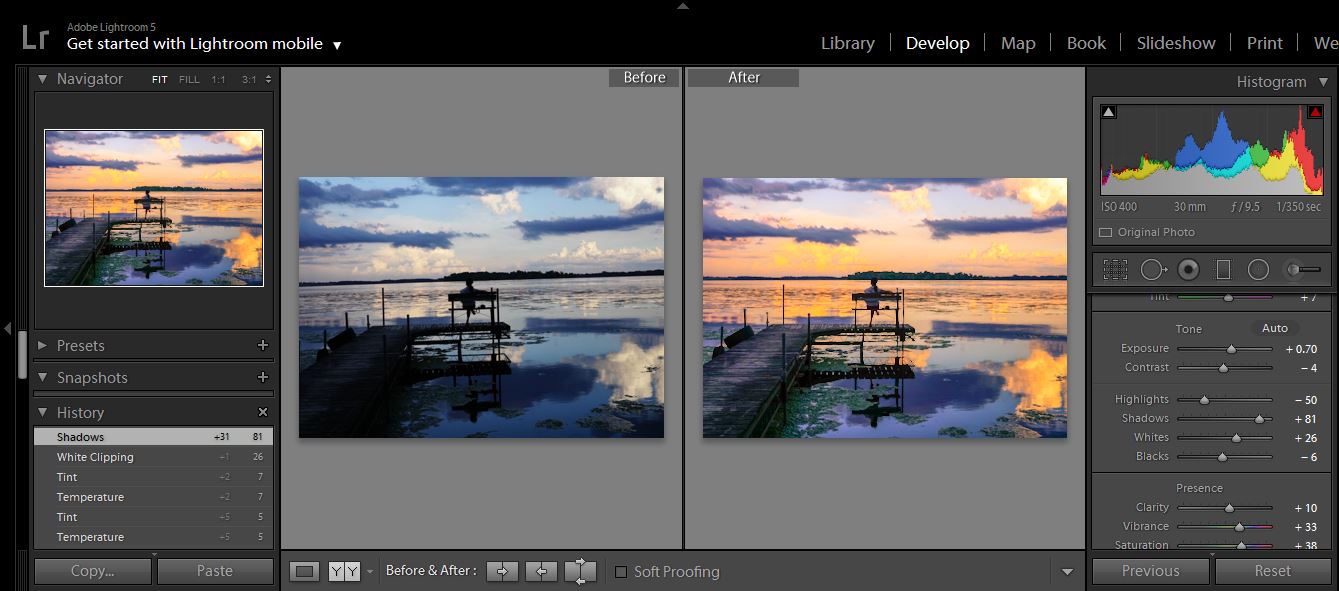
1. Adjust Basic: 1) Fine-tune the white balance using the Temp and Tint controls.
2) Adjust overall image tonal scale
** Exposure (All) Sets the overall image brightness. Adjust the slider until the photo looks good and the image is the desired brightness. Exposure values are in increments equivalent to aperture values (f‑stops) on your camera. An adjustment of +1.00 is similar to opening the aperture 1 stop. Similarly, an adjustment of –1.00 is similar to closing the aperture 1 stop.
* Contrast (All) Increases or decreases image contrast, mainly affecting midtones. When you increase contrast, the middle-to-dark image areas become darker, and the middle-to-light image areas become lighter. The image tones are inversely affected as you decrease contrast.
* Highlights Adjusts bright image areas. Drag to the left to darken highlights and recover “blown out” highlight details. Drag to the right to brighten highlights while minimizing clipping.
* Shadows Adjusts dark image areas. Drag to the left to darken shadows while minimizing clipping. Drag to the right to brighten shadows and recover shadow details.
* Whites Adjusts white clipping. Drag to the left to reduce clipping in highlights. Drag to the right to increase highlight clipping. (Increased clipping may be desirable for specular highlights, such as metallic surfaces.)
* Blacks Adjusts black clipping. Drag to the left to increase black clipping (map more shadows to pure black). Drag to the right to reduce shadow clipping.
2. Adjust Tone Curve:
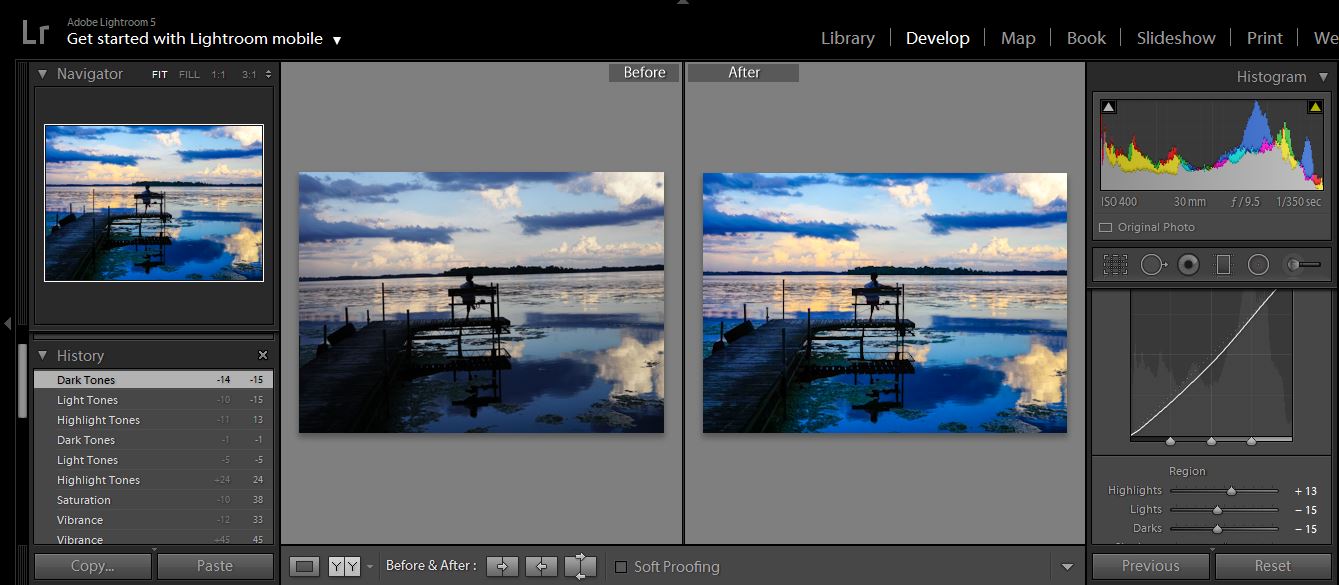
The graph in the Tone Curve panel of the Develop module represents changes made to the tonal scale of a photo. The horizontal axis represents the original tone values (input values), with black on the left and progressively lighter values toward the right. The vertical axis represents the changed tone values (output values), with black on the bottom and lighter values progressing to white at the top. Use the tone curve to tweak the adjustments you make to a photo in the Basic panel.
Blacks Specifies which image values map to black. Moving the slider to the right increases the areas that become black, sometimes creating the impression of increased image contrast. The greatest effect is in the shadows, with much less change in the midtones and highlights.
If a point on the curve moves up, it becomes a lighter tone; if it moves down, it becomes darker. A straight, 45-degree line indicates no changes to the tonal scale: The original input values exactly match the output values. You may see a tone curve that isn’t straight when you first view a photo that you haven’t adjusted. This initial curve reflects default adjustments that Lightroom applied to your photo during import.
The Darks and Lights sliders affect mainly the middle region of the curve. The Highlight and Shadows sliders affect mainly the ends of the tonal range.
To make adjustments to the tone curve, do any of the following:
•Click on the curve and drag up or down. As you drag, the affected region is highlighted and the related slider moves. The original and new tonal values are displayed in the upper-left of the tone curve.
•Drag any of the four Region sliders left or right. As you drag, the curve moves within the affected region (Highlights, Lights, Darks, Shadows). The region is highlighted in the tone curve graph. To edit curve regions, drag the split controls at the bottom of the tone curve graph.
•Click to select the Targeted Adjustment tool in the upper-left of the Tone Curve panel and then click on an area in the photo that you want to adjust. Drag or press the Up and Down Arrow keys to lighten or darken the values for all similar tones in the photo.
•Choose an option from the Point Curve menu: Linear, Medium Contrast, or Strong Contrast. The setting is reflected in the curve but not in the region sliders.
Note: The Point Curve menu is blank for photos imported with metadata and previously edited with the Adobe Camera Raw tone curve.
To make adjustments to individual points on the tone curve, choose an option from the Point Curve menu, click the Edit Point Curve button , and do any of the following:
•Choose an option from the Channel pop-up menu. You can edit all three channels at once, or choose to edit the Red, Green, or Blue channel individually.
•Click to add a point.
•Right-click (Windows) or Control-click (Mac OS) and choose Delete Control Point to remove a point.
•Drag a point to edit it.
•To return to a linear curve at any time, right-click (Windows) or Control-click (Mac OS) anywhere in the graph and choose Flatten Curve.
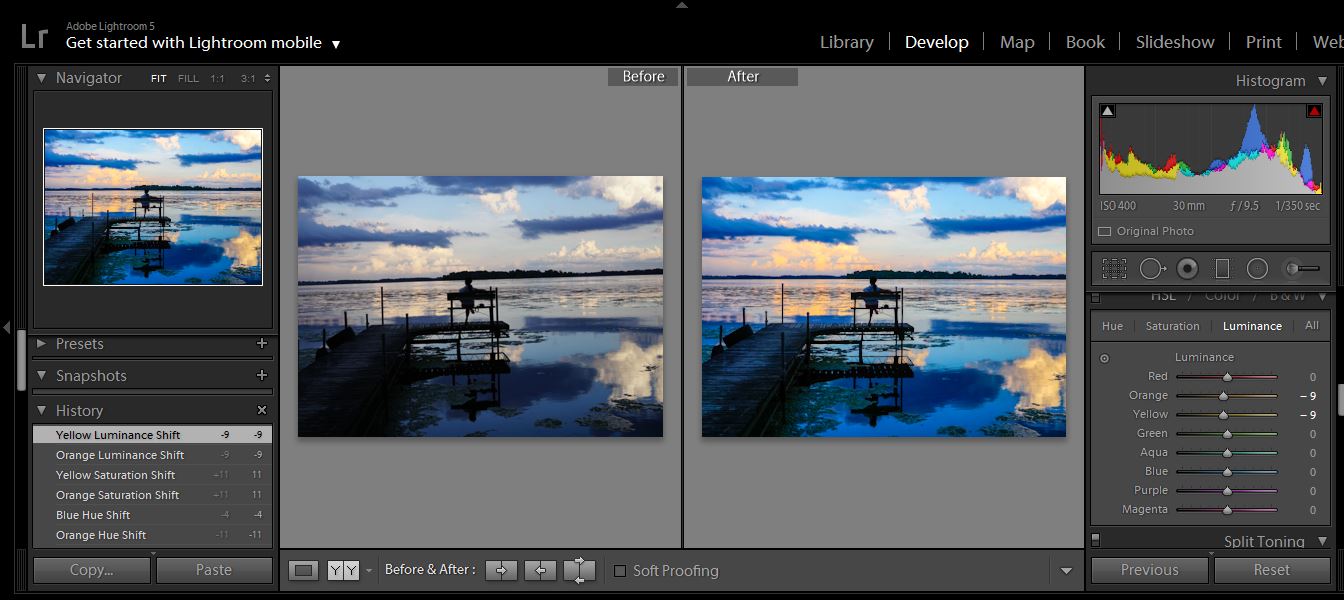
3. Adjust HSL:
Use the HSL and Color panels in the Develop module to adjust individual color ranges in your photo. For example, if a red object looks too vivid and distracting, you can adjust it using the Saturation slider for Red. Note that all similar reds in the photo will be affected.
The adjustments you make in the HSL and Color panels produce similar results, but the two panels organize the sliders in different ways. To open a panel, click its name in the HSL/Color/B&W panel header.
The slides in these panels work on specific color ranges:
Hue: Changes the color. For example, you can change a blue sky (and all other blue objects) from cyan to purple.
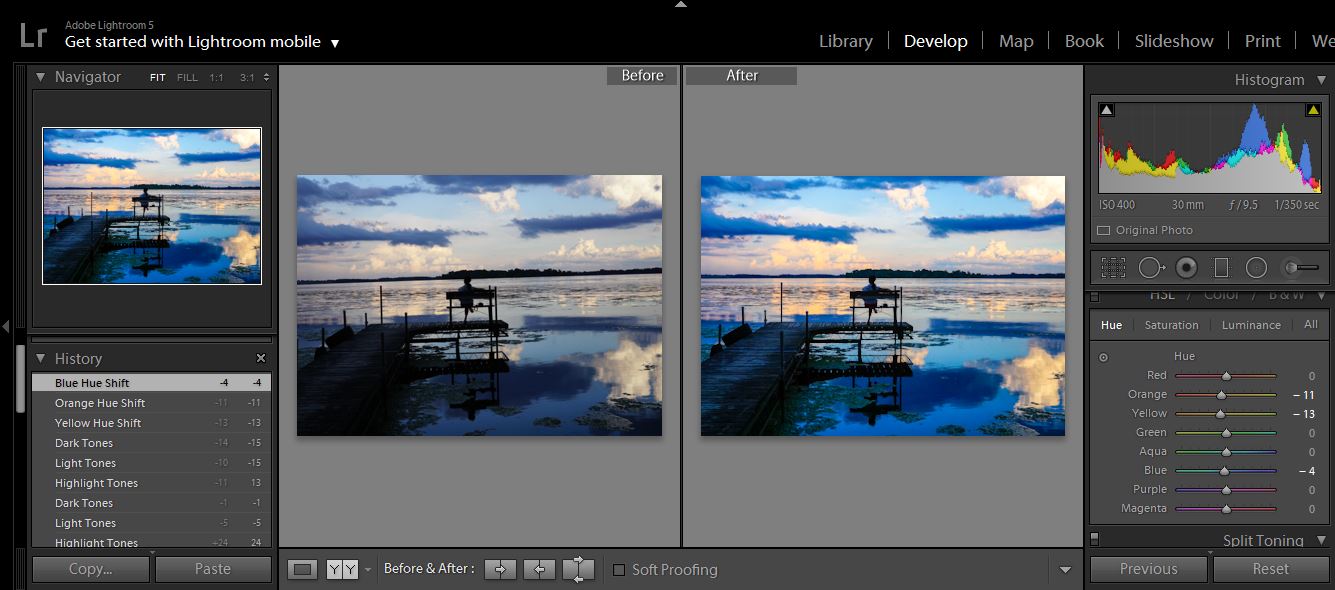
Saturation: Changes the color vividness or purity of the color. For instance, you can change a blue sky from gray to highly saturated blue.
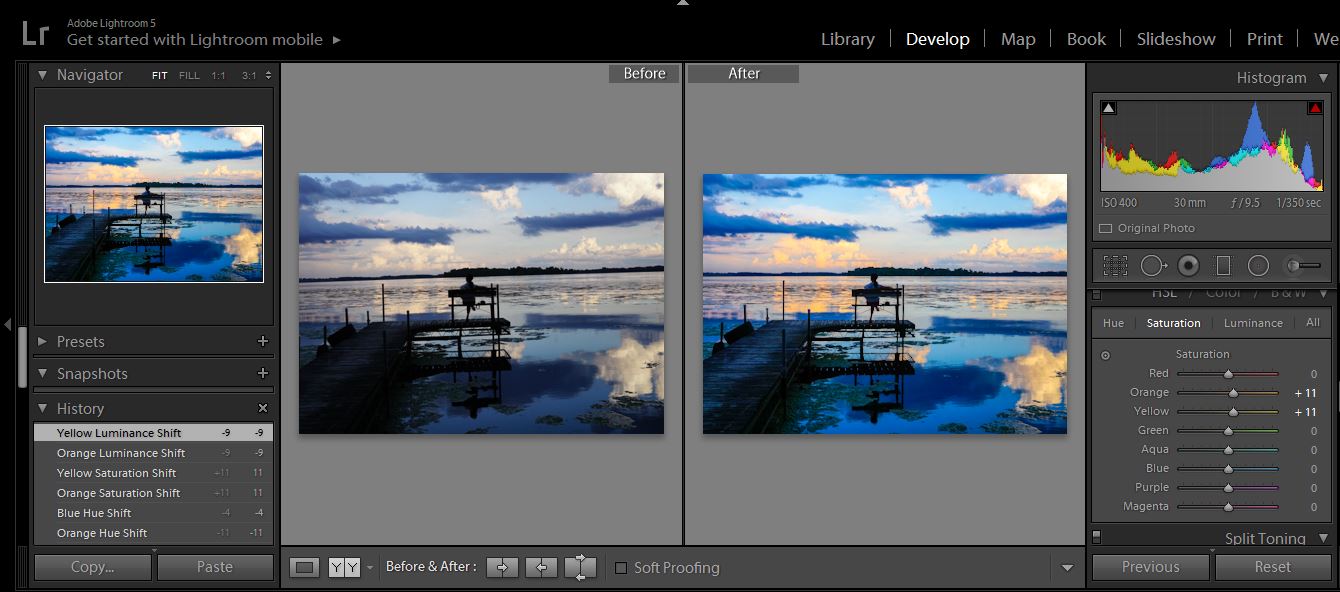
Luminance: Changes the brightness of the color range.
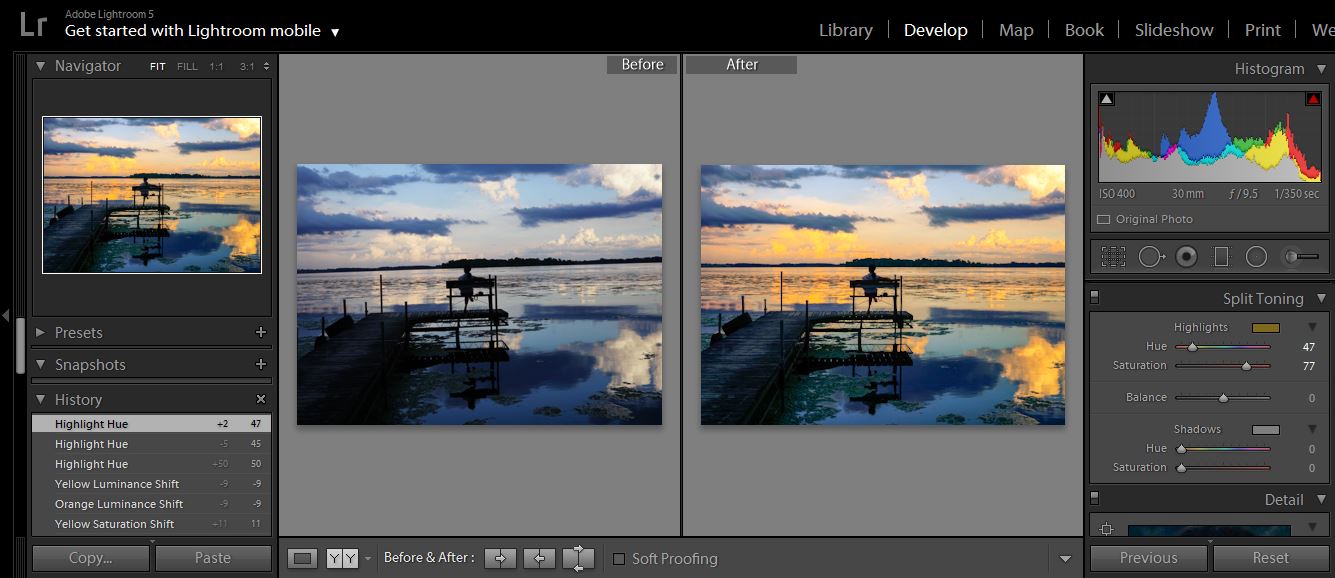
4. The split toning involves adding a color to either the shadows or highlights part of an image, especially adding a yellow to the highlights to give the image a warm feel. While other times you may like to add a blue to the shadows to give the image a cold feel. If you’re going for a warm or cold look to your image this can sometimes be achieved by adjusting the temperature of the image.
5. Final adjust.
For consulting service, pan class="style7">strong> Contact Us
Bob Lin Photography services
Real Estate Photography services