Bob Lin Photography services
Real Estate Photography services
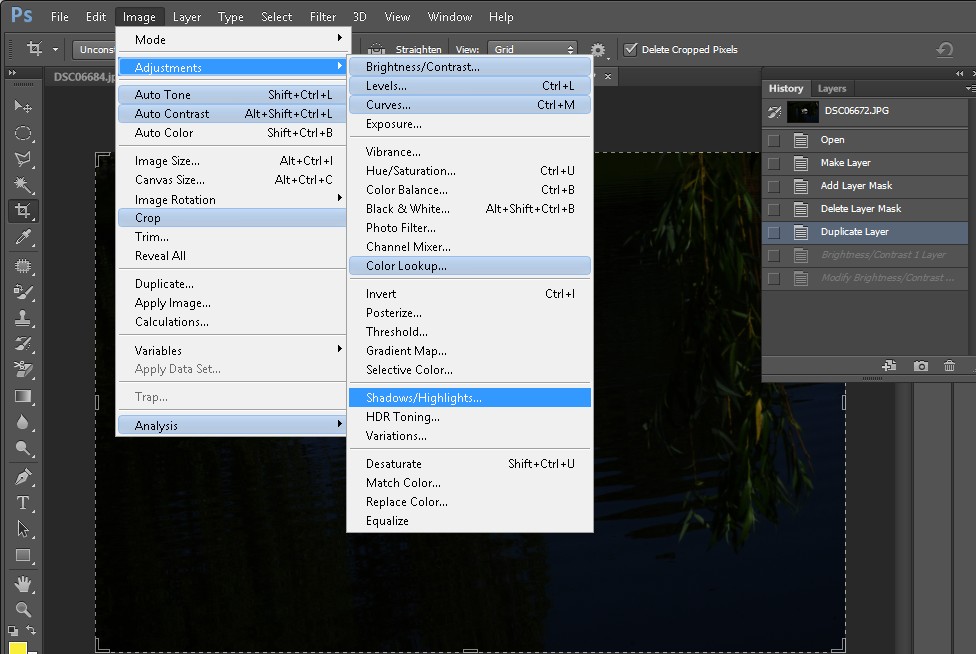
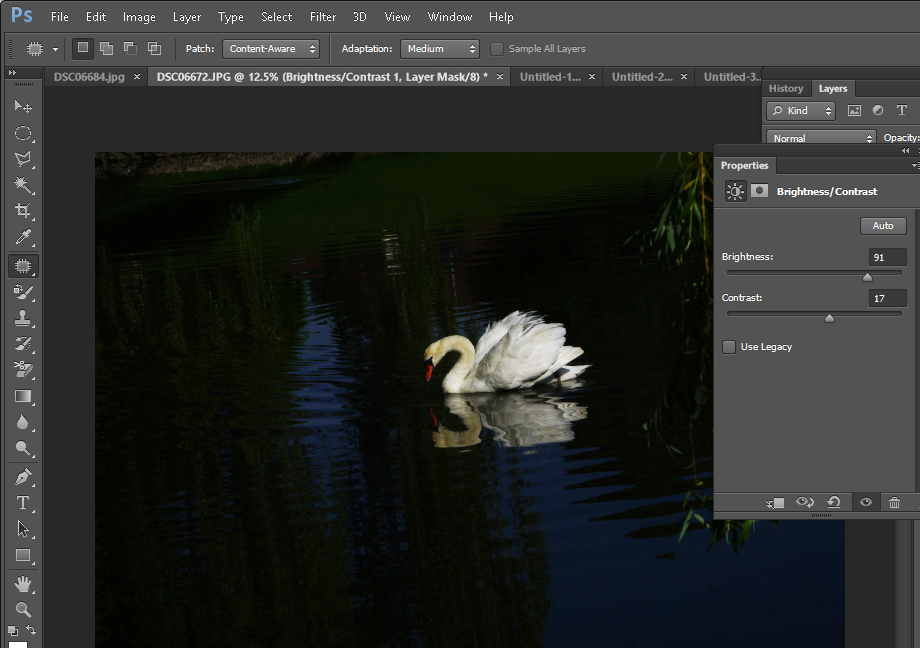
1. Brightness/Contrast: This method typically affects your entire photo. Click on Image>Adjustments>Brightness/Contrast.
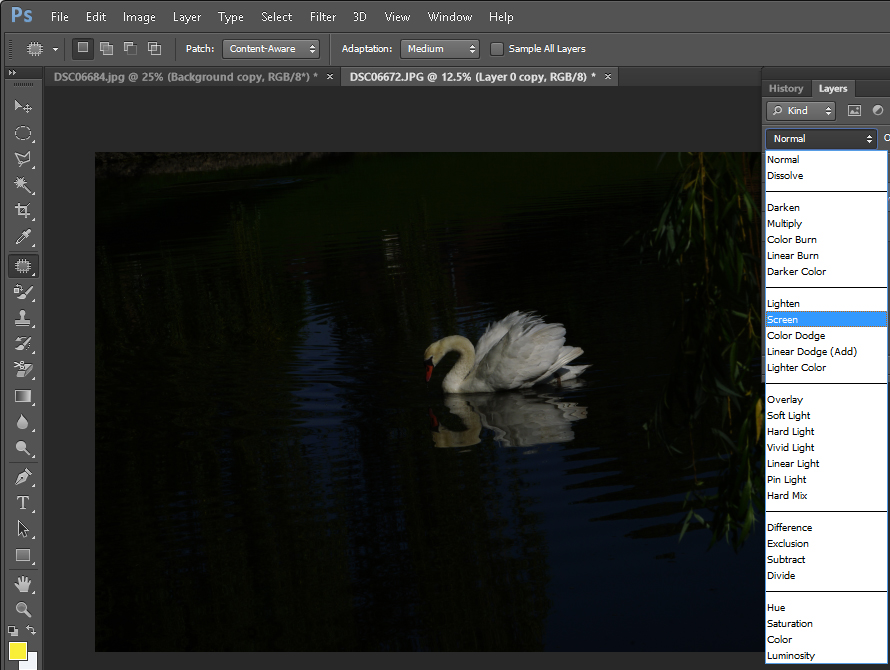
2. Screen Blend Method: This is a quickest ways to lighten a photo in Photoshop. In the layer’s palette, click on the Normal blend mode button and change it to Screen.
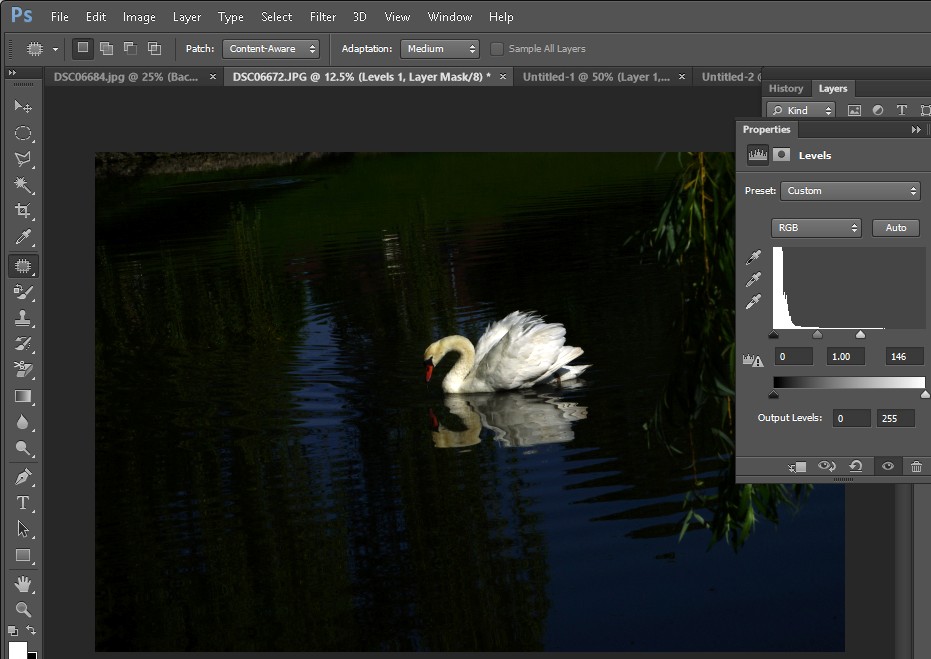
3. Levels: This method has more control over the exposure corrections. Duplicate the background layer and click on Image>Adjustments>Levels. In the resulting controls box, you will see a histogram that reflects the pixel distribution in your image. Sliding the far right arrow under the graph toward the left will affect the white/highlight areas of the image.
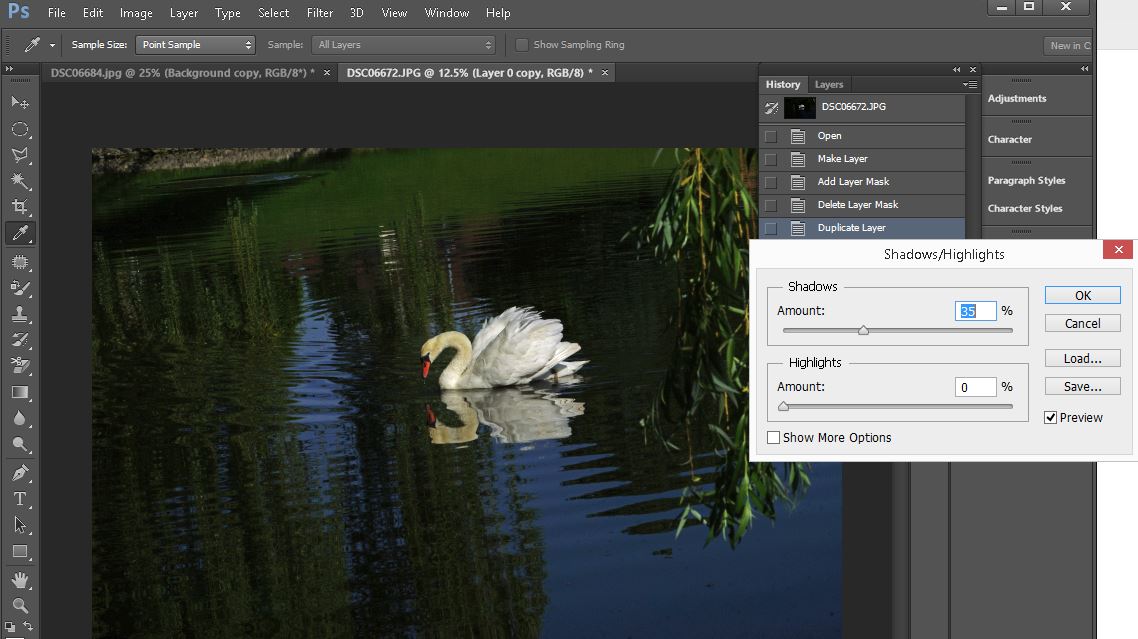
4. Shadow/Highlight: This method is particularly useful if say one aspect of your image is too dark or light.
Click on Image>Adjustments>Shadow/Highlights. The default setting will be 50%. Photoshop assumes that your image will be too dark, so it defaults to the bright side. But if it makes your image too bright, simply adjust the Shadows slider toward the left or right to get the correction you want. And of course use the Highlights slider to correct areas that are too light.
Photoshop CS How to - Step by step with Screenshots
For consulting service, Contact Us
Bob Lin Photography services
Real Estate Photography services